
Your cart is currently empty!
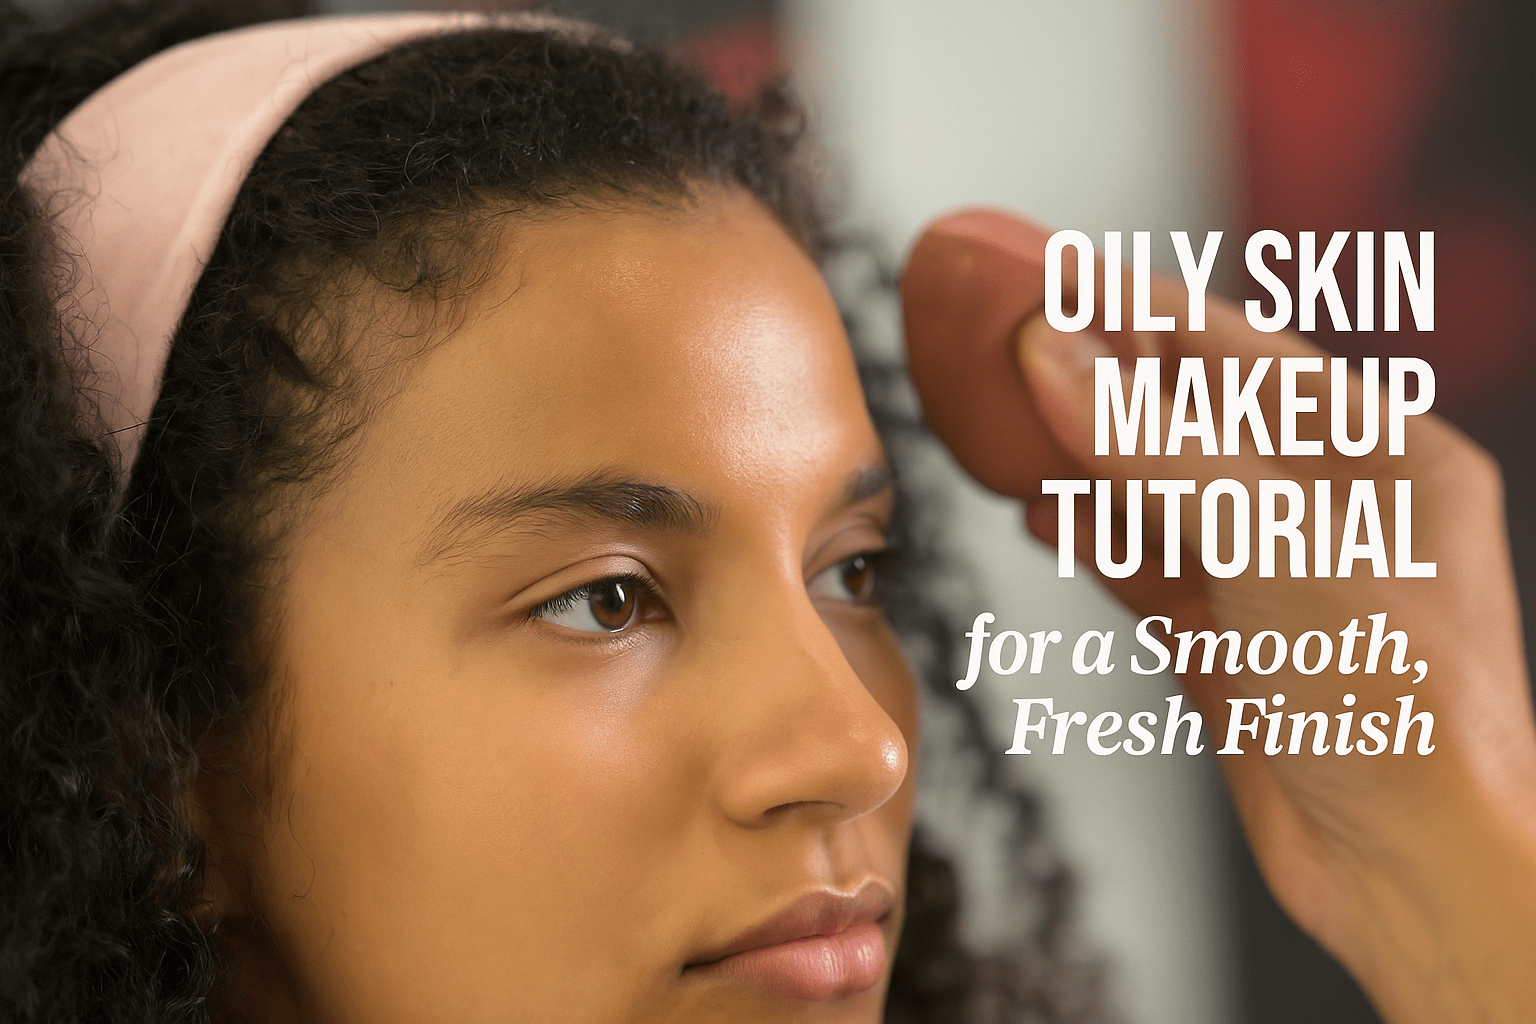
Oily Skin Makeup Tutorial for a Smooth, Fresh Finish
Control shine with this 2025 makeup tutorial for oily skin. Learn how to prep, set, and stay matte all day with Ruby Vibe Co.’s oil-balancing formulas and long-wear beauty tools.
A makeup tutorial for oily skin can truly transform your beauty routine. In 2025, makeup for oily skin is all about balance—shine control meets breathable finishes. Moreover, the right combination of products keeps your look matte, not flat. Most importantly, proper prep and smart setting steps make your makeup last all day long.

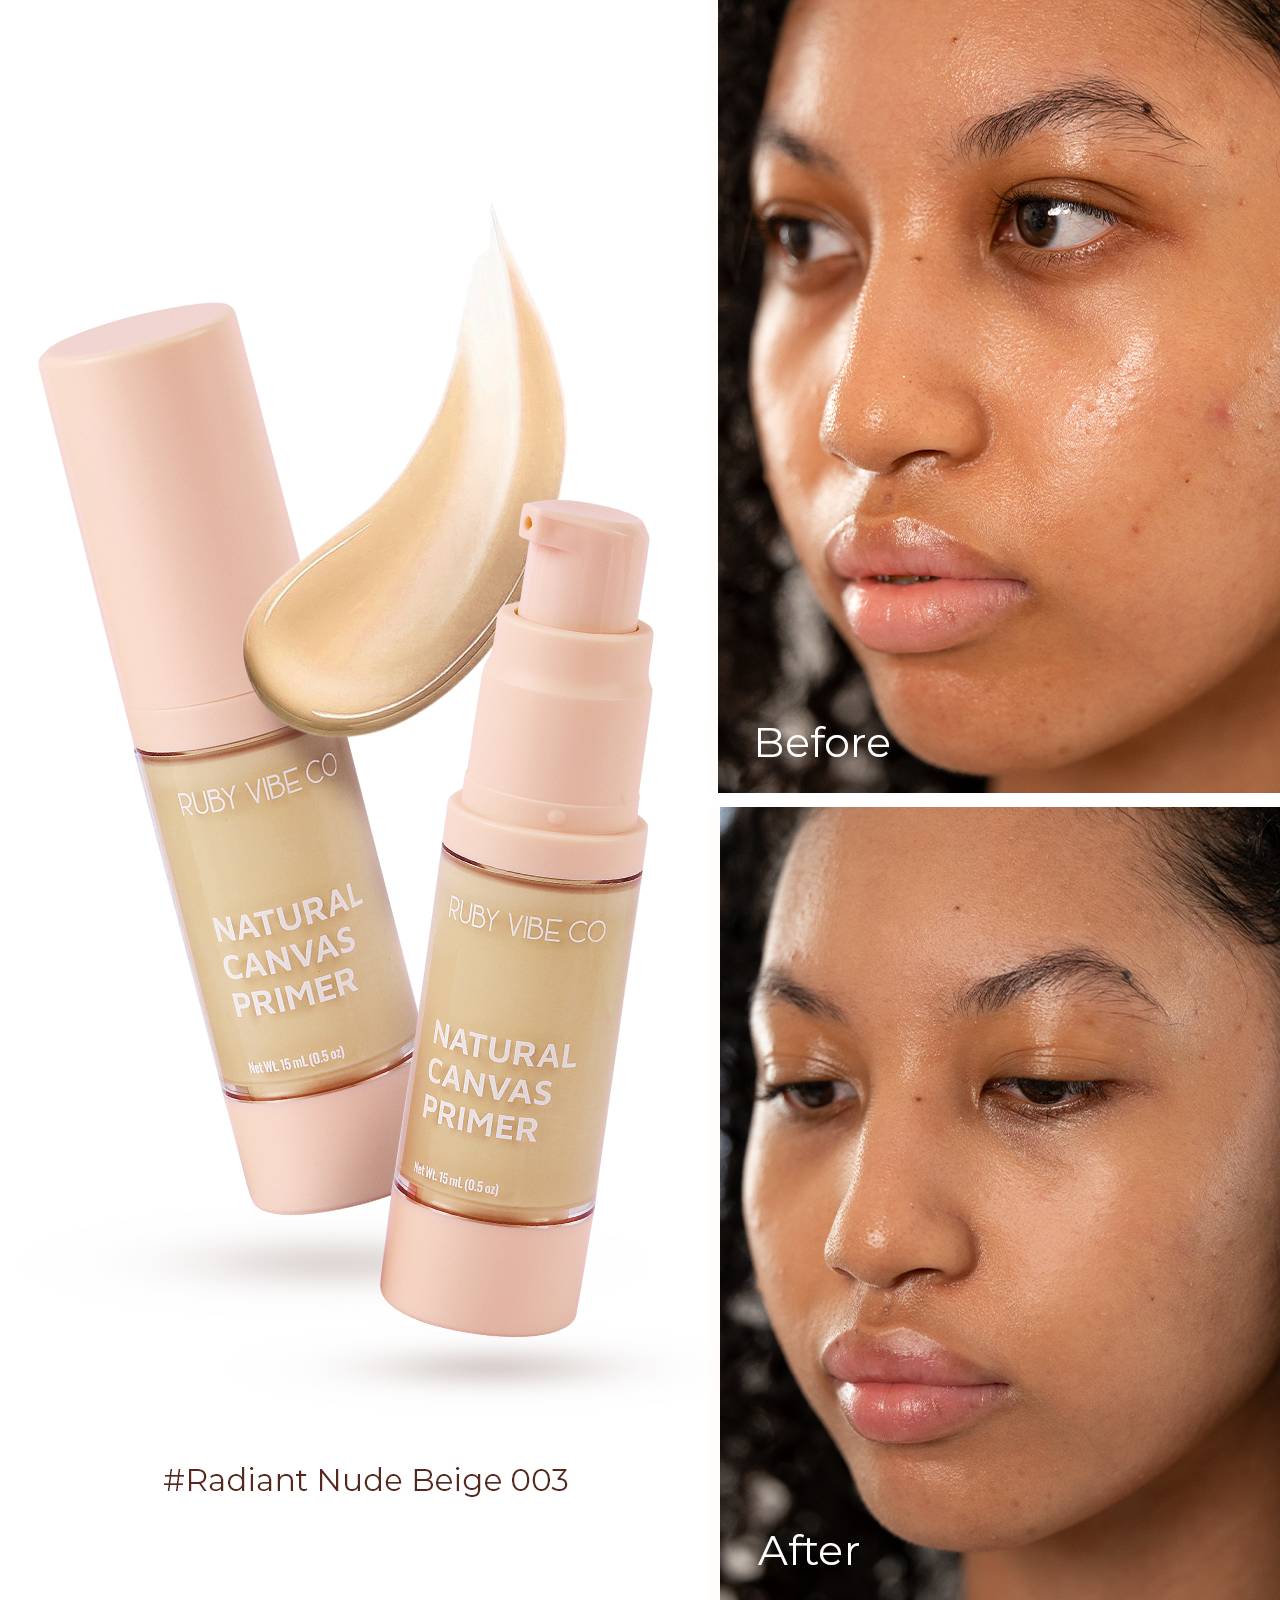
Step 1: Oil-Control Primer Is Non-Negotiable
Start with an oil-controlling primer to create a clean, matte canvas. Especially in warmer months, this step helps prevent midday grease. Furthermore, look for blurring primers that smooth pores and grip foundation. In addition, applying a small amount to your T-zone can extend your wear time significantly.
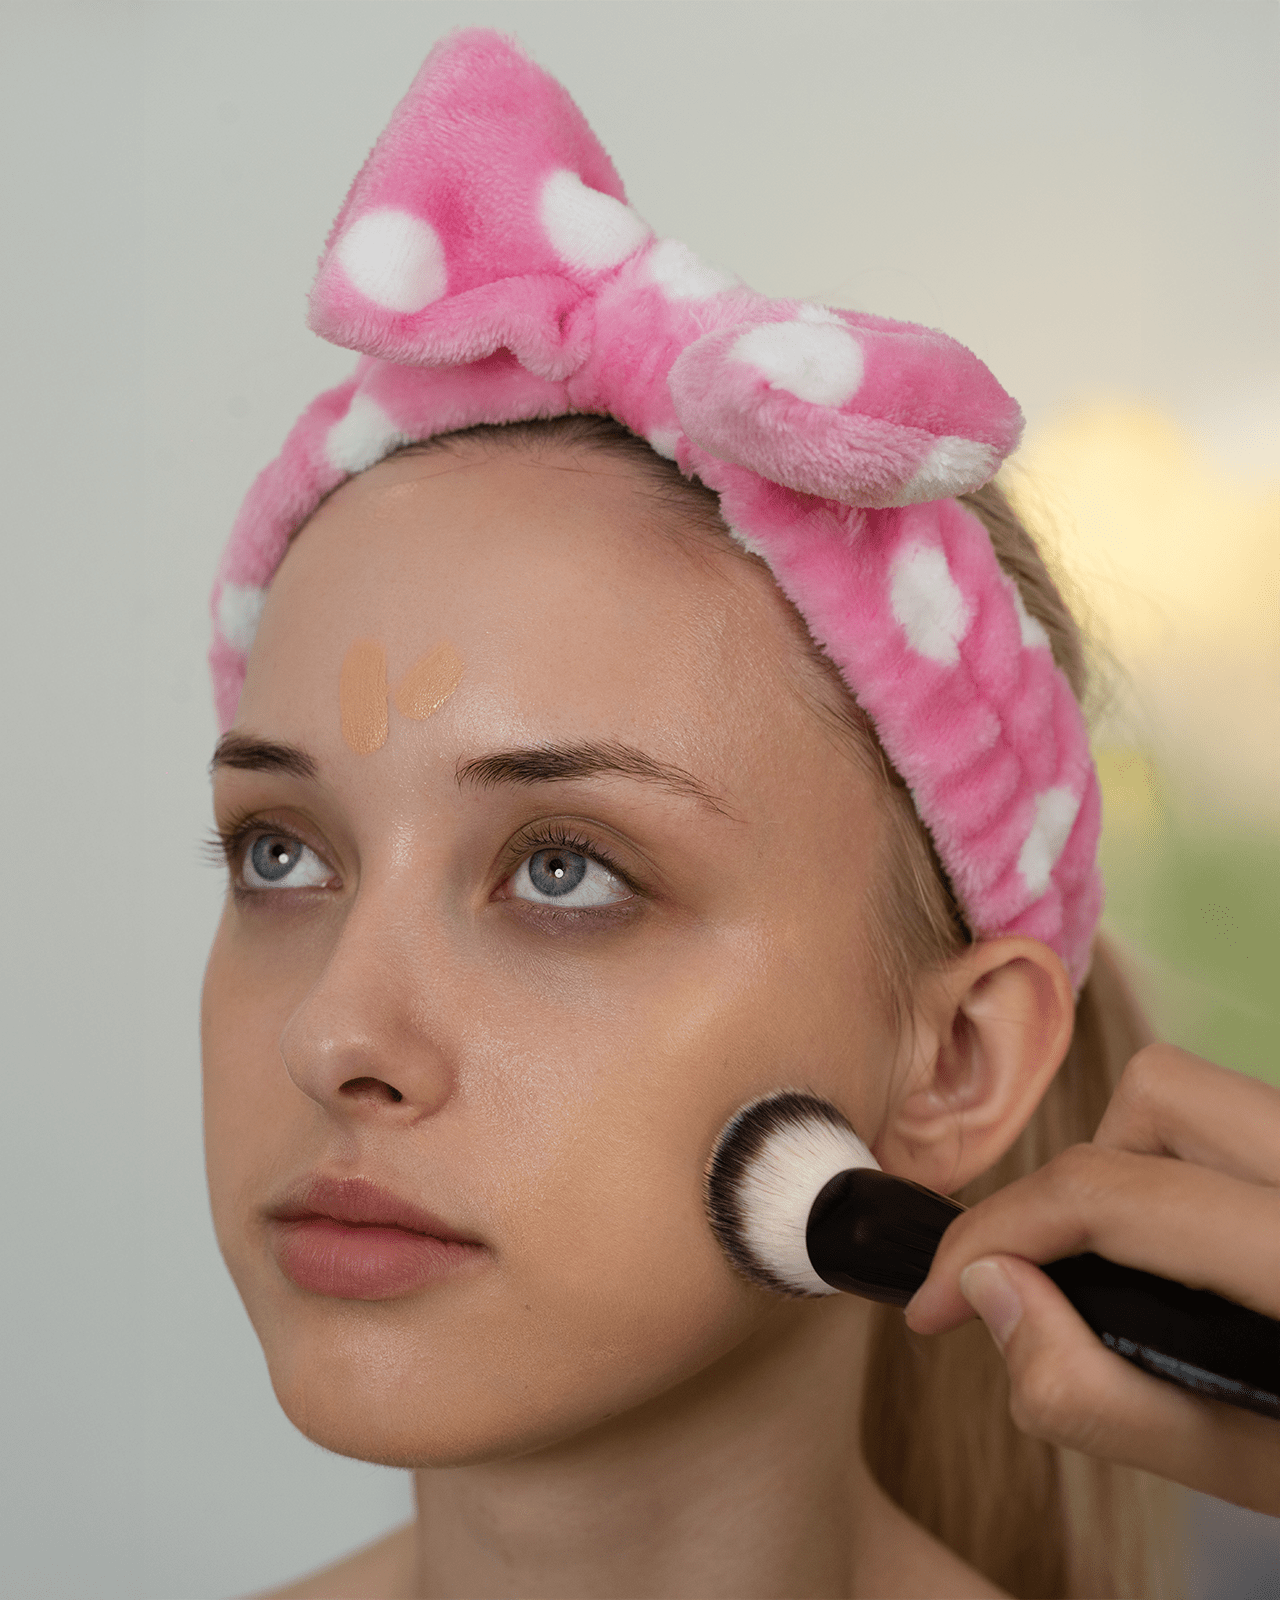
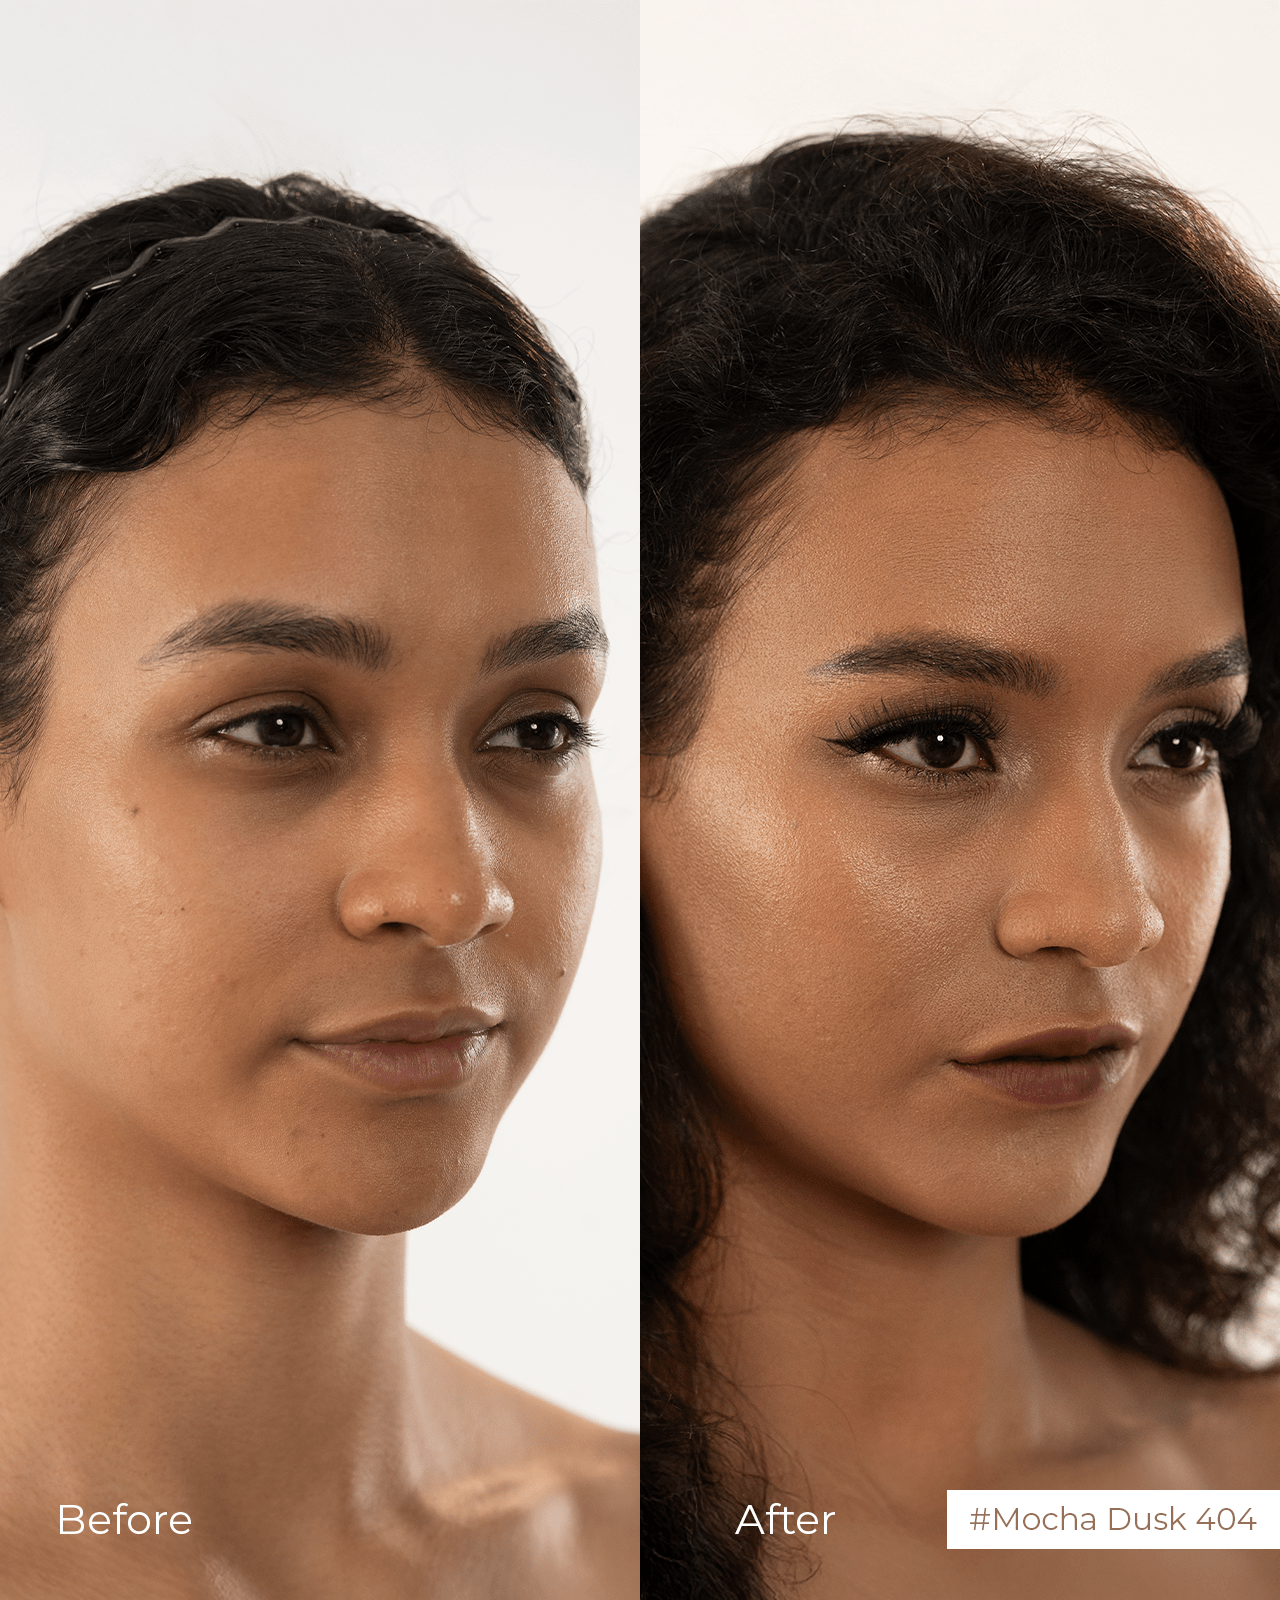
Step 2: Matte Foundation and Strategic Concealer
Choose a long-wear foundation with a soft matte finish. Ruby Vibe Co.’s StaySet Foundation Stick offers buildable coverage that resists shine. Moreover, it blends easily with a sponge or flat brush for natural-looking skin. Use concealer only where needed—under the eyes or on blemishes—to avoid buildup. Most importantly, layering too many creamy products can cause slippage on oily skin.
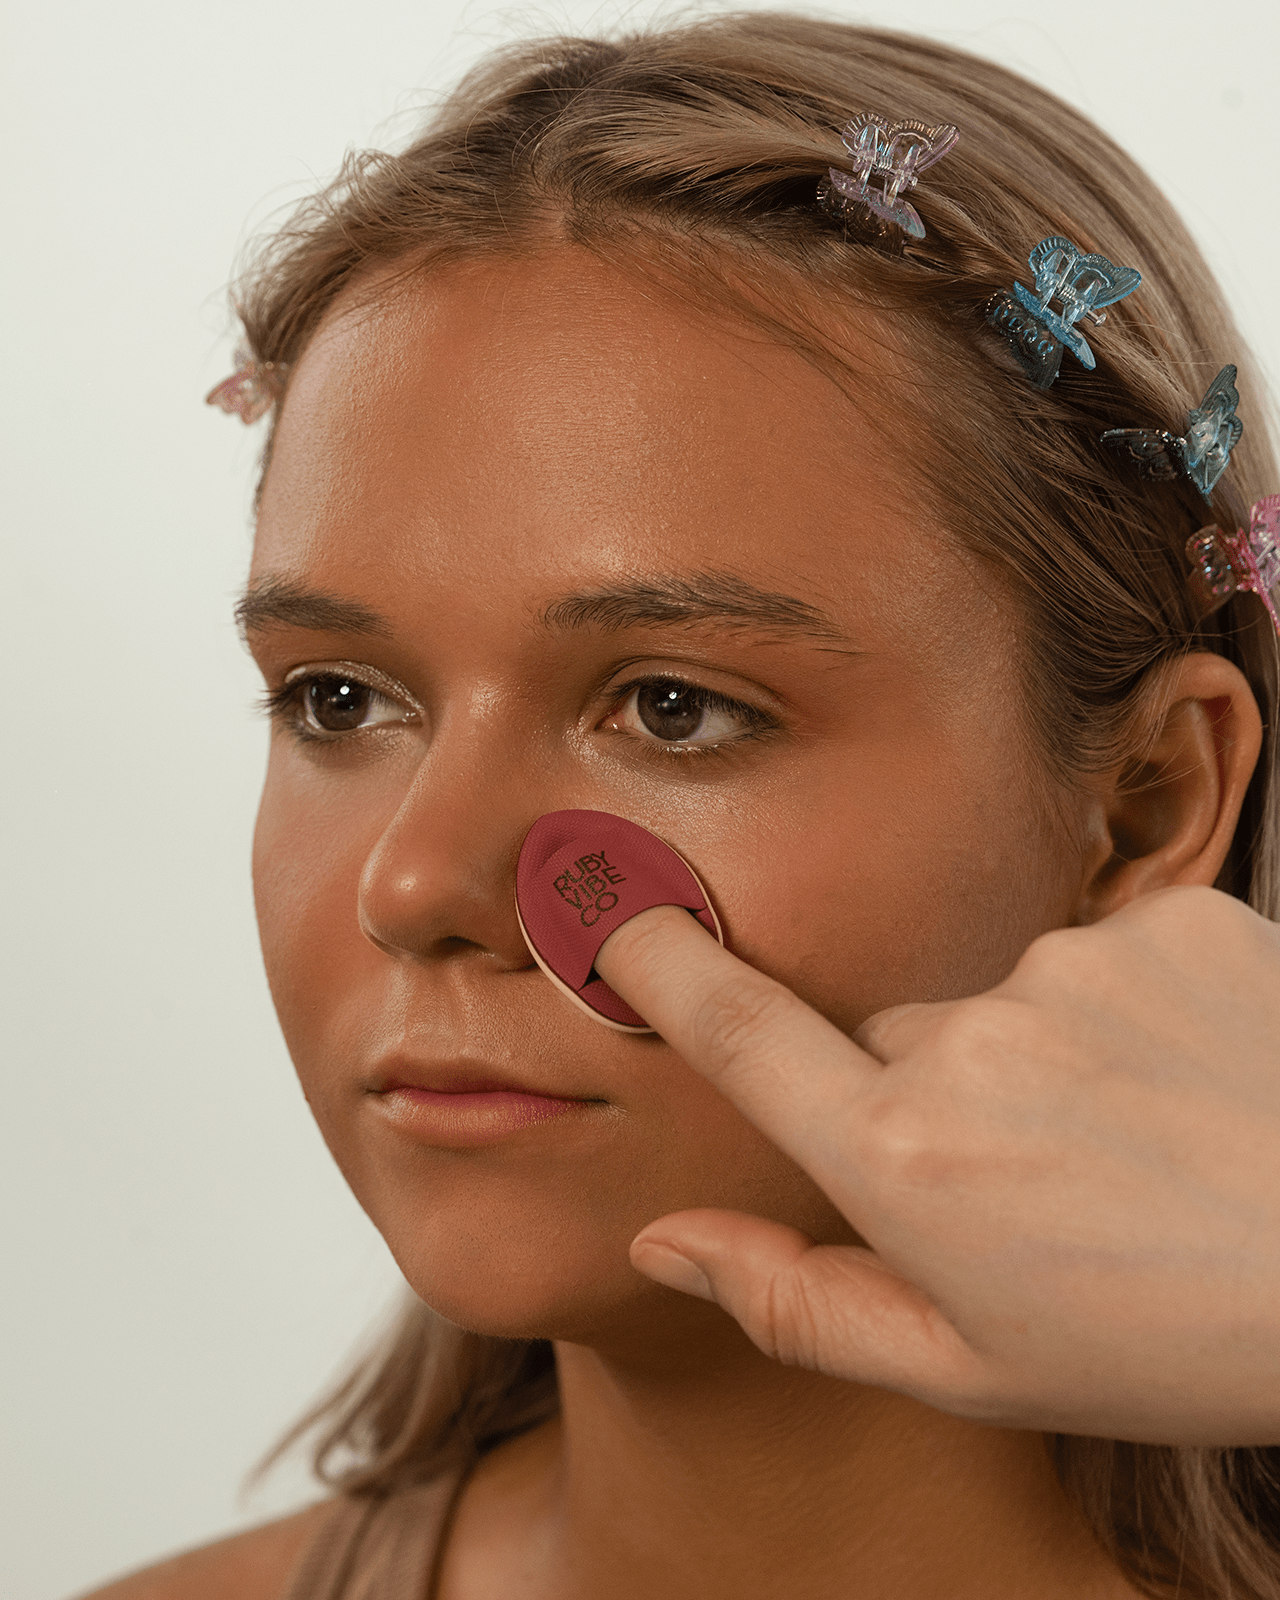
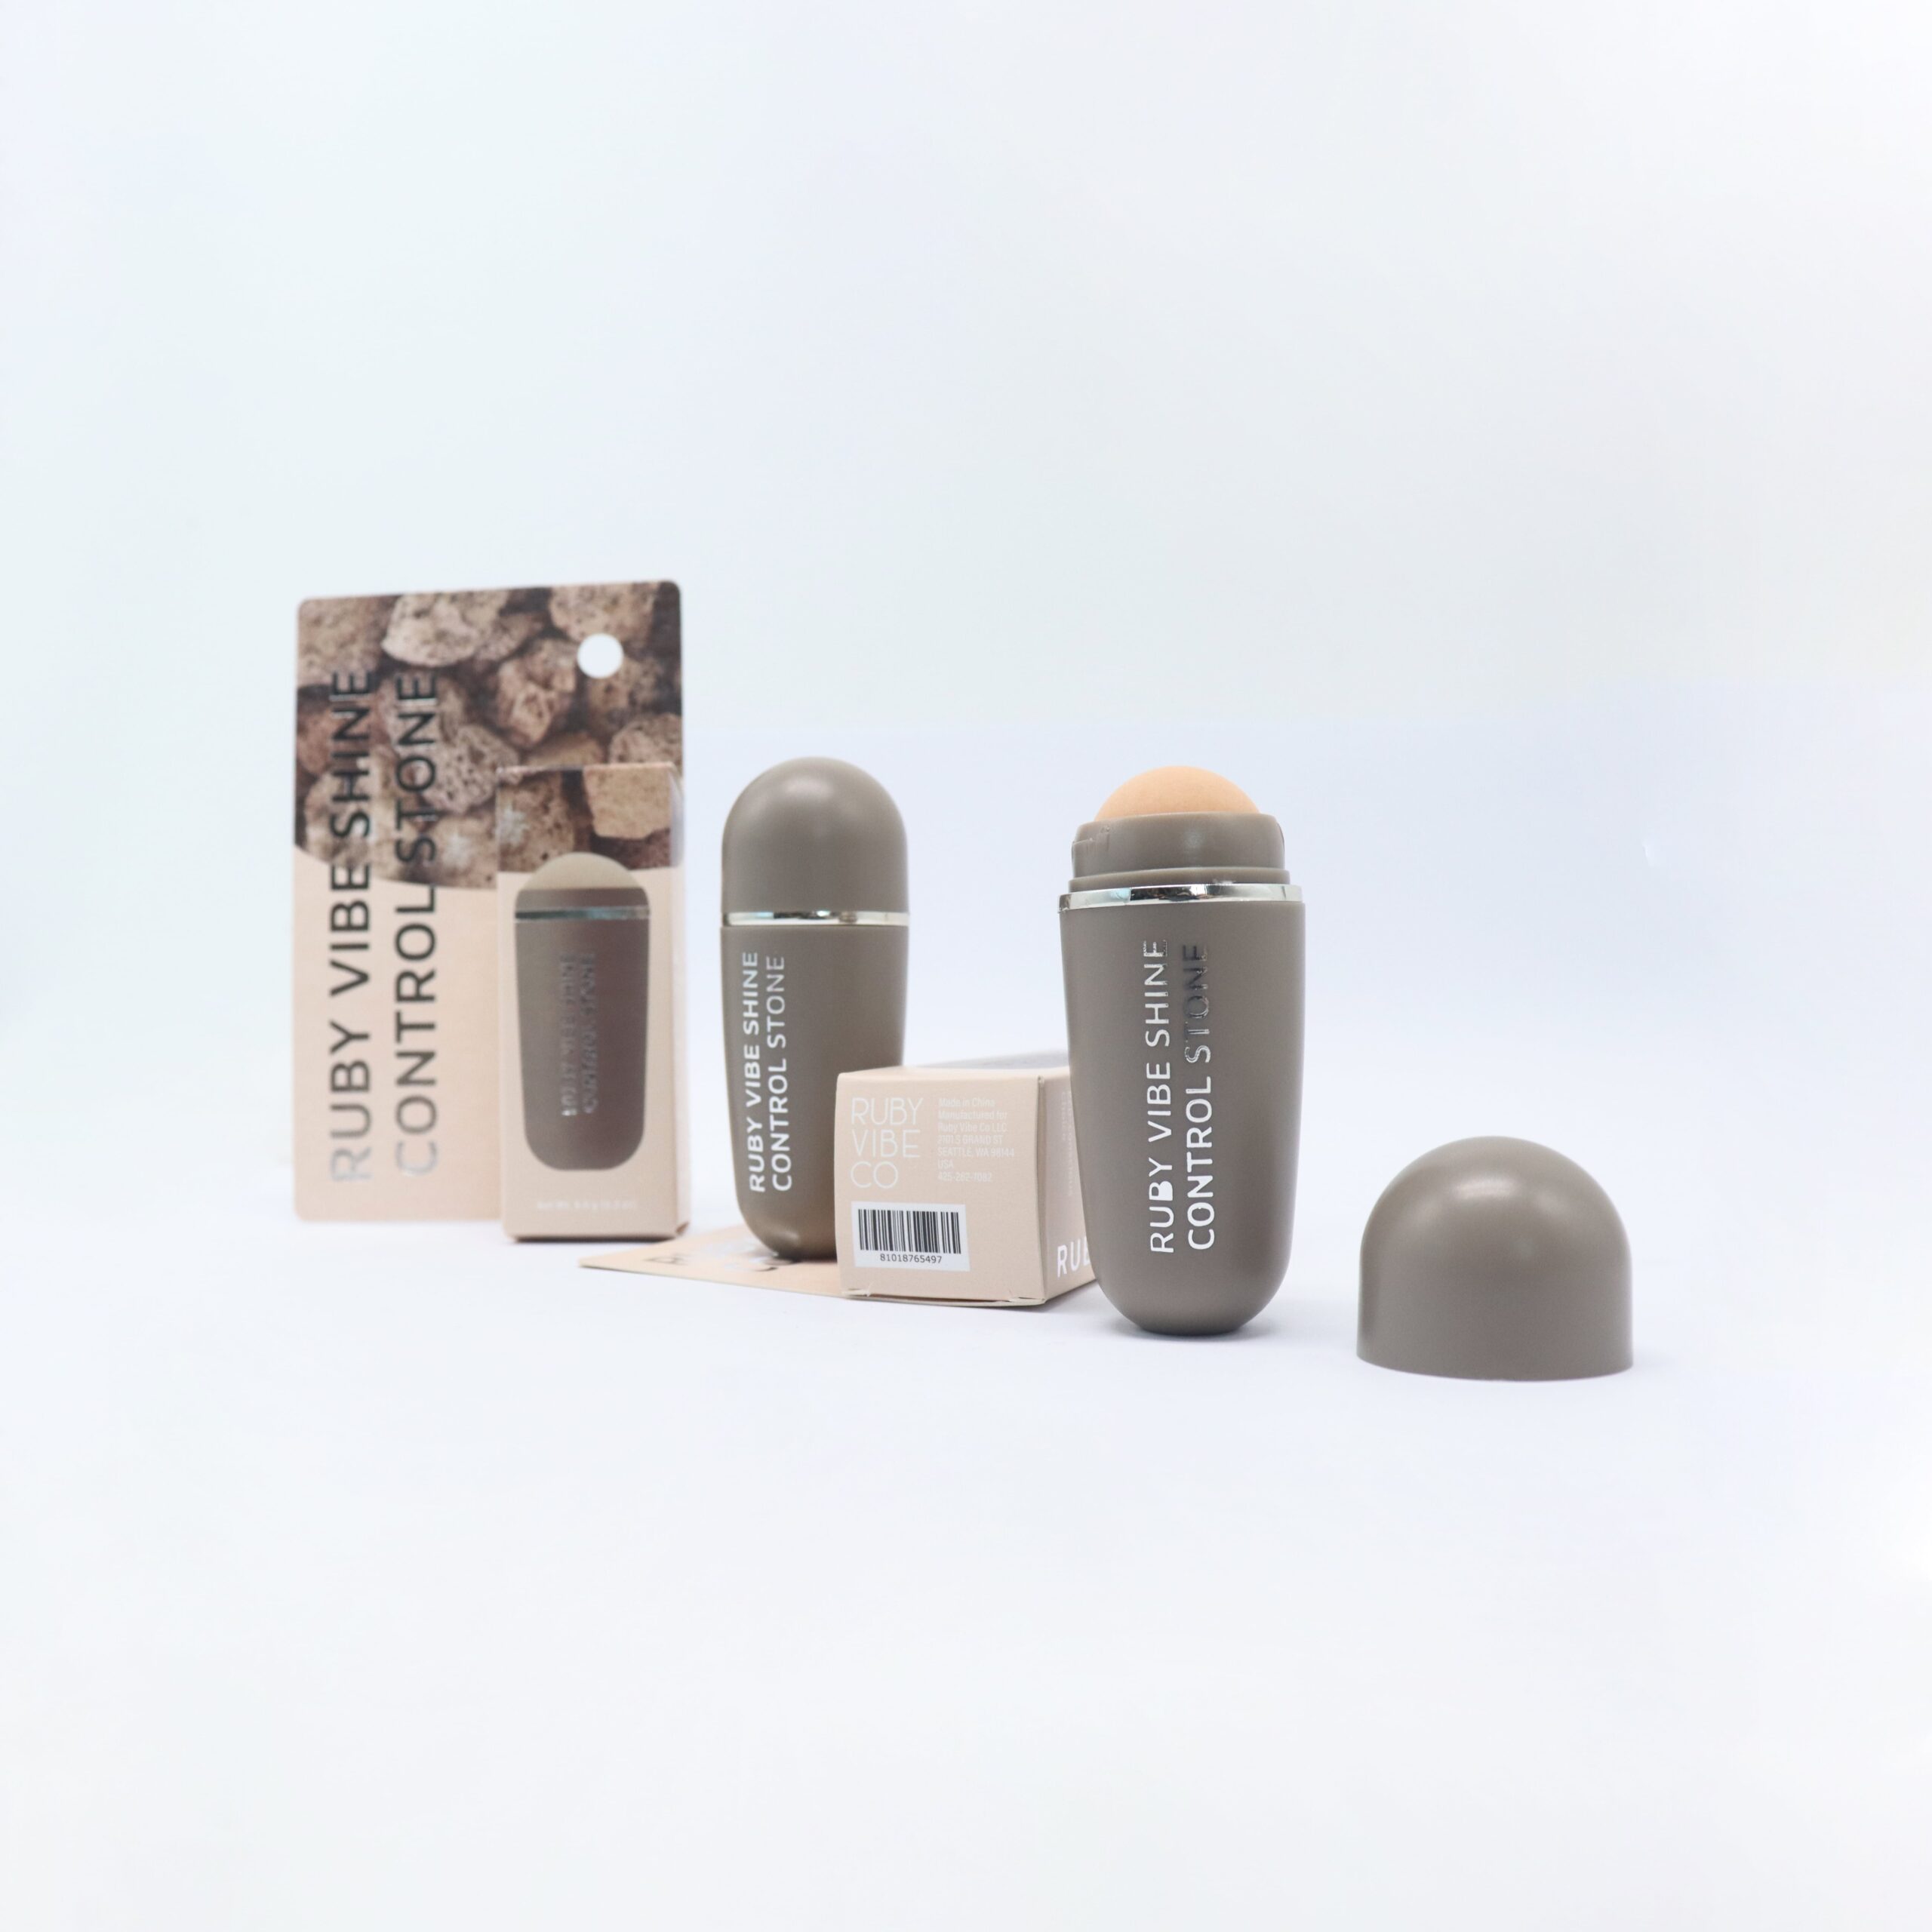
Step 3: Set It Smart with Powder
Lock everything in with a translucent setting powder. In addition, use a puff or sponge to press powder into the skin, especially on the nose, forehead, and chin. Furthermore, carry blotting papers for touch-ups throughout the day. These tools control shine without disturbing your makeup.
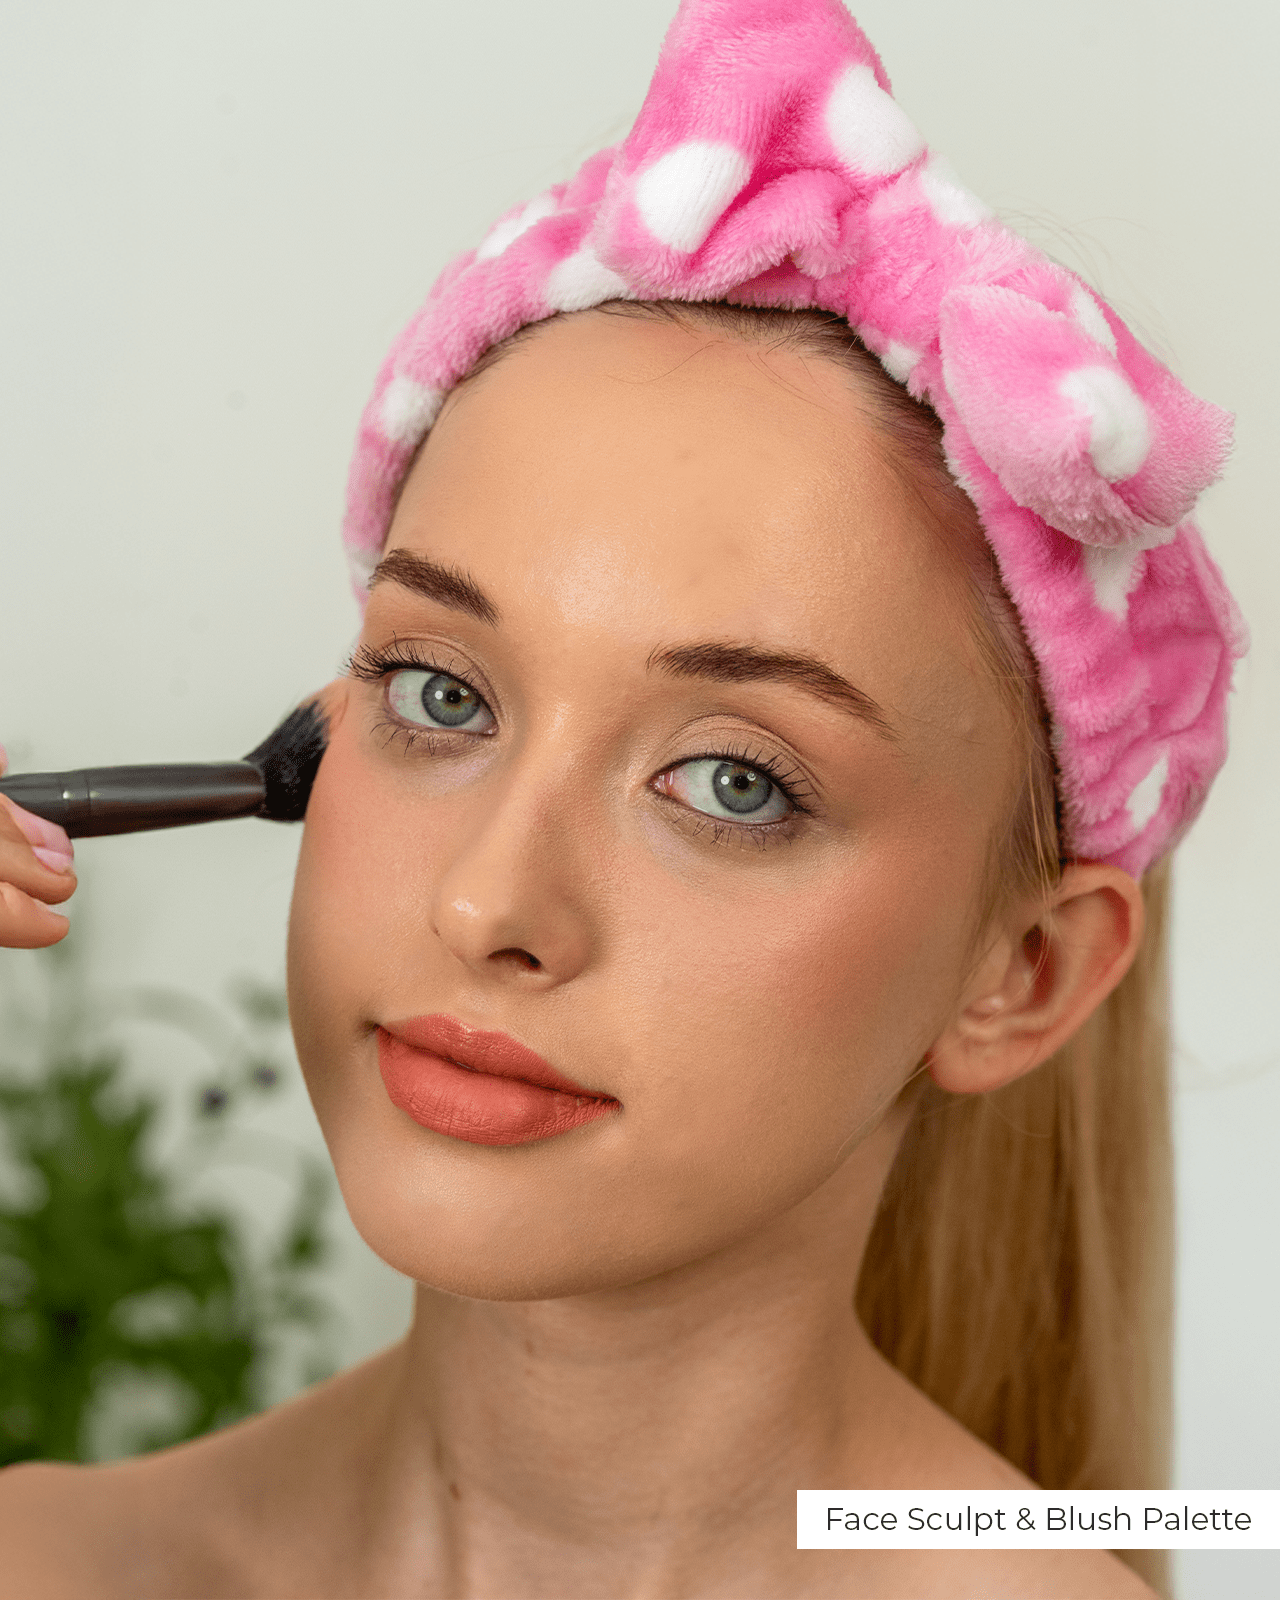
Step 4: Matte Color That Stays Put
For cheeks, stick to powder blushes. Cream formulas may shift or fade. Ruby Vibe Co.’s ControlCheek Matte Blush offers pigment without oil buildup. Especially for long days, a powder formula helps your look stay fresh. Use a waterproof mascara and fill brows with powder or pencil for smudge-proof definition.
Step 5: Finish with a Matte Lip
Complete your look with a matte lip stain. In addition, these products stay put through meals and don’t transfer. Ruby Vibe Co.’s LockedTint Lip Stain offers vivid color and a soft-dry finish without cracking.
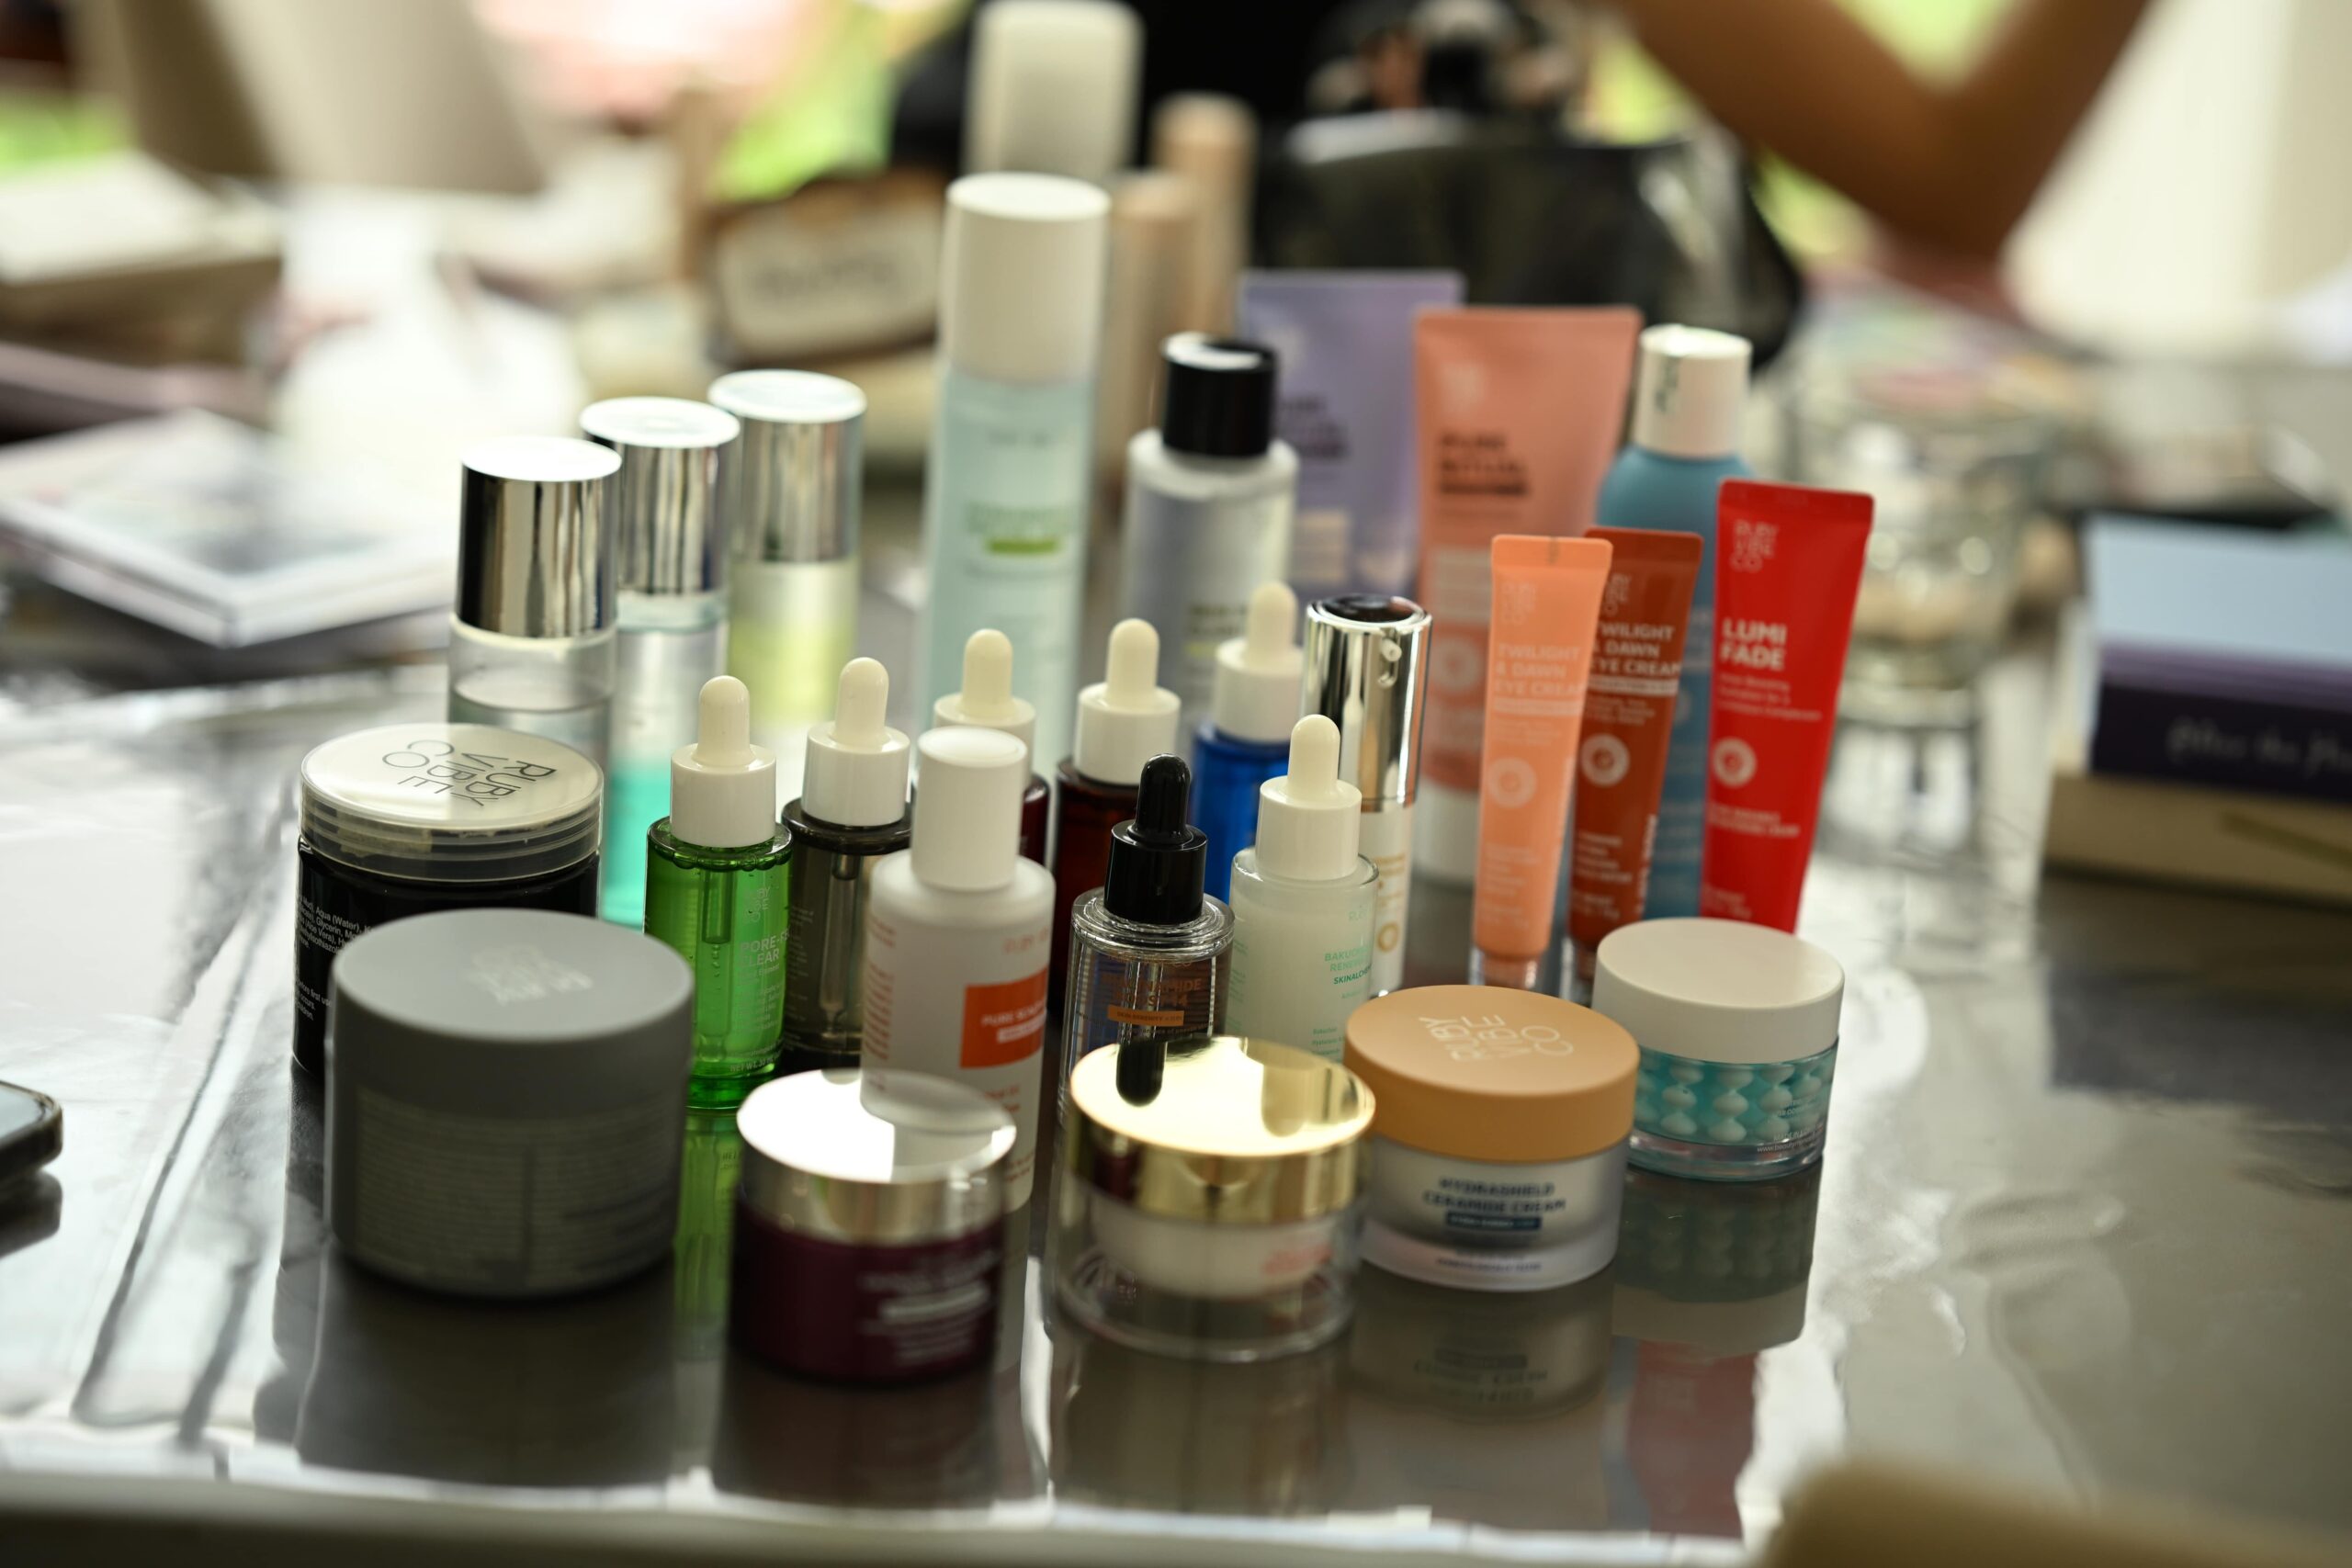
Ruby Vibe Co.’s Top Picks for Oily Skin:
- MattePrime Oil-Control Base
- StaySet Foundation Stick
- SmoothBlur Pressed Powder
- ControlCheek Matte Blush
- LockedTint Long-Stay Lip Stain
Ultimately, oily skin doesn’t mean skipping makeup. With the right techniques and shine-controlling products, you can enjoy a matte, flawless finish from morning to night. Furthermore, confidence starts with comfort—and your makeup should work with your skin, not against it.
📌 Shine less. Glow more. Shop Ruby Vibe Co.’s Oily Skin Essentials.
📍 Matte Finish | Oil-Free Wear | All-Day Confidence
Leave a Reply