
Your cart is currently empty!
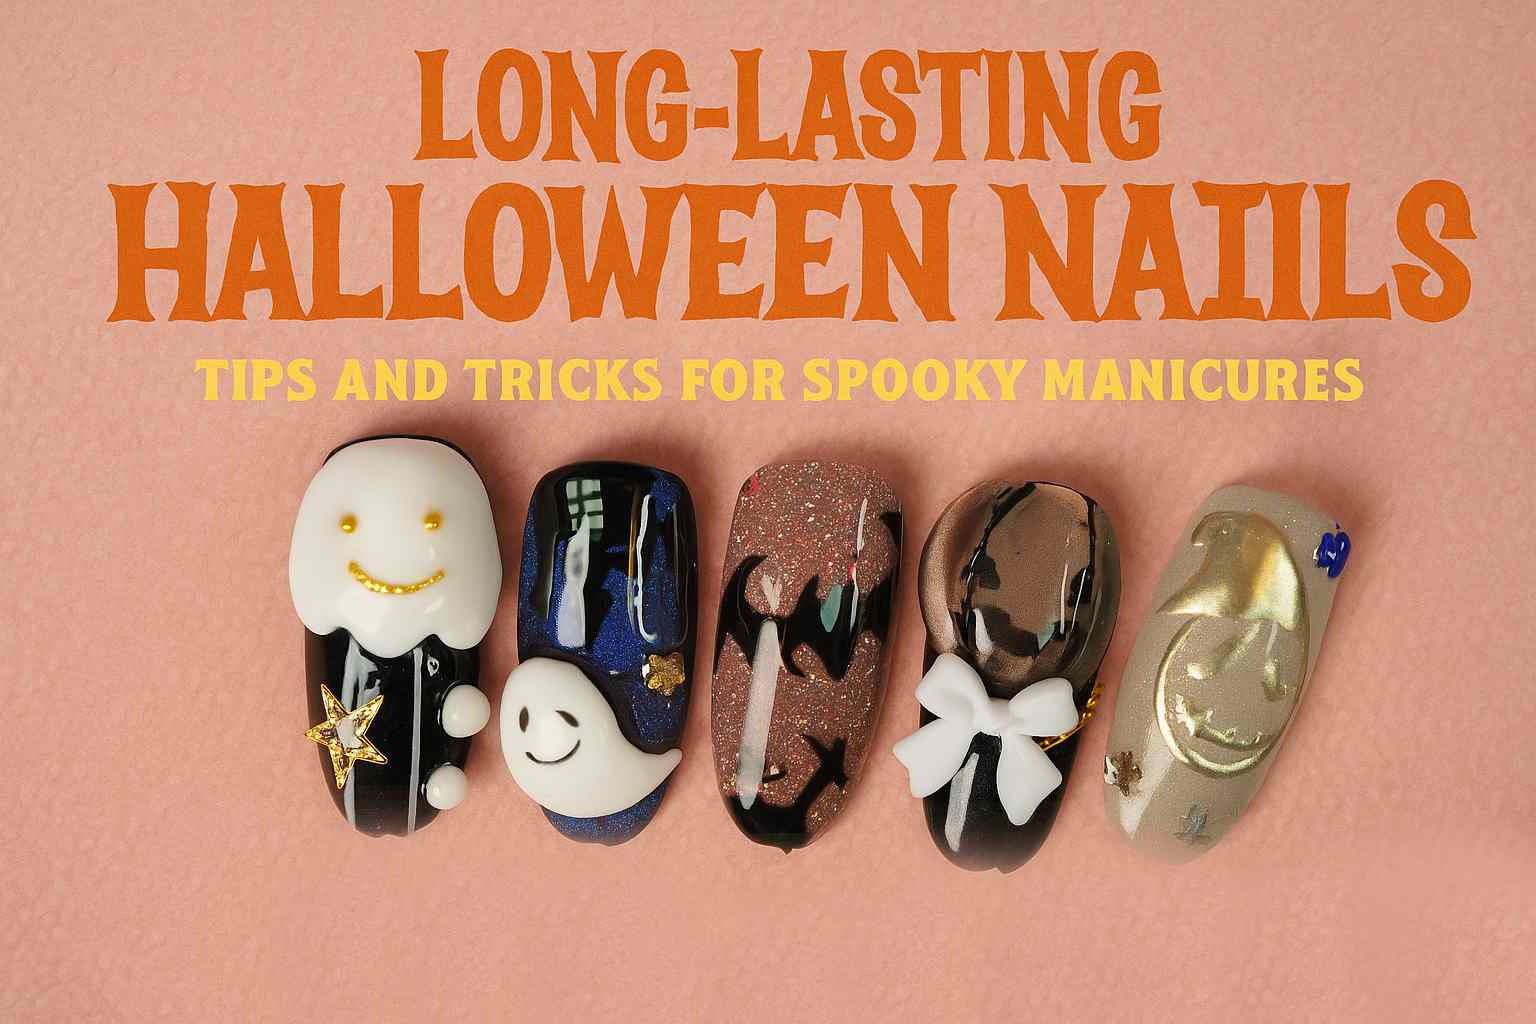
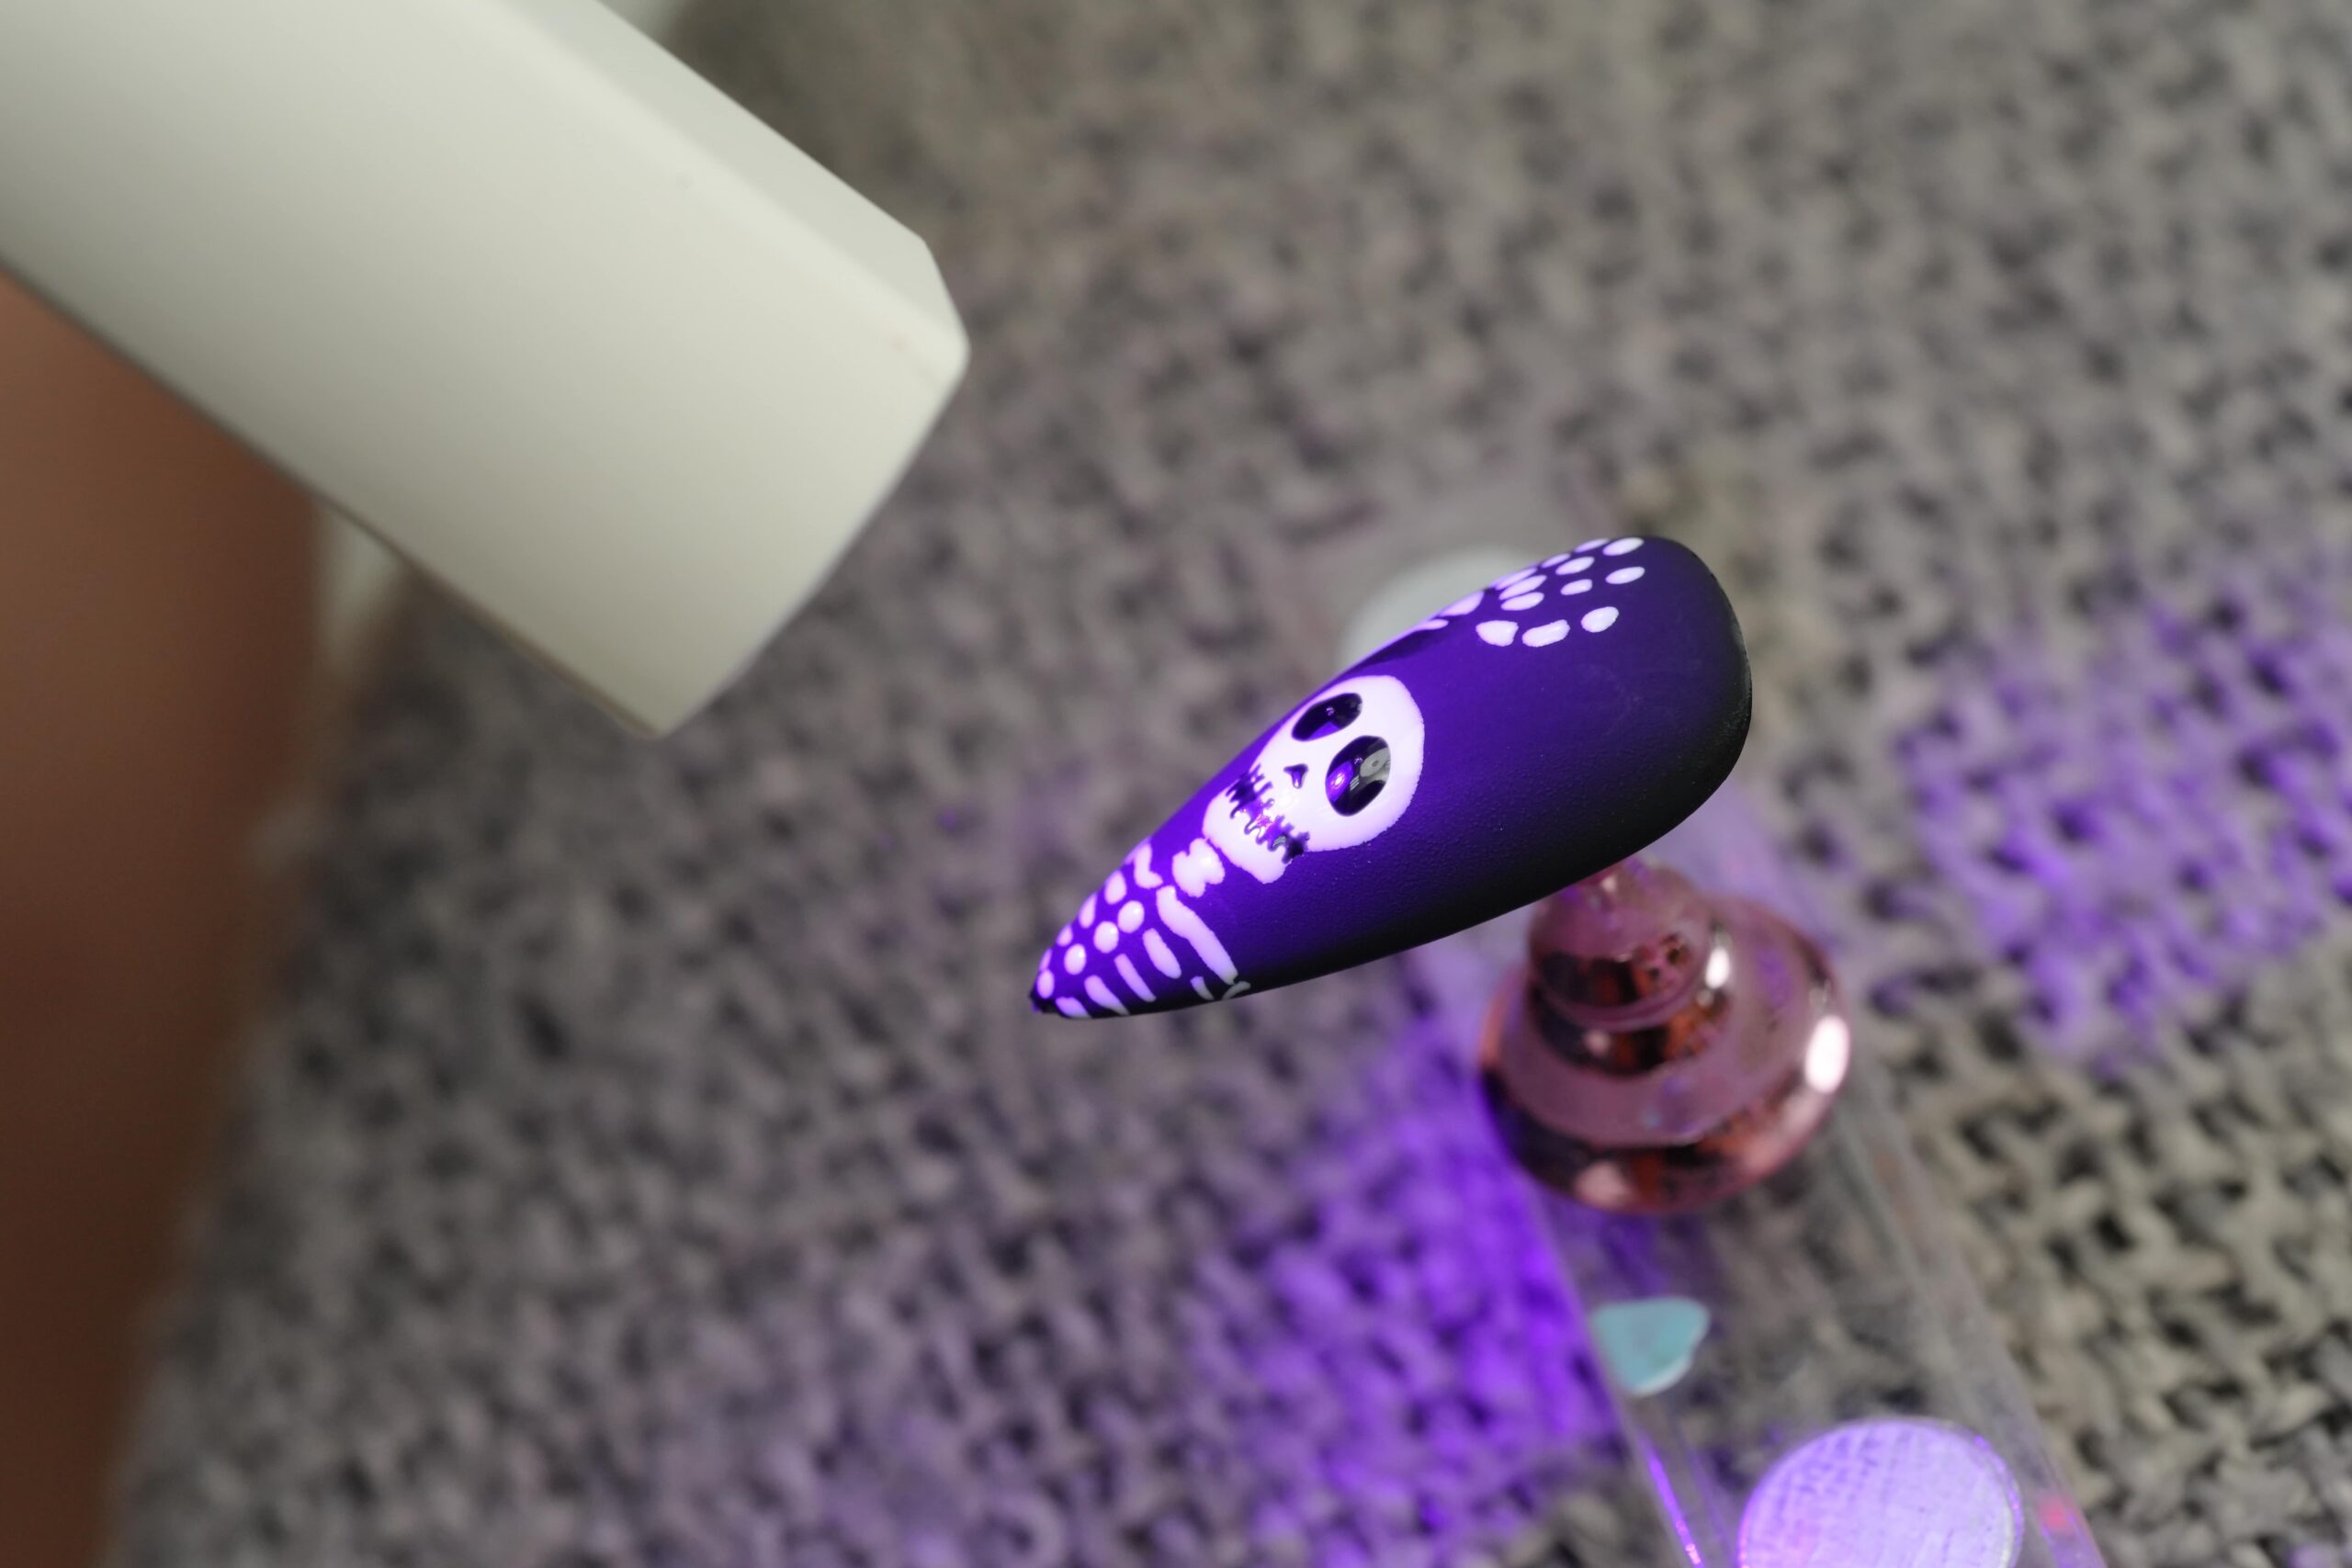
Long-Lasting Halloween Nails: Tips and Tricks for Spooky Manicures
Want your spooky nails to last? This detailed guide provides essential tips and tricks to ensure your Halloween manicure stays flawless from start to finish.
Ensuring Your Spooky Manicure Lasts All Season
You’ve spent time and effort creating the perfect Halloween nails. The last thing you want is for them to chip or fade before the big night. This detailed guide will provide essential tips and tricks to ensure your spooky manicure stays flawless and beautiful for as long as possible. Consequently, you’ll be able to enjoy your festive nails throughout the entire spooky season. We will cover preparation, application, and aftercare, giving you the knowledge you need to make your nail art last.
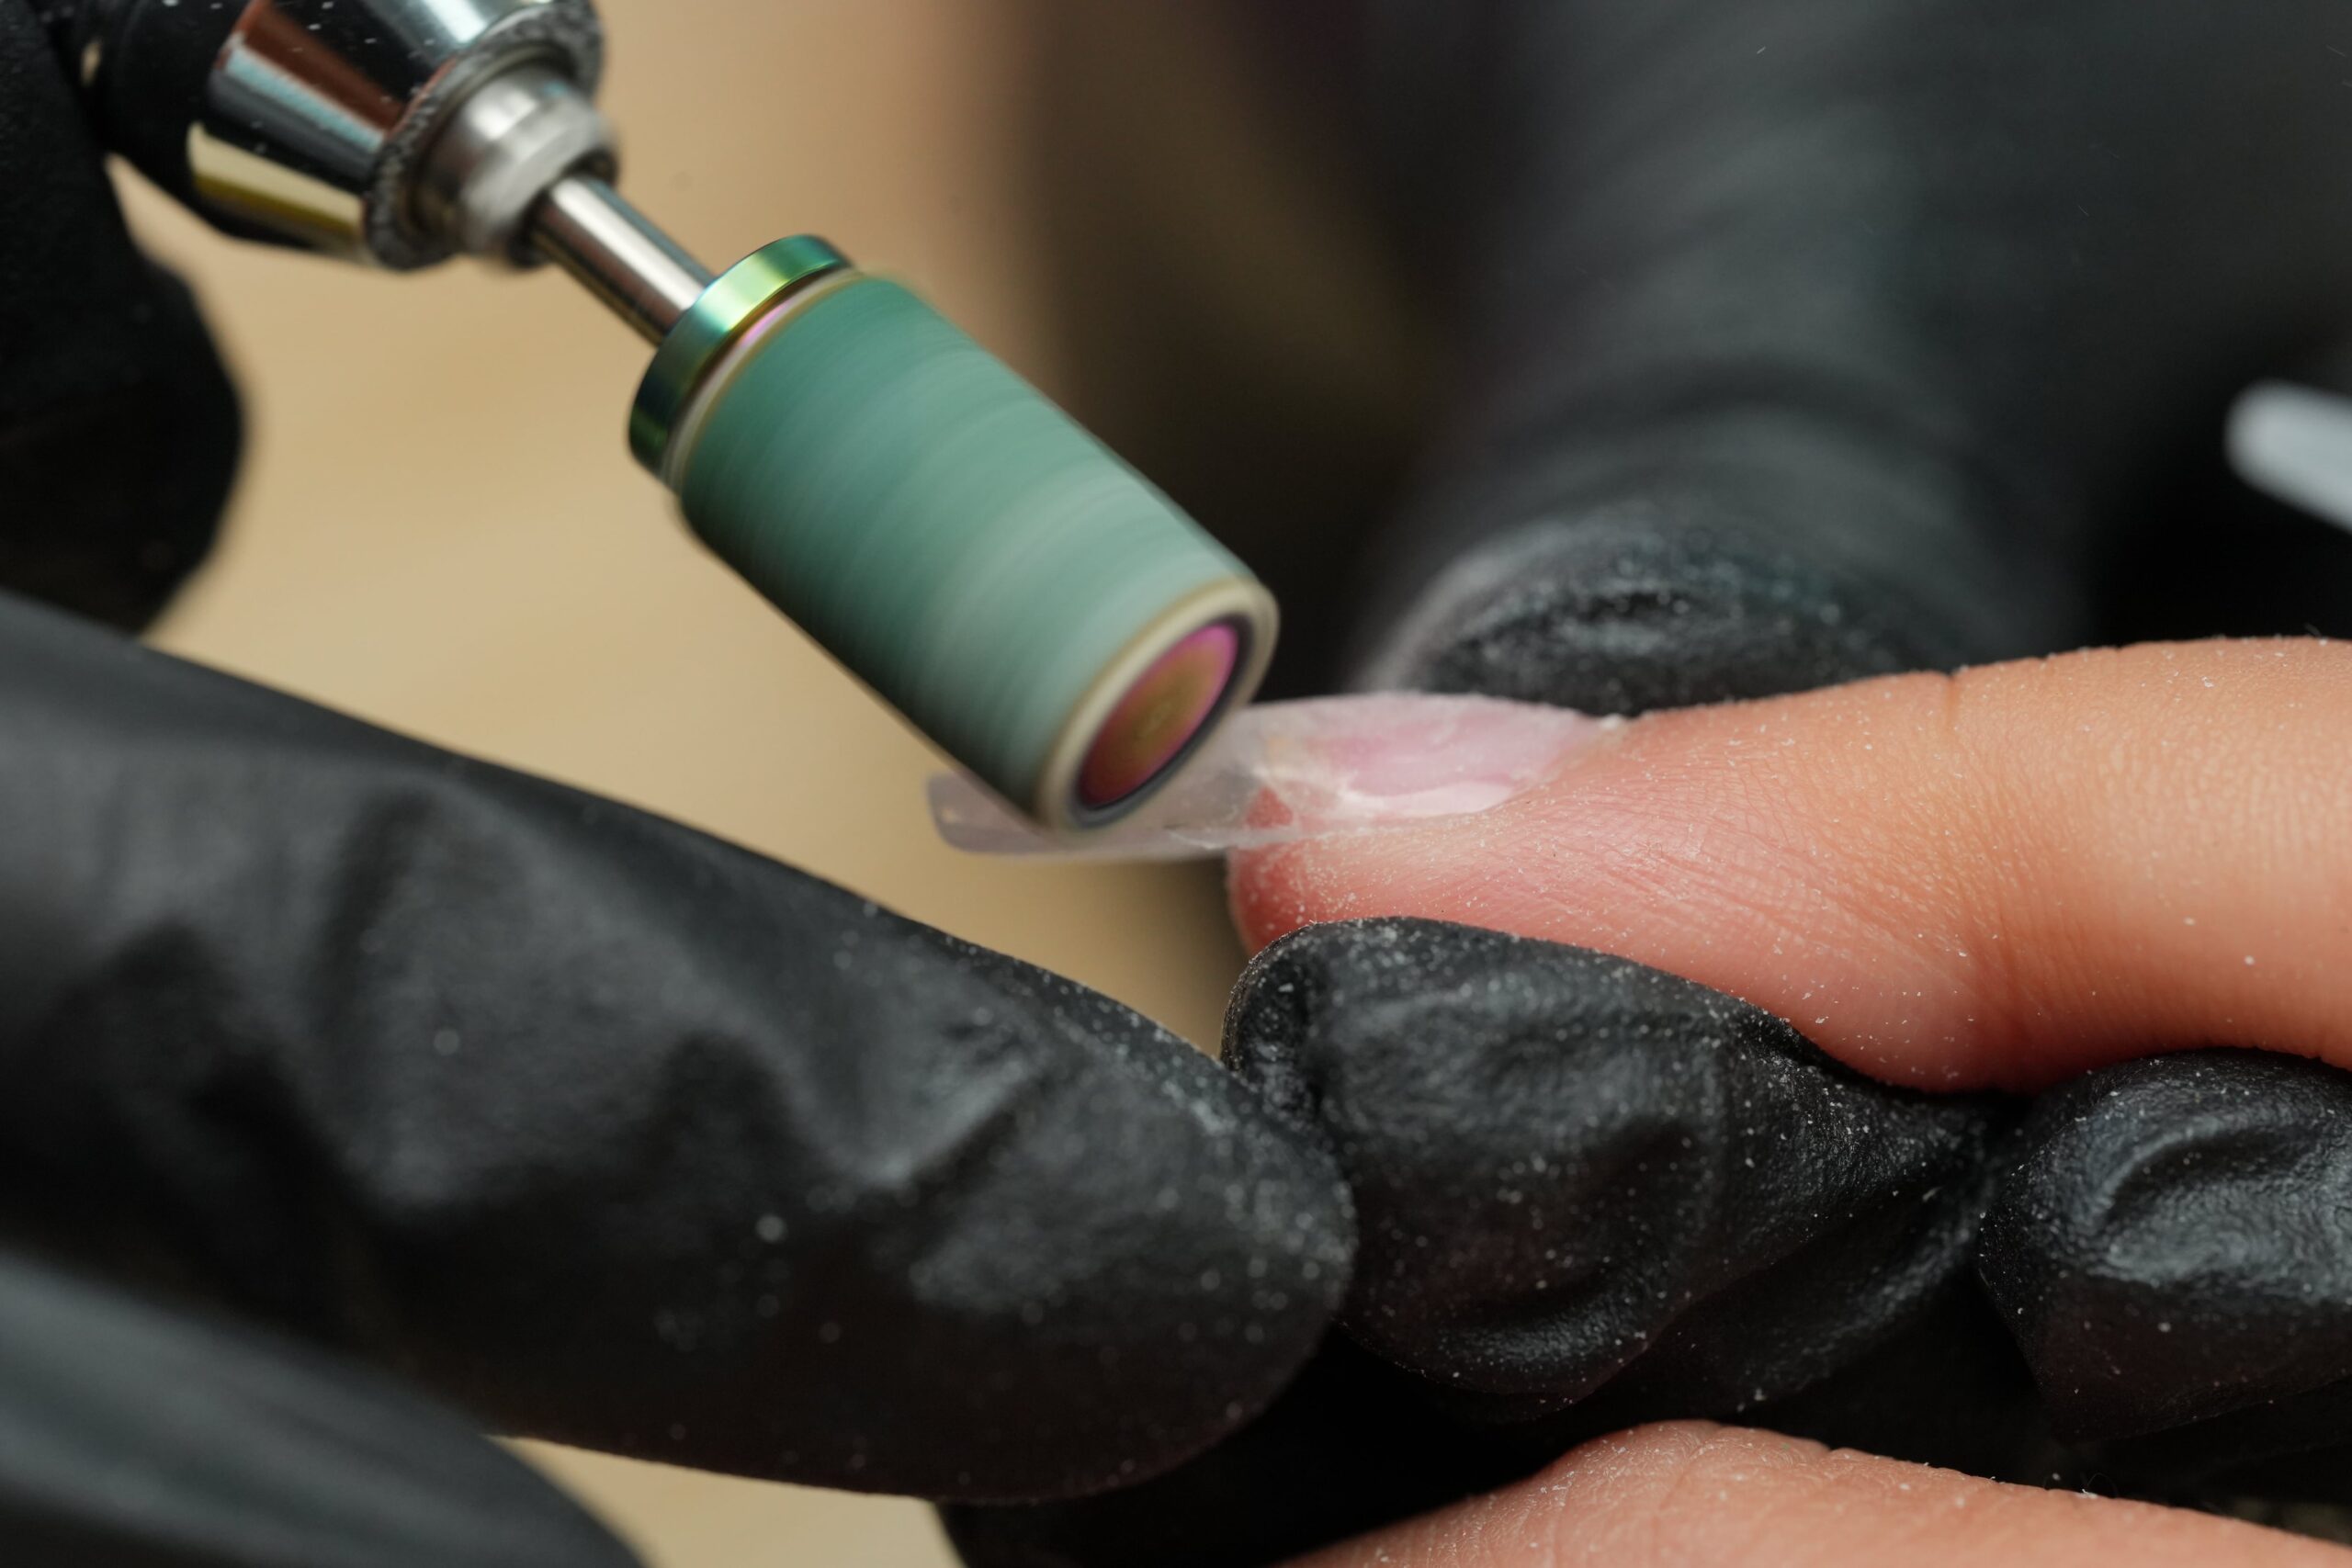
First and foremost, proper nail preparation is the key to a long-lasting manicure. Before you begin, make sure your nails are clean, dry, and free of any oils. After that, file and shape your nails, then gently push back your cuticles. This creates a clean canvas for your polish.
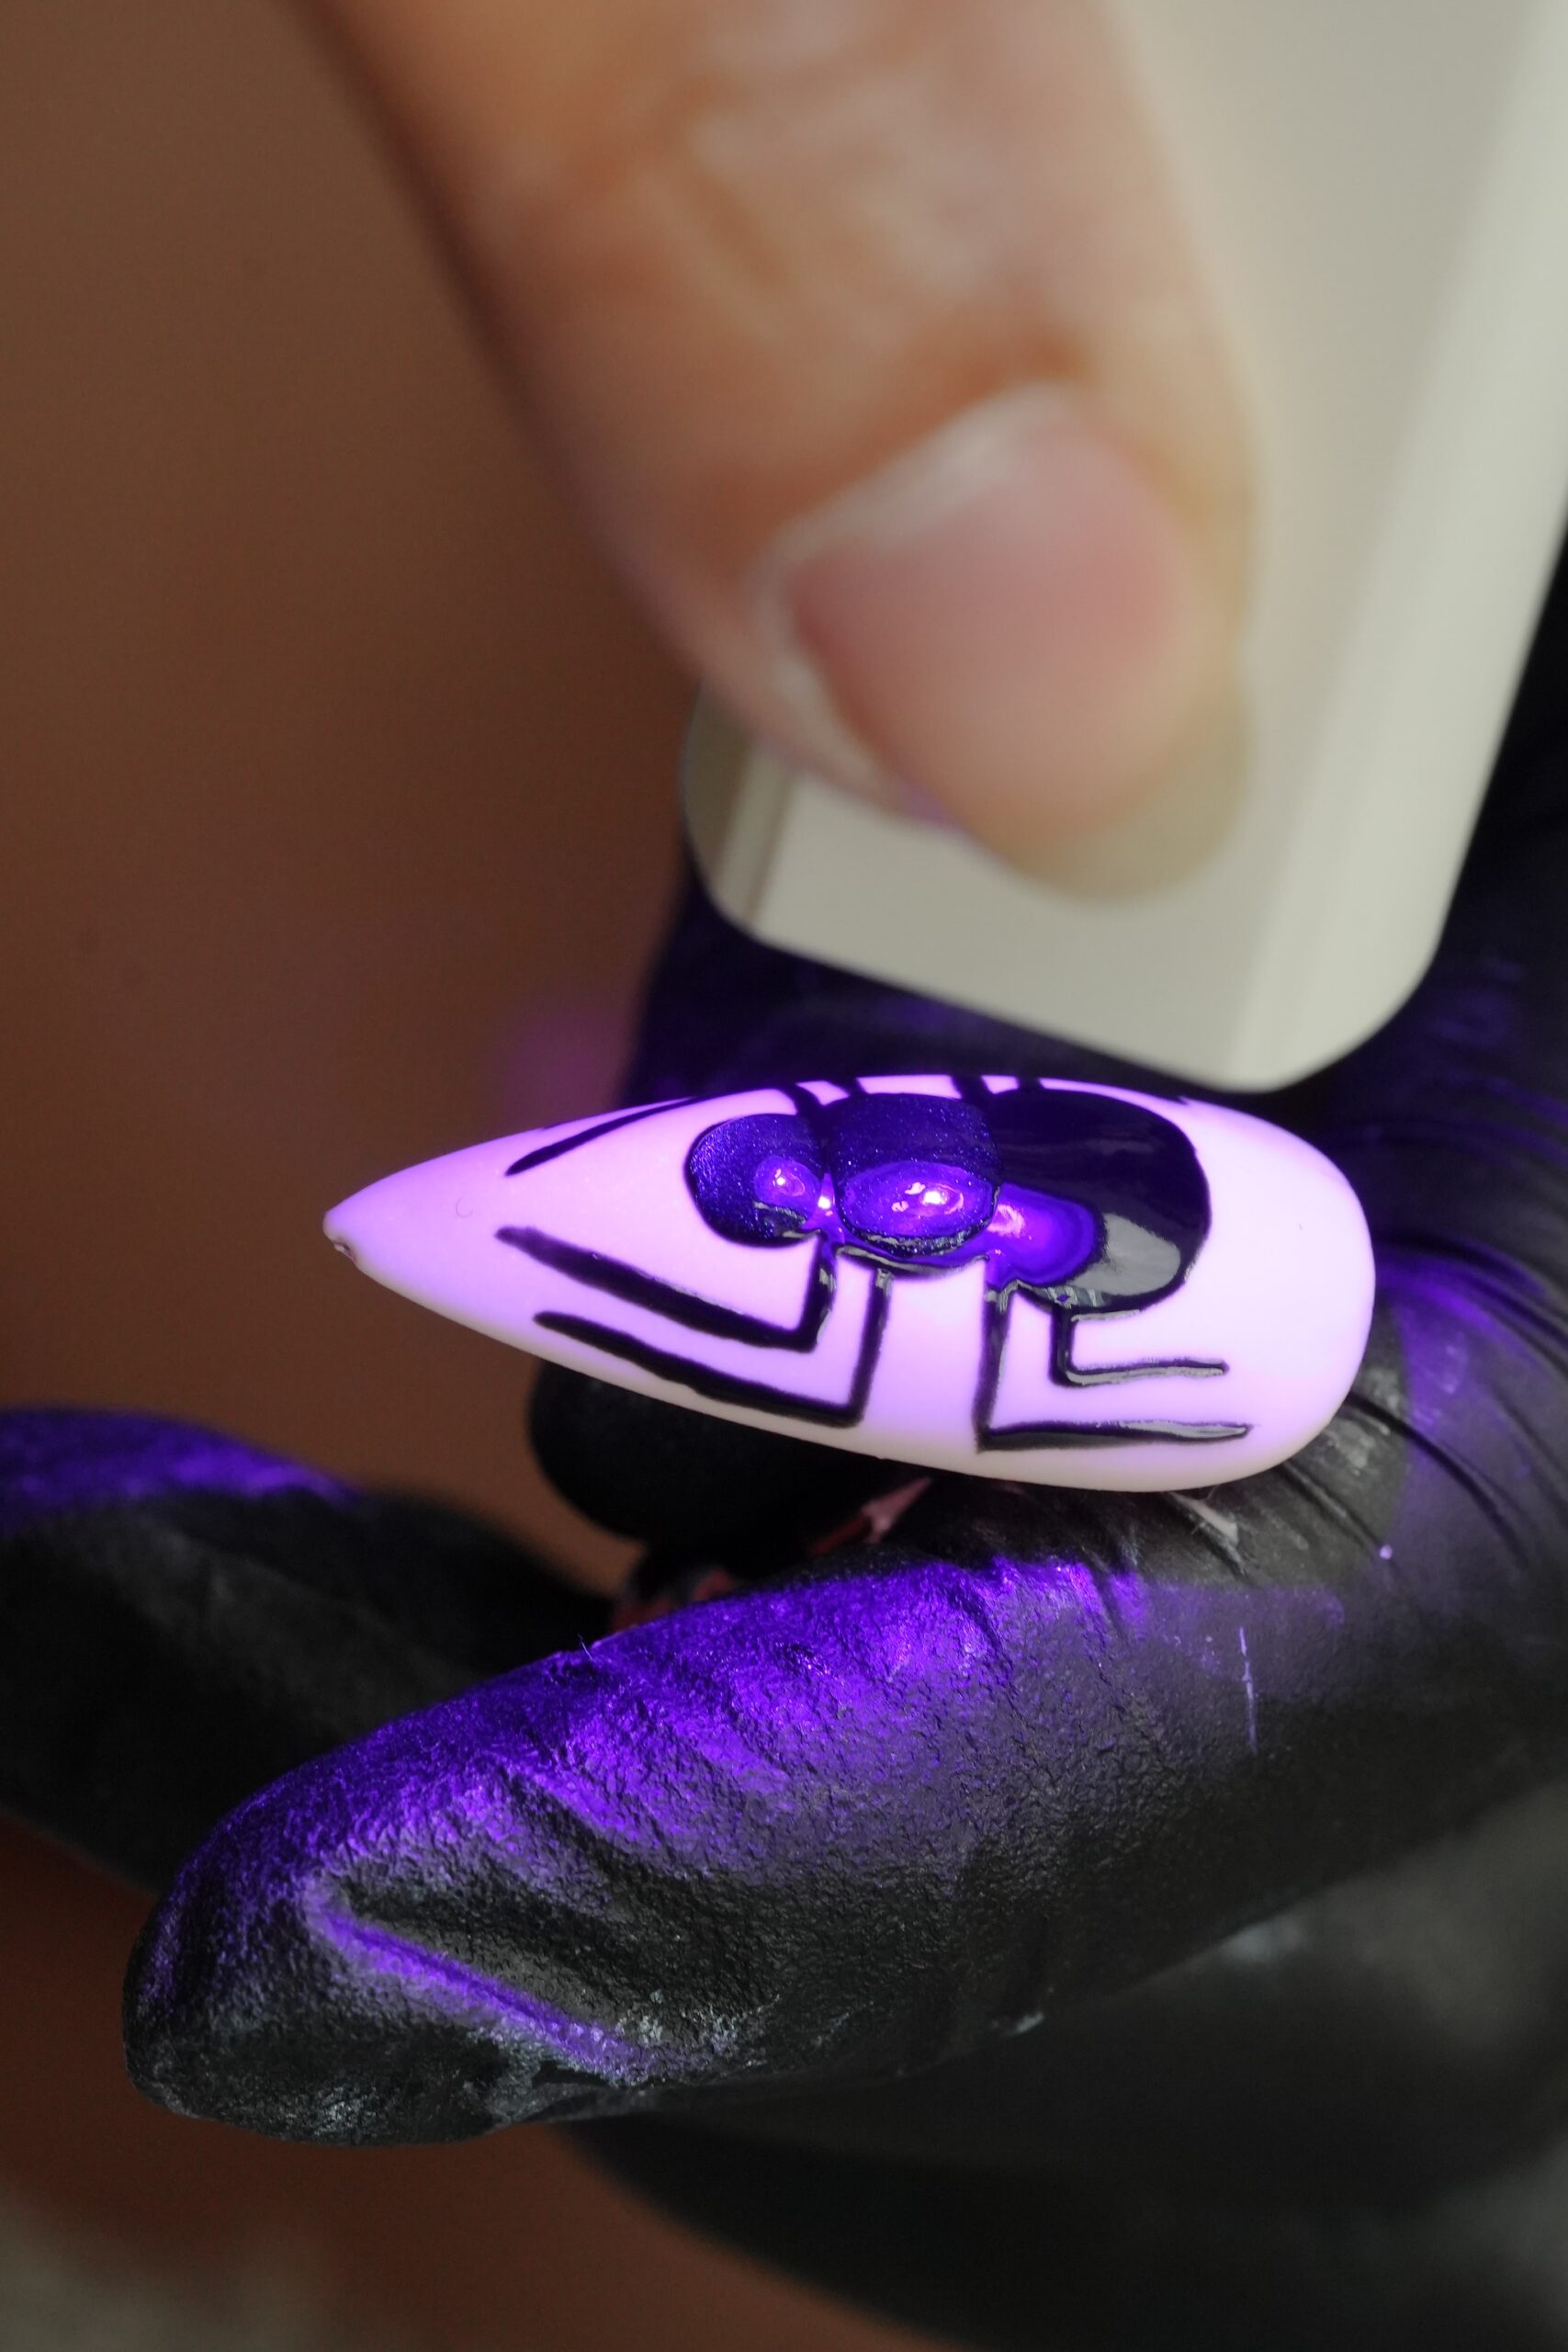
In addition, using a high-quality base coat is a non-negotiable step. The base coat not only protects your nails but also helps the polish adhere better, preventing chipping. Most importantly, ensure each layer of polish is completely dry before moving on to the next.
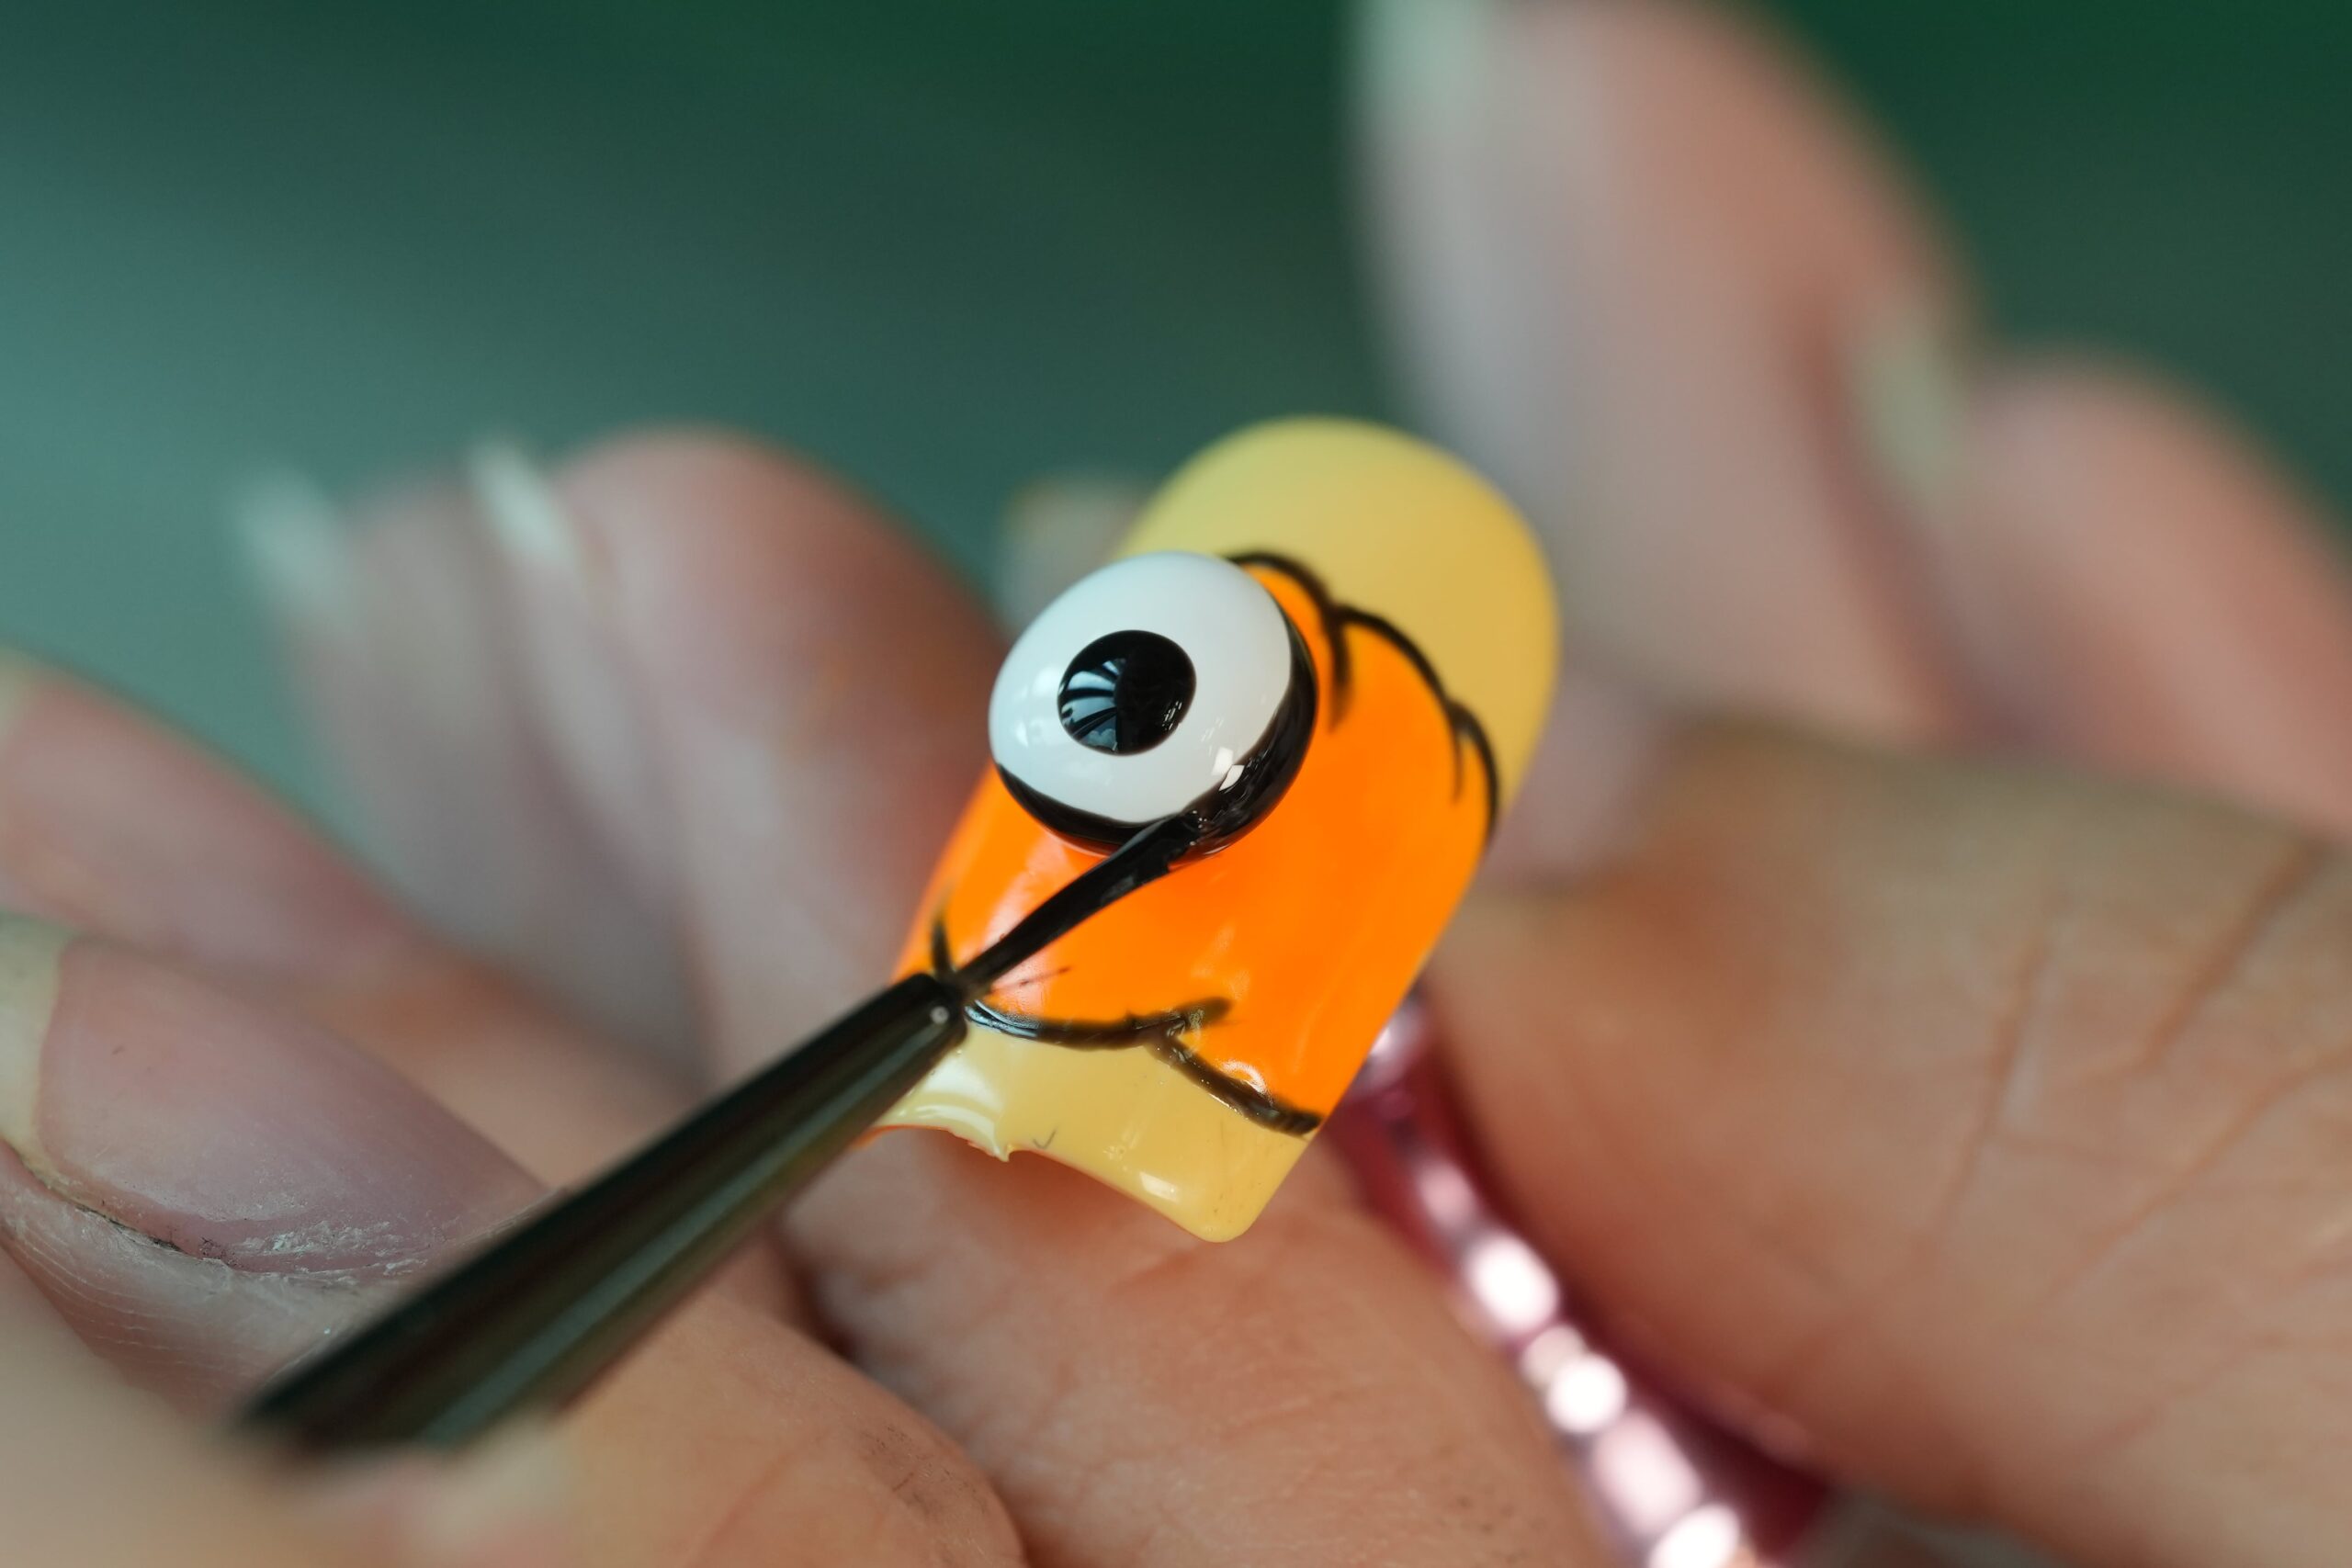
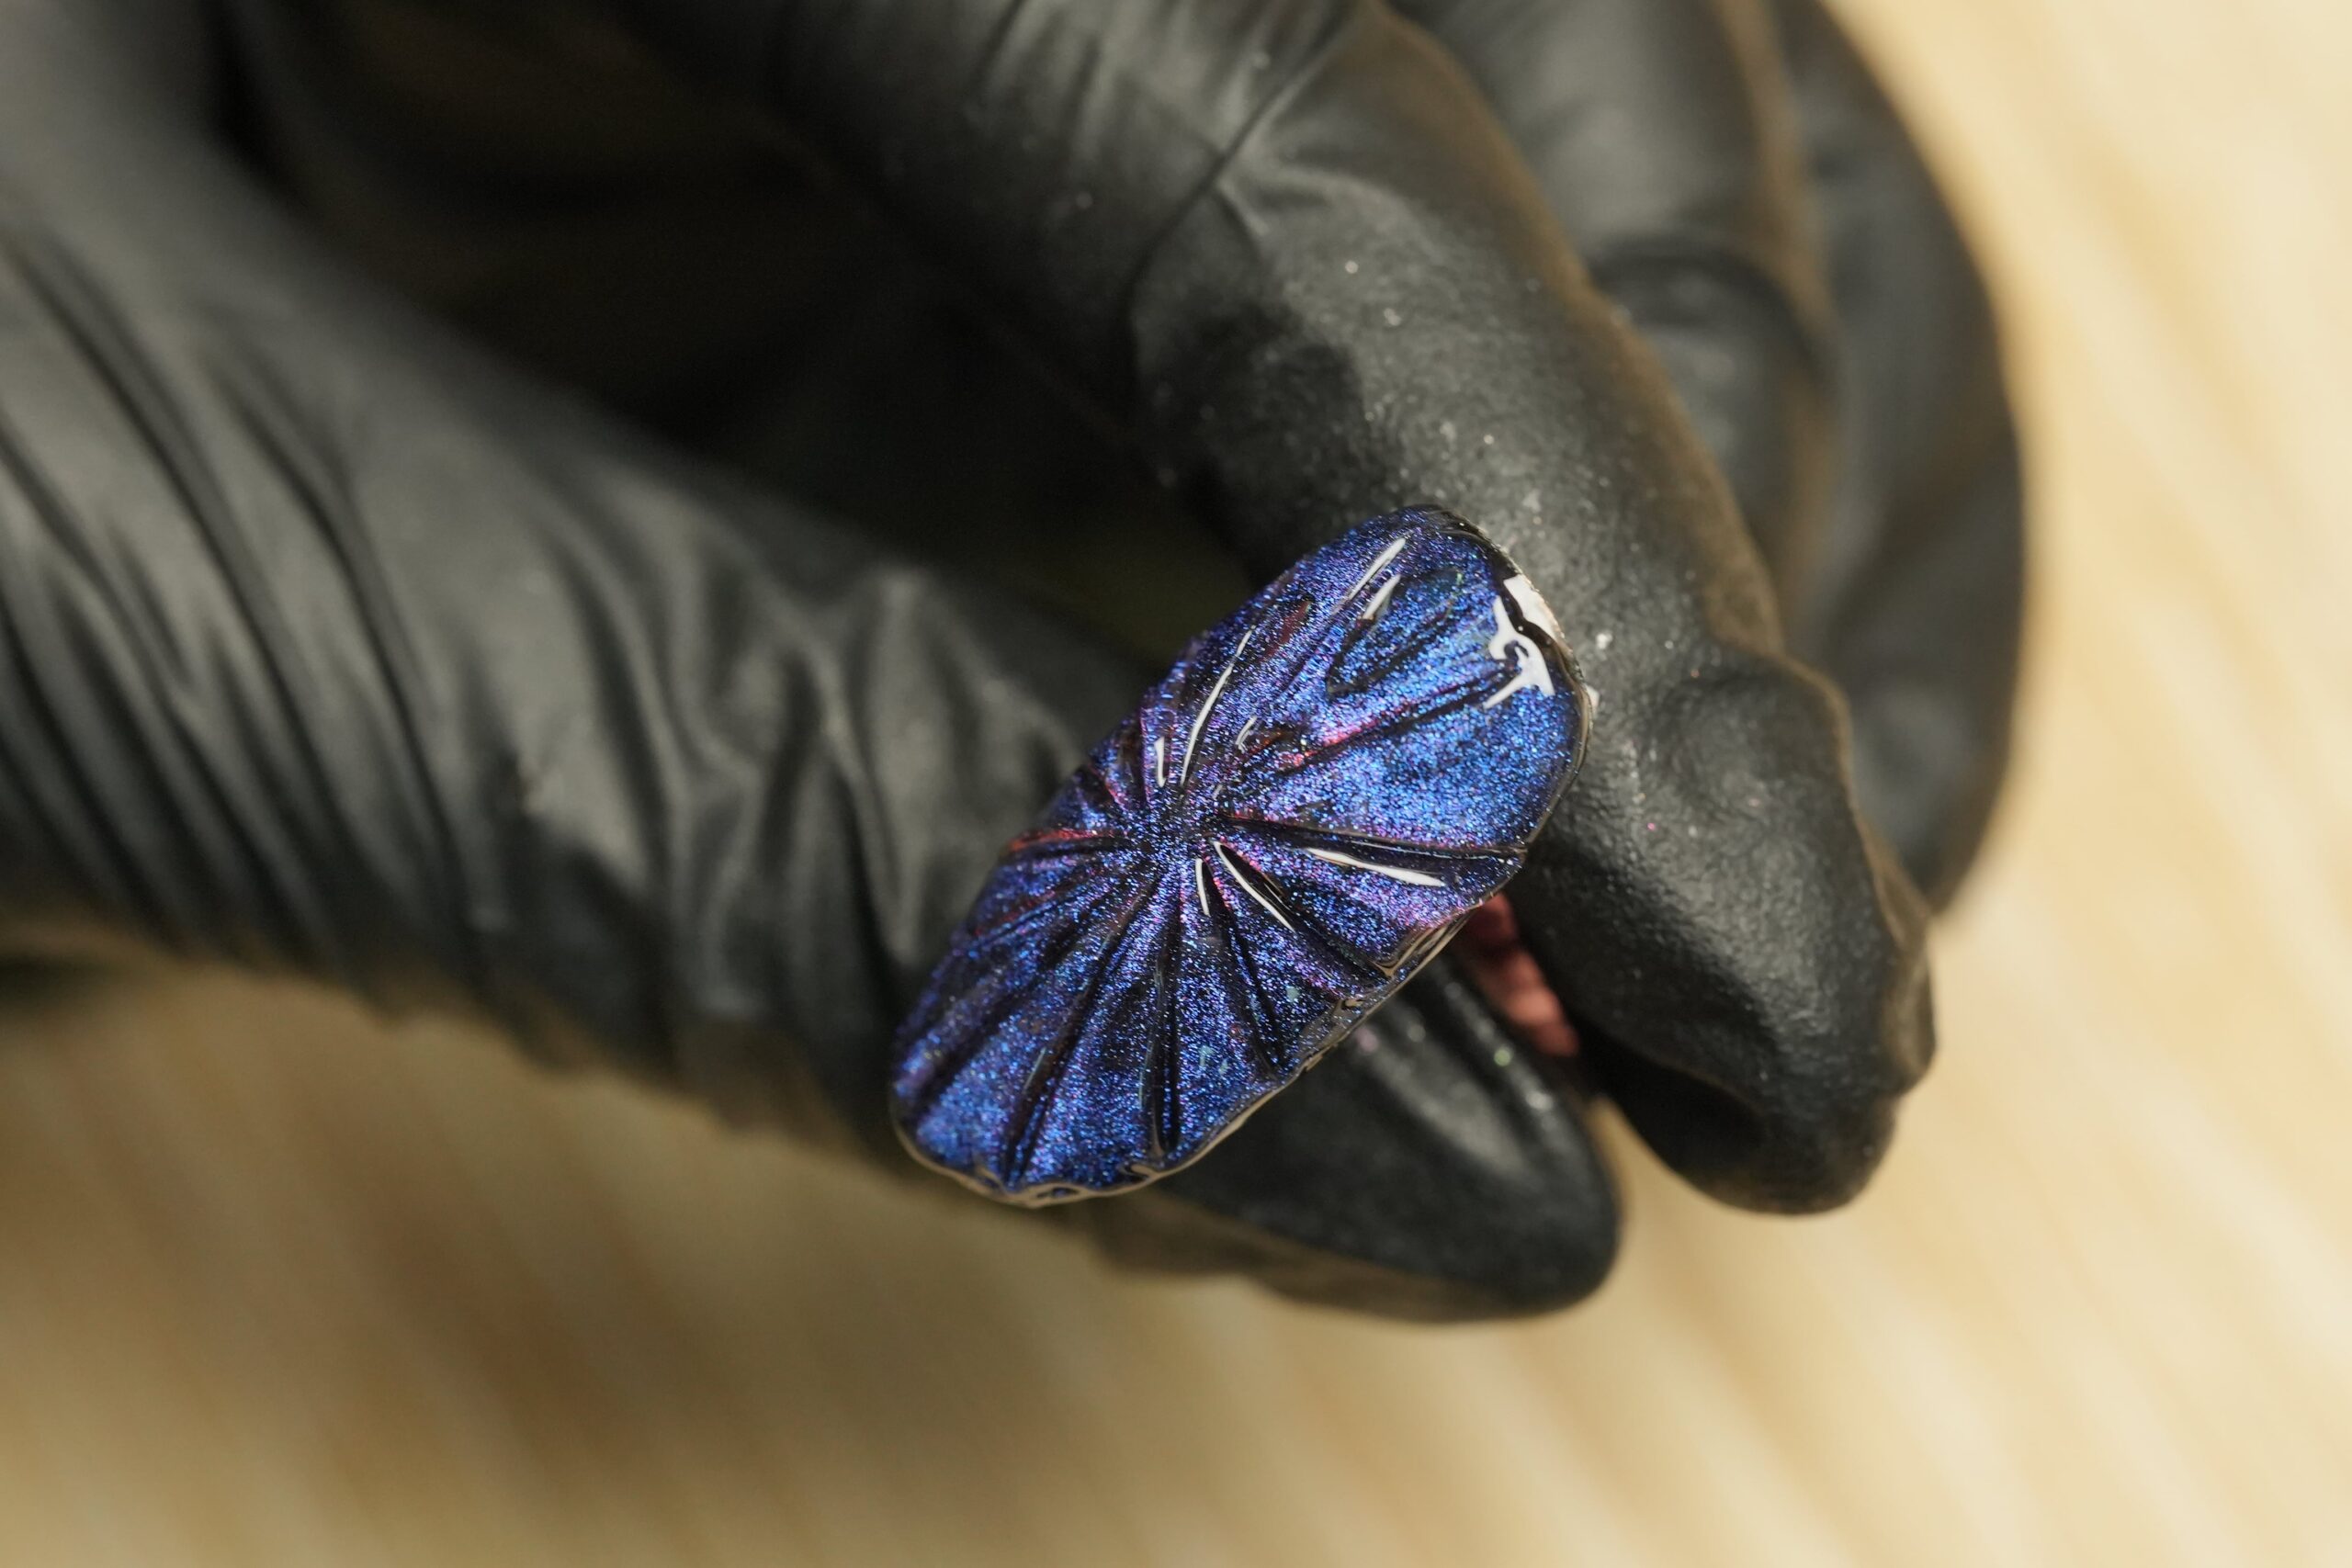
Furthermore, the application of the polish itself is a crucial factor. Apply thin, even layers of polish. Thick coats take longer to dry and are more prone to smudging and chipping. Moreover, cap the free edge of your nail with each coat of polish. This involves painting a small amount of polish on the tip of your nail, which seals the edge and prevents chipping. In addition, if you are using nail art tools, make sure they are clean. This will ensure your designs are crisp and your polish is not contaminated.
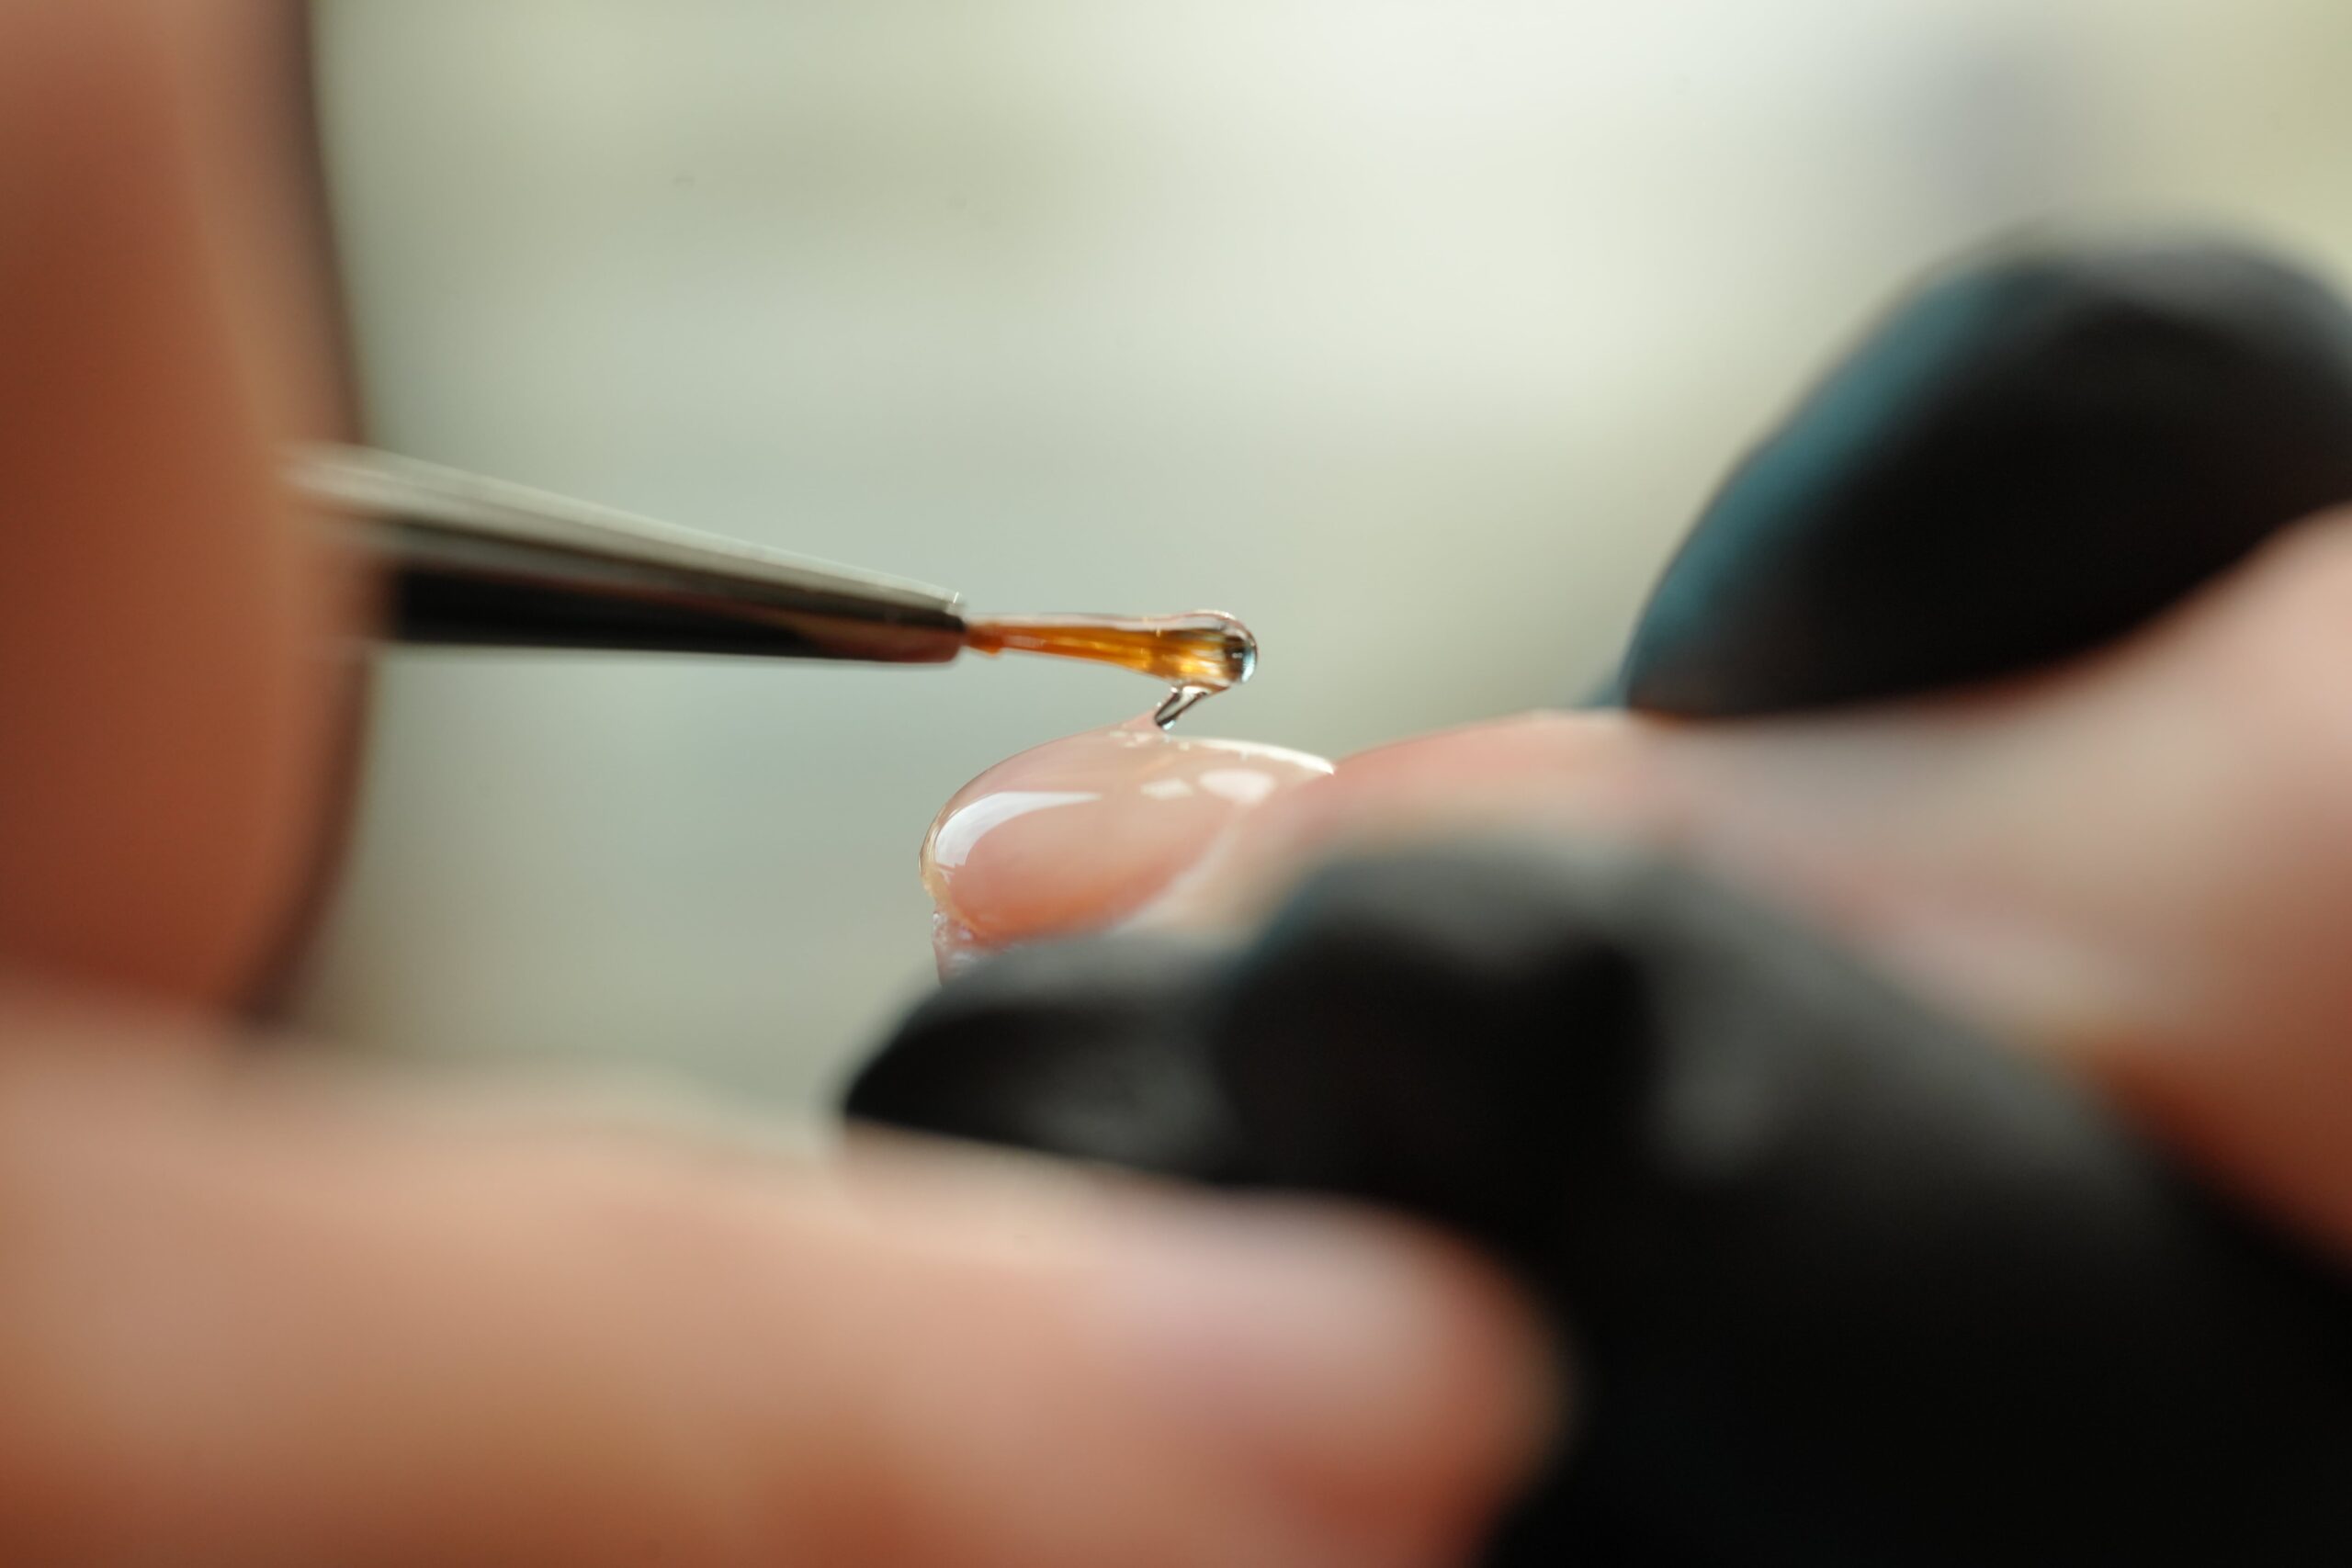
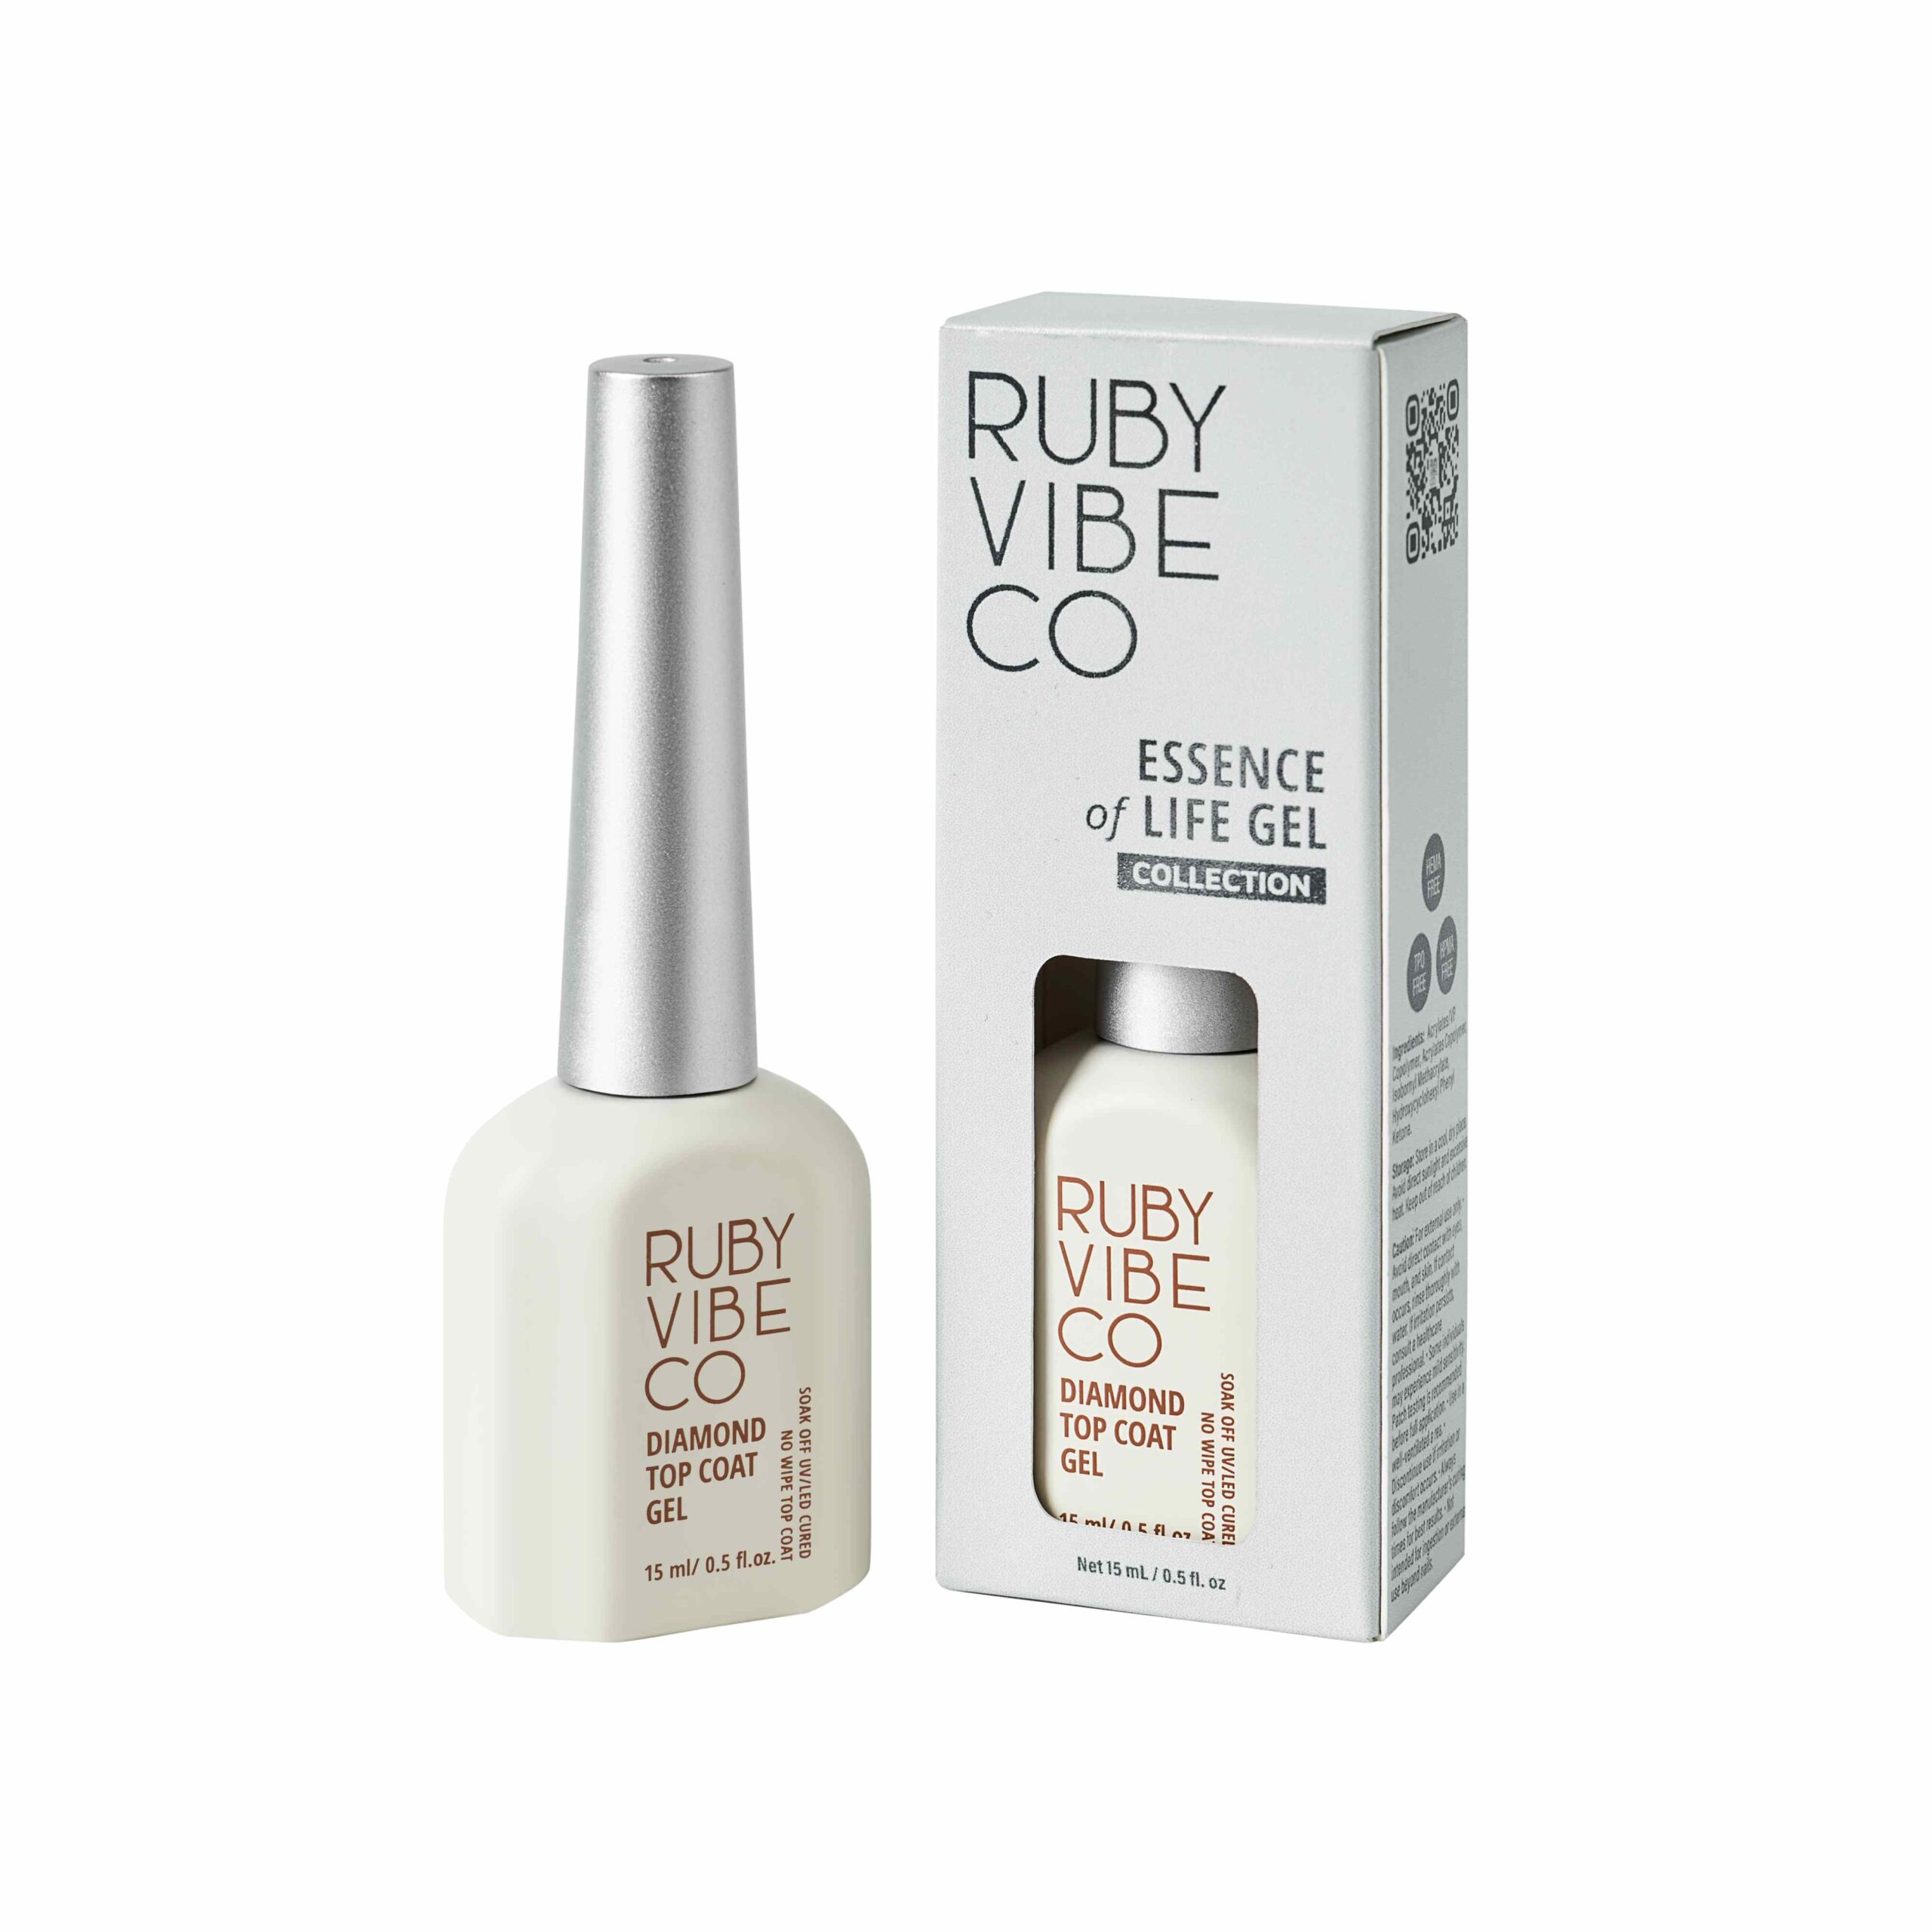
Moreover, a high-quality top coat is your best friend. A good top coat will seal your designs, add a glossy finish, and provide a protective layer against daily wear and tear. Most importantly, reapply a top coat every two to three days. This simple step can significantly extend the life of your manicure.
Finally, after your nails are fully dry, you must protect them. Wear gloves when doing household chores or washing dishes. In addition, avoid using your nails as tools, and moisturize your hands and cuticles regularly to keep them healthy. By following these steps, your Halloween nails will be able to withstand all the tricks and treats the season throws your way.
Leave a Reply