
Your cart is currently empty!
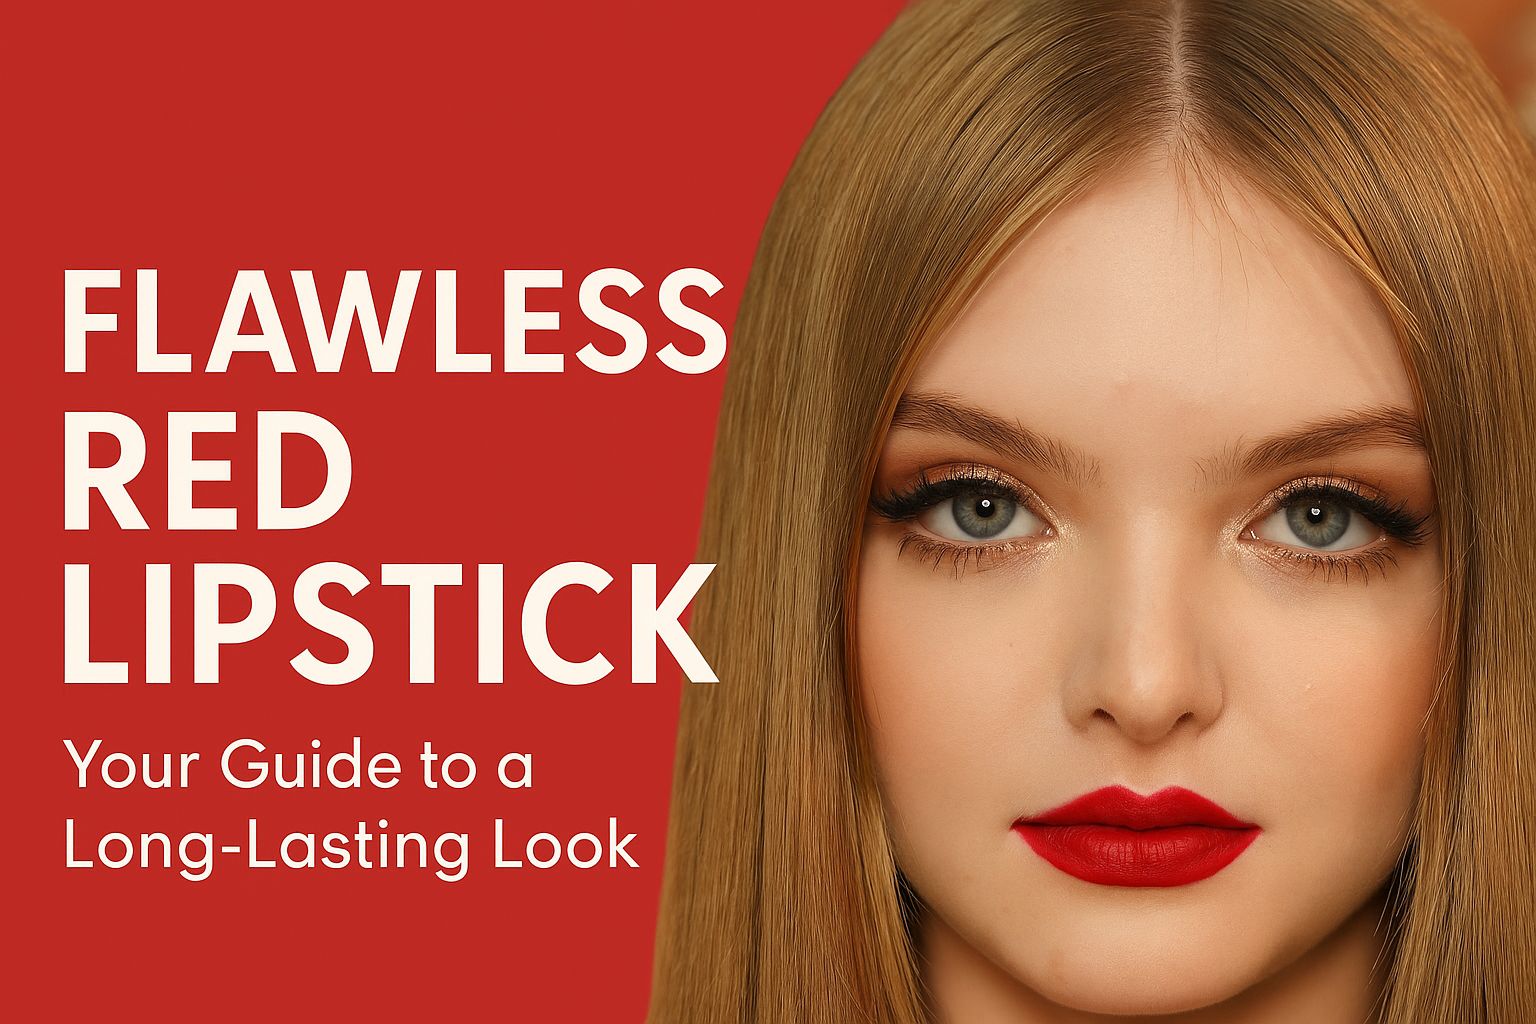
Flawless Red Lipstick: Your Guide to a Long-Lasting Look
Achieve a perfect, long-lasting red lipstick look. This step-by-step guide teaches you how to prep, apply, and set your favorite red shade for all-day wear.
Flawless Red Lipstick: Your Guide to a Long-Lasting Look
Achieve a perfect, long-lasting red lipstick look. This step-by-step guide teaches you how to prep, apply, and set your favorite red shade for all-day wear.
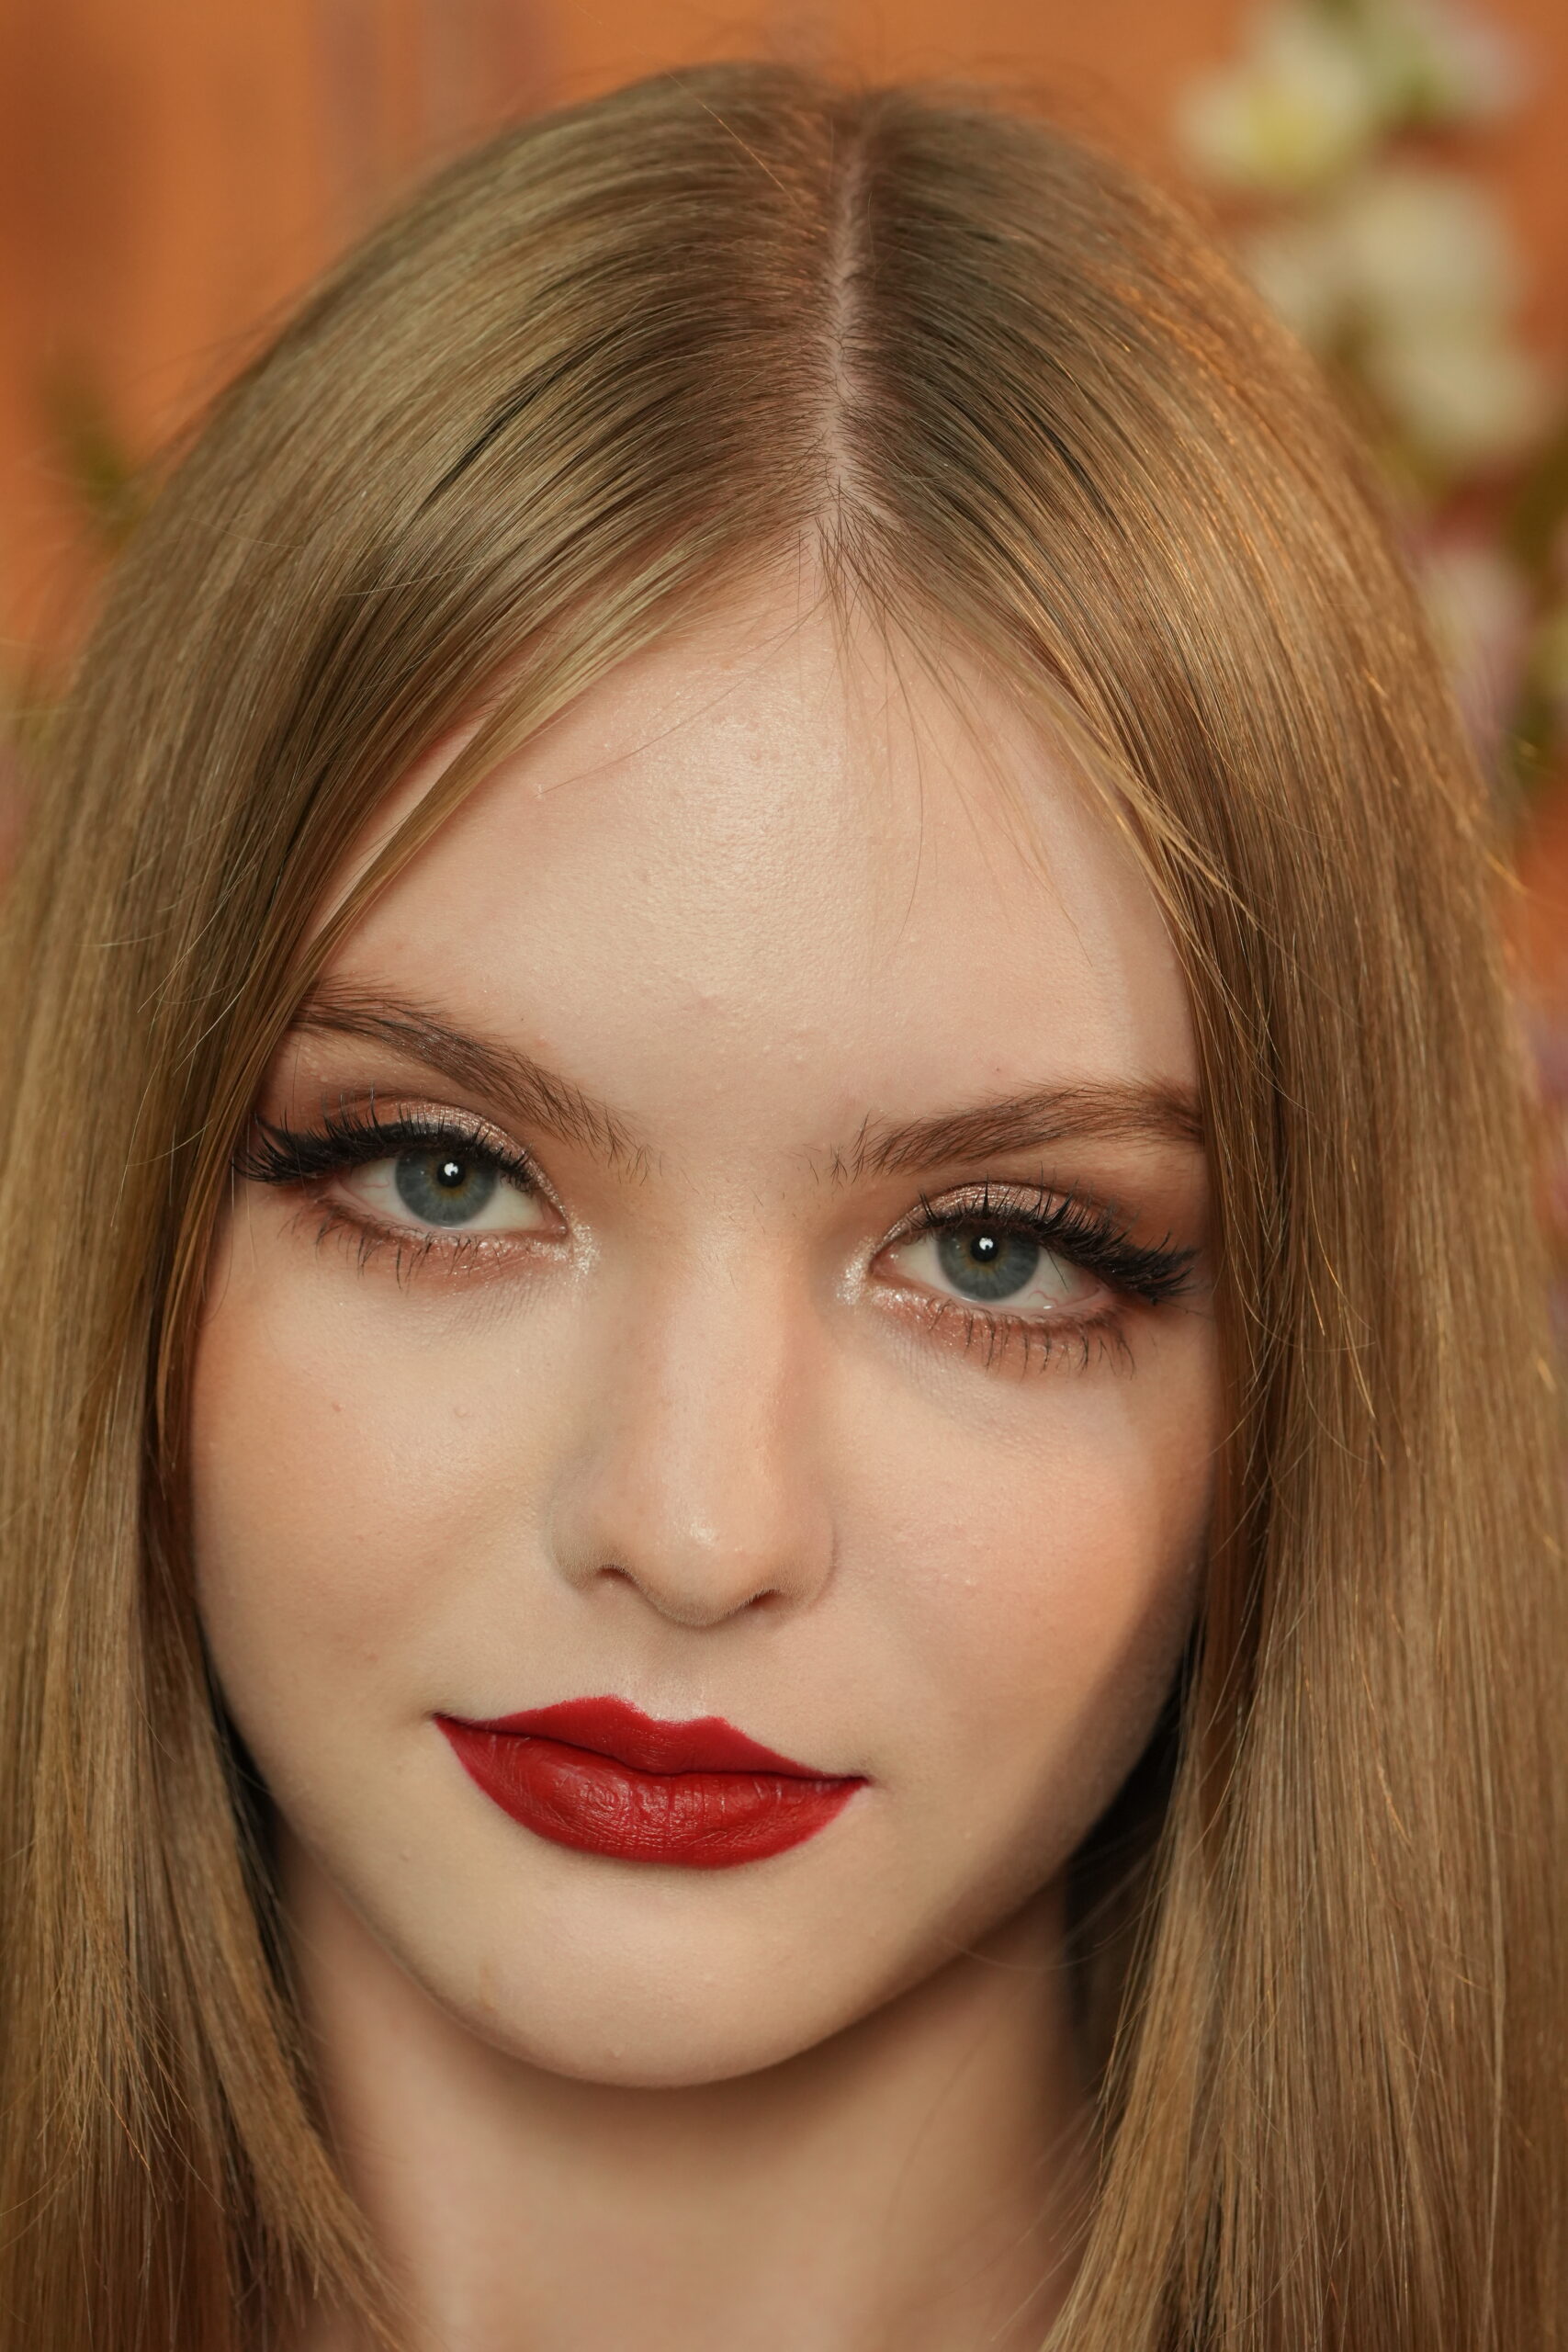
A red lipstick can truly transform your entire makeup look. It’s a powerful and timeless statement of confidence and elegance. However, a flawless application is absolutely crucial for a polished finish. A single mistake—a shaky line or a smudged corner—can easily ruin the effect. Consequently, mastering the art of applying red lipstick is a vital skill. It ensures your bold statement stays put all day or night, whether you’re at a formal event, a busy workday, or just a casual outing.
Furthermore, with the right tools and a clear, step-by-step guide, you can achieve a professional-level look at home. In this comprehensive blog post, we will explore the key steps for a flawless application. We will discuss the importance of proper lip preparation, the strategic use of lip liner, and the techniques for setting your look for maximum longevity. Therefore, get ready to apply your red lipstick with confidence and achieve a stunning finish every single time.
Step 1: The Foundation of a Flawless Lip: Preparation is Key
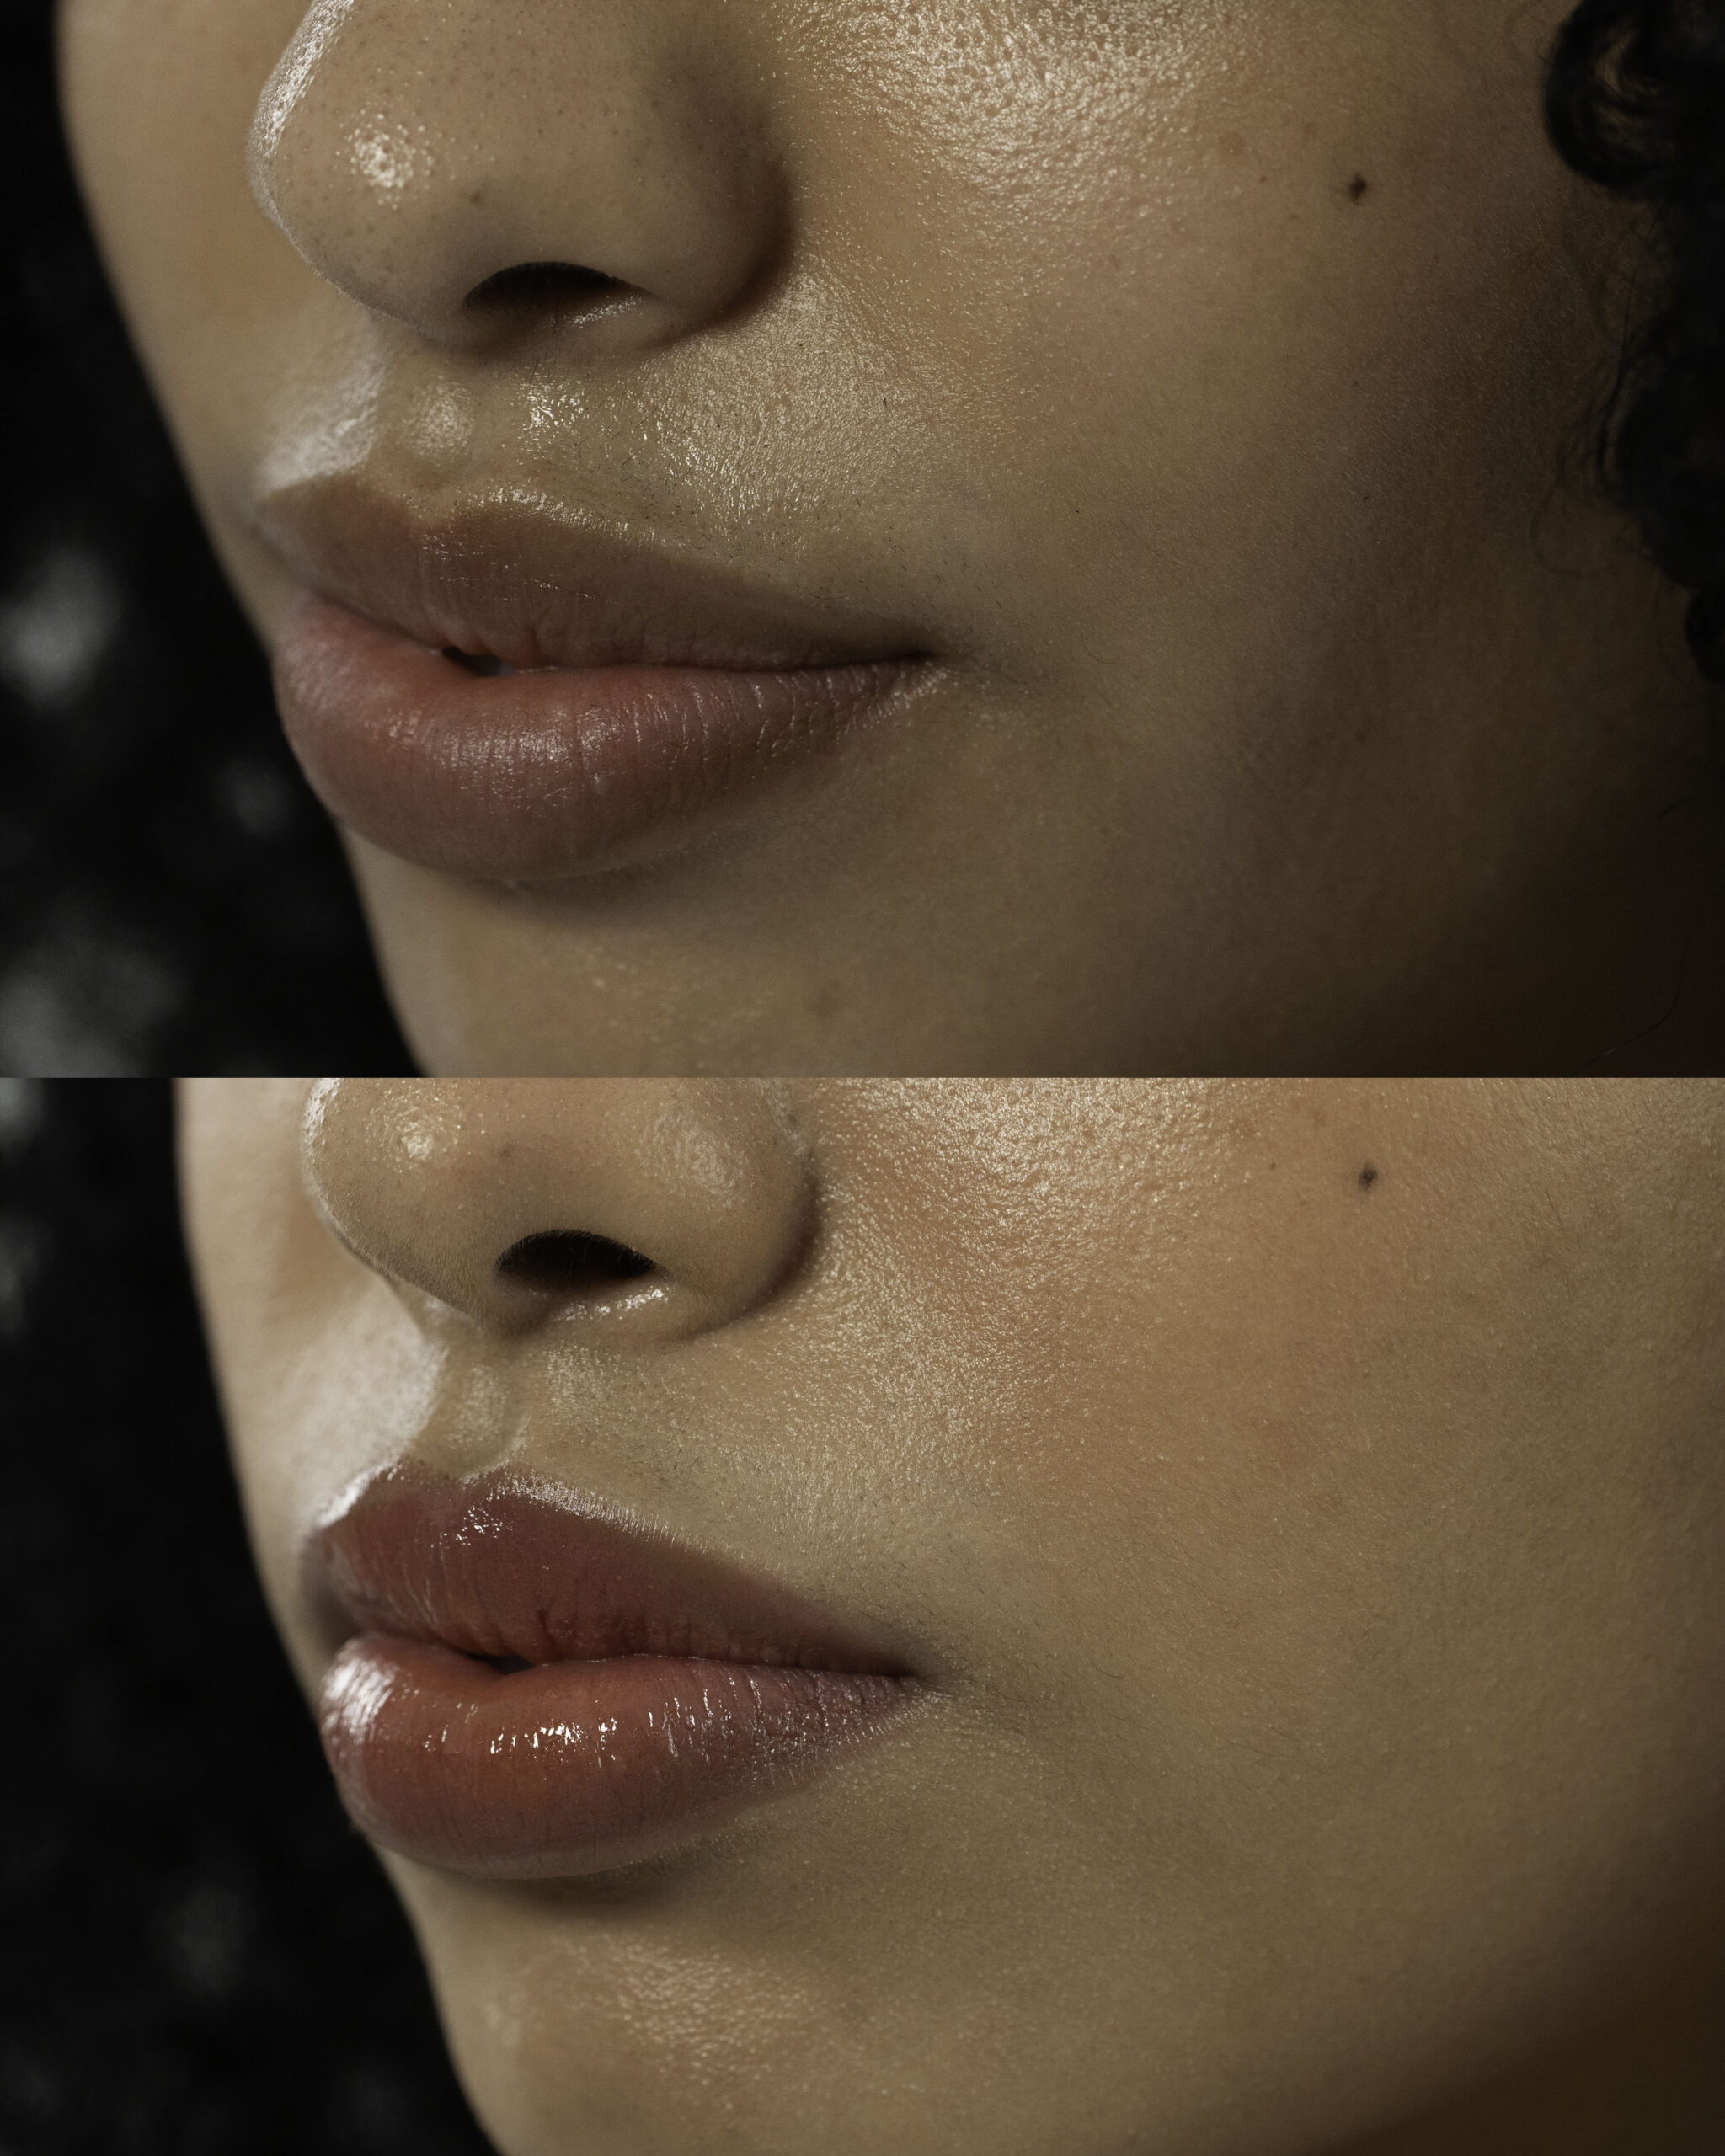
A beautiful red lipstick application starts with a smooth, hydrated canvas. You can’t expect a vibrant red to look flawless on dry, chapped lips. Proper preparation ensures the color goes on smoothly and lasts longer.
- Exfoliate Gently: First and foremost, proper lip preparation is key. Gently exfoliate your lips to remove any dry, flaky skin. You can use a dedicated lip scrub or simply a soft, damp toothbrush. This step creates a smooth canvas, which is essential for a beautiful finish.
- Hydrate and Condition: After exfoliating, apply a moisturizing lip balm and let it absorb completely for several minutes. This step is particularly important because it ensures the lipstick glides on evenly without settling into fine lines. A well-hydrated lip surface also feels more comfortable throughout the day.
- Blot Excess Product: Finally, and this is a vital step, gently blot away any excess balm with a tissue. This leaves you with a clean, hydrated surface that is ready to hold the color. If there is too much product left on your lips, the lipstick might not adhere properly.
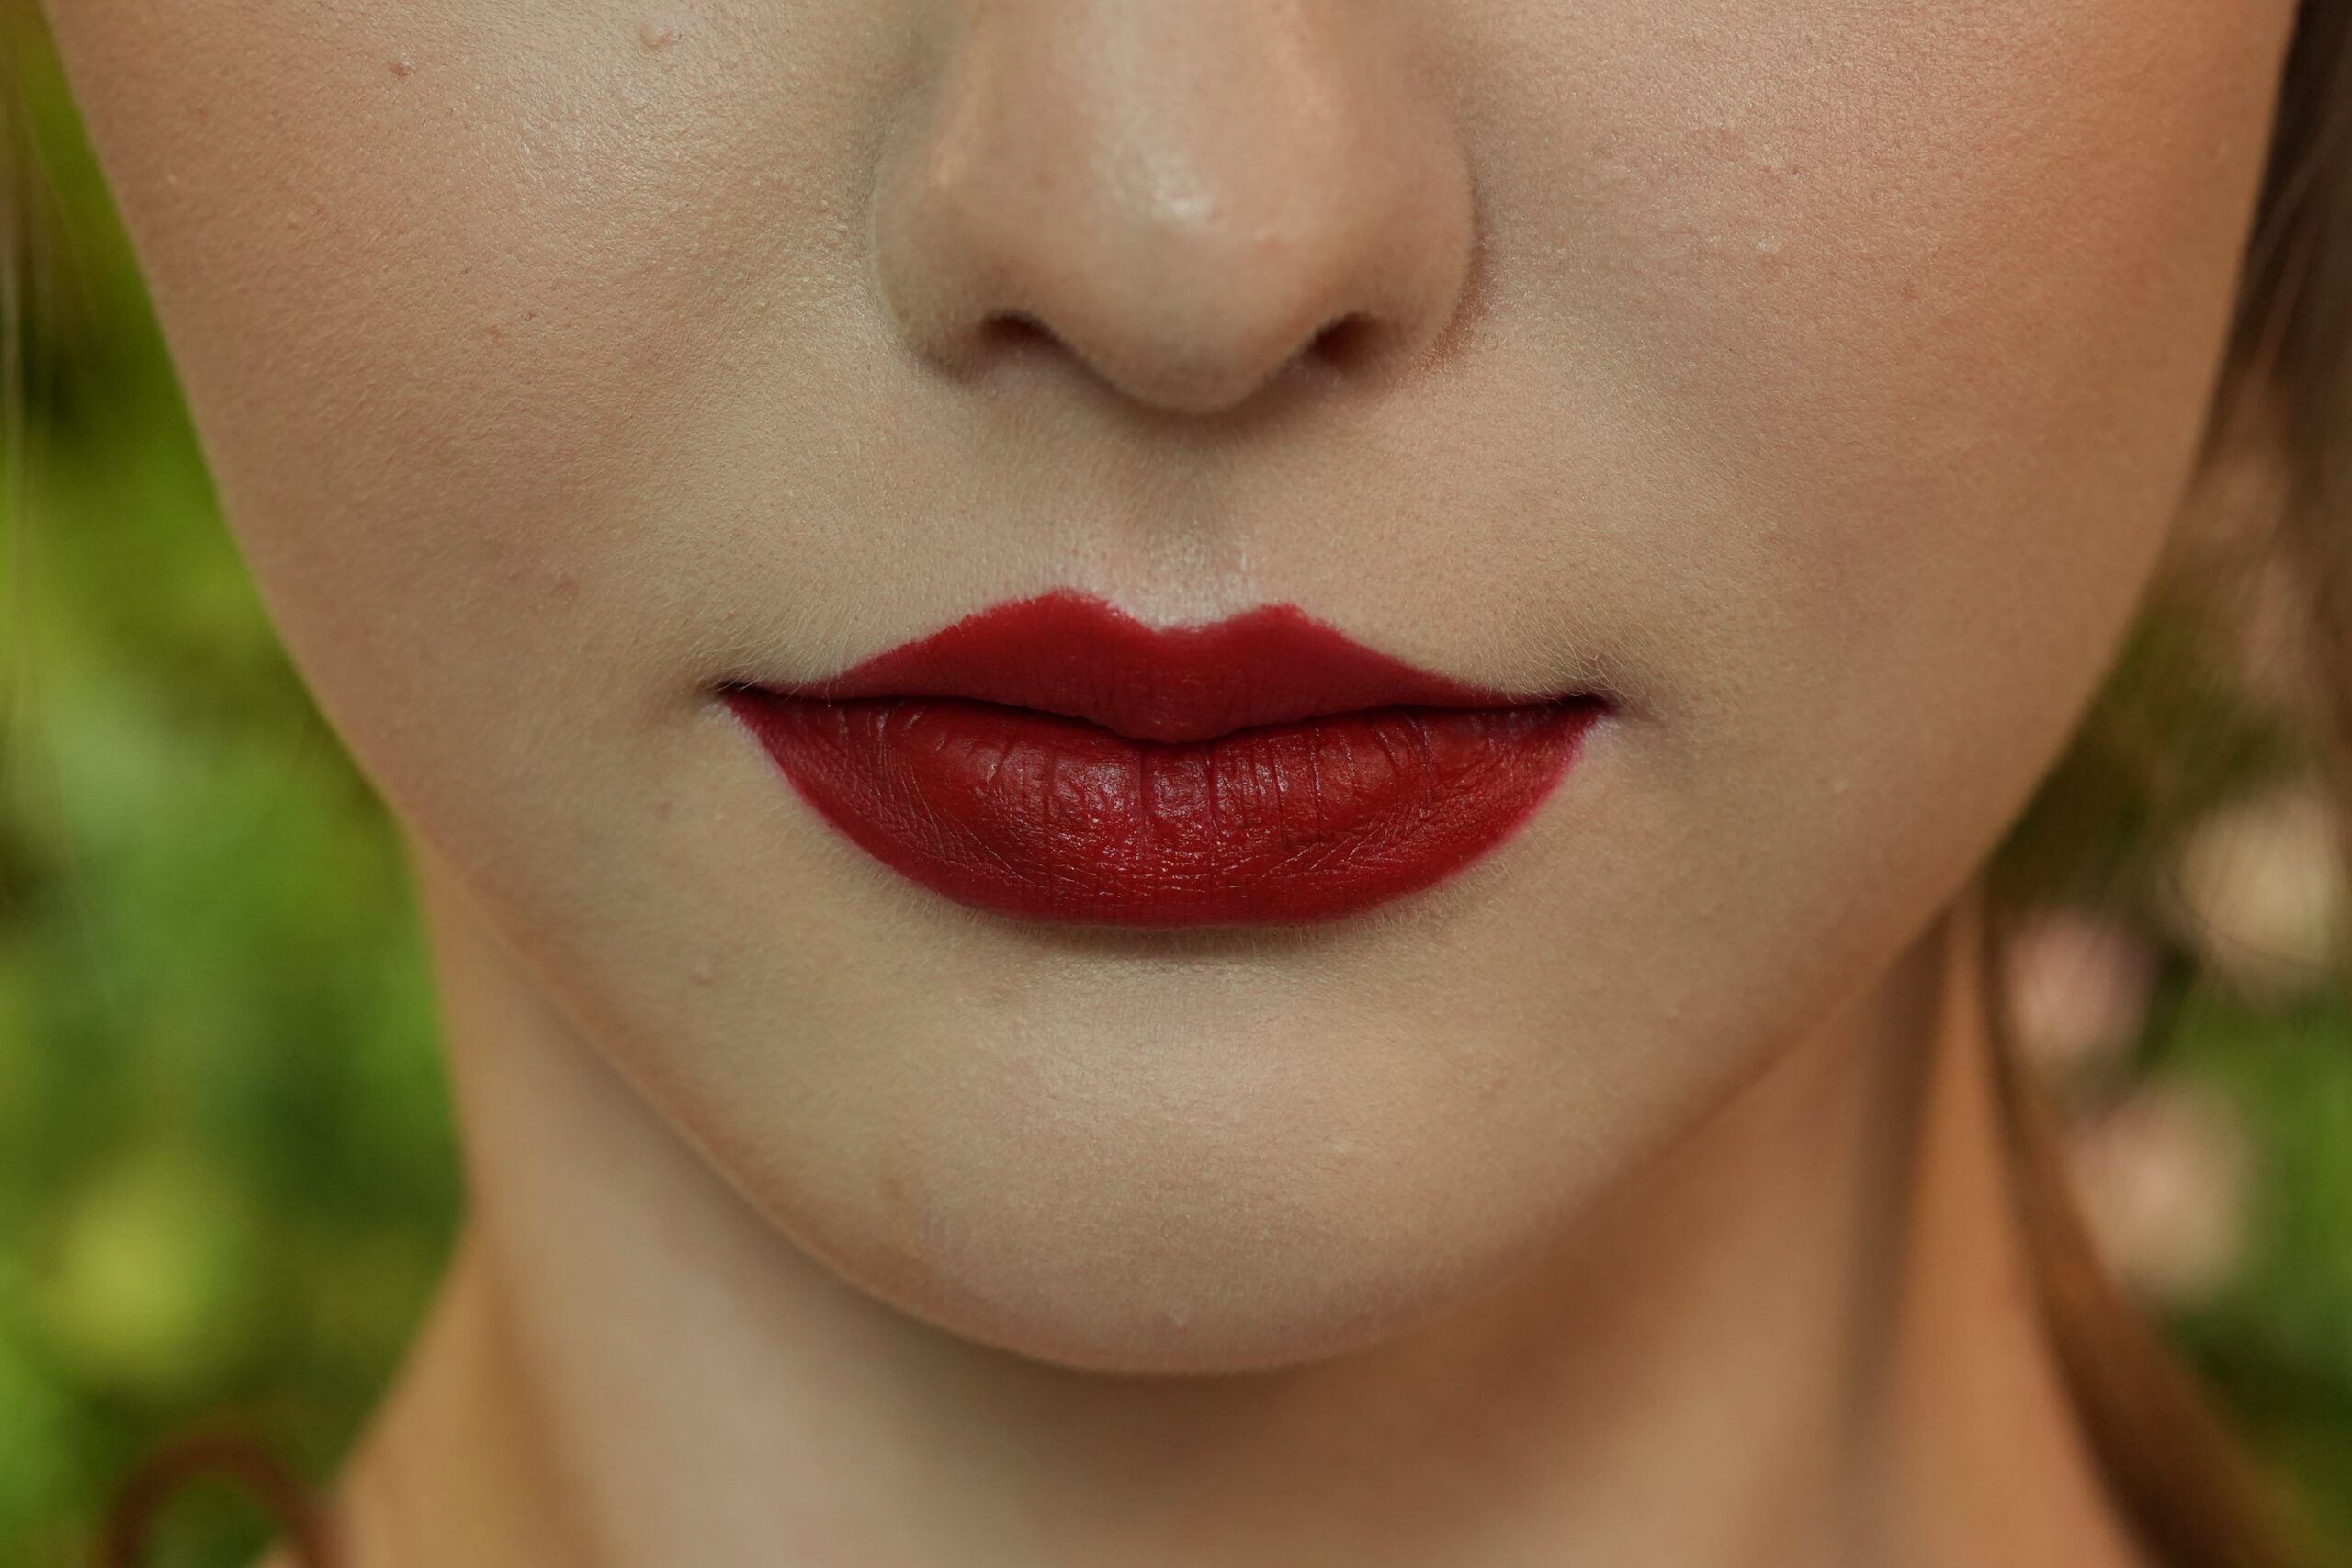
Step 2: The Art of Application: A Step-by-Step Guide
Now, for the application itself. This is where you create the perfect, crisp shape that defines a stunning red lip.
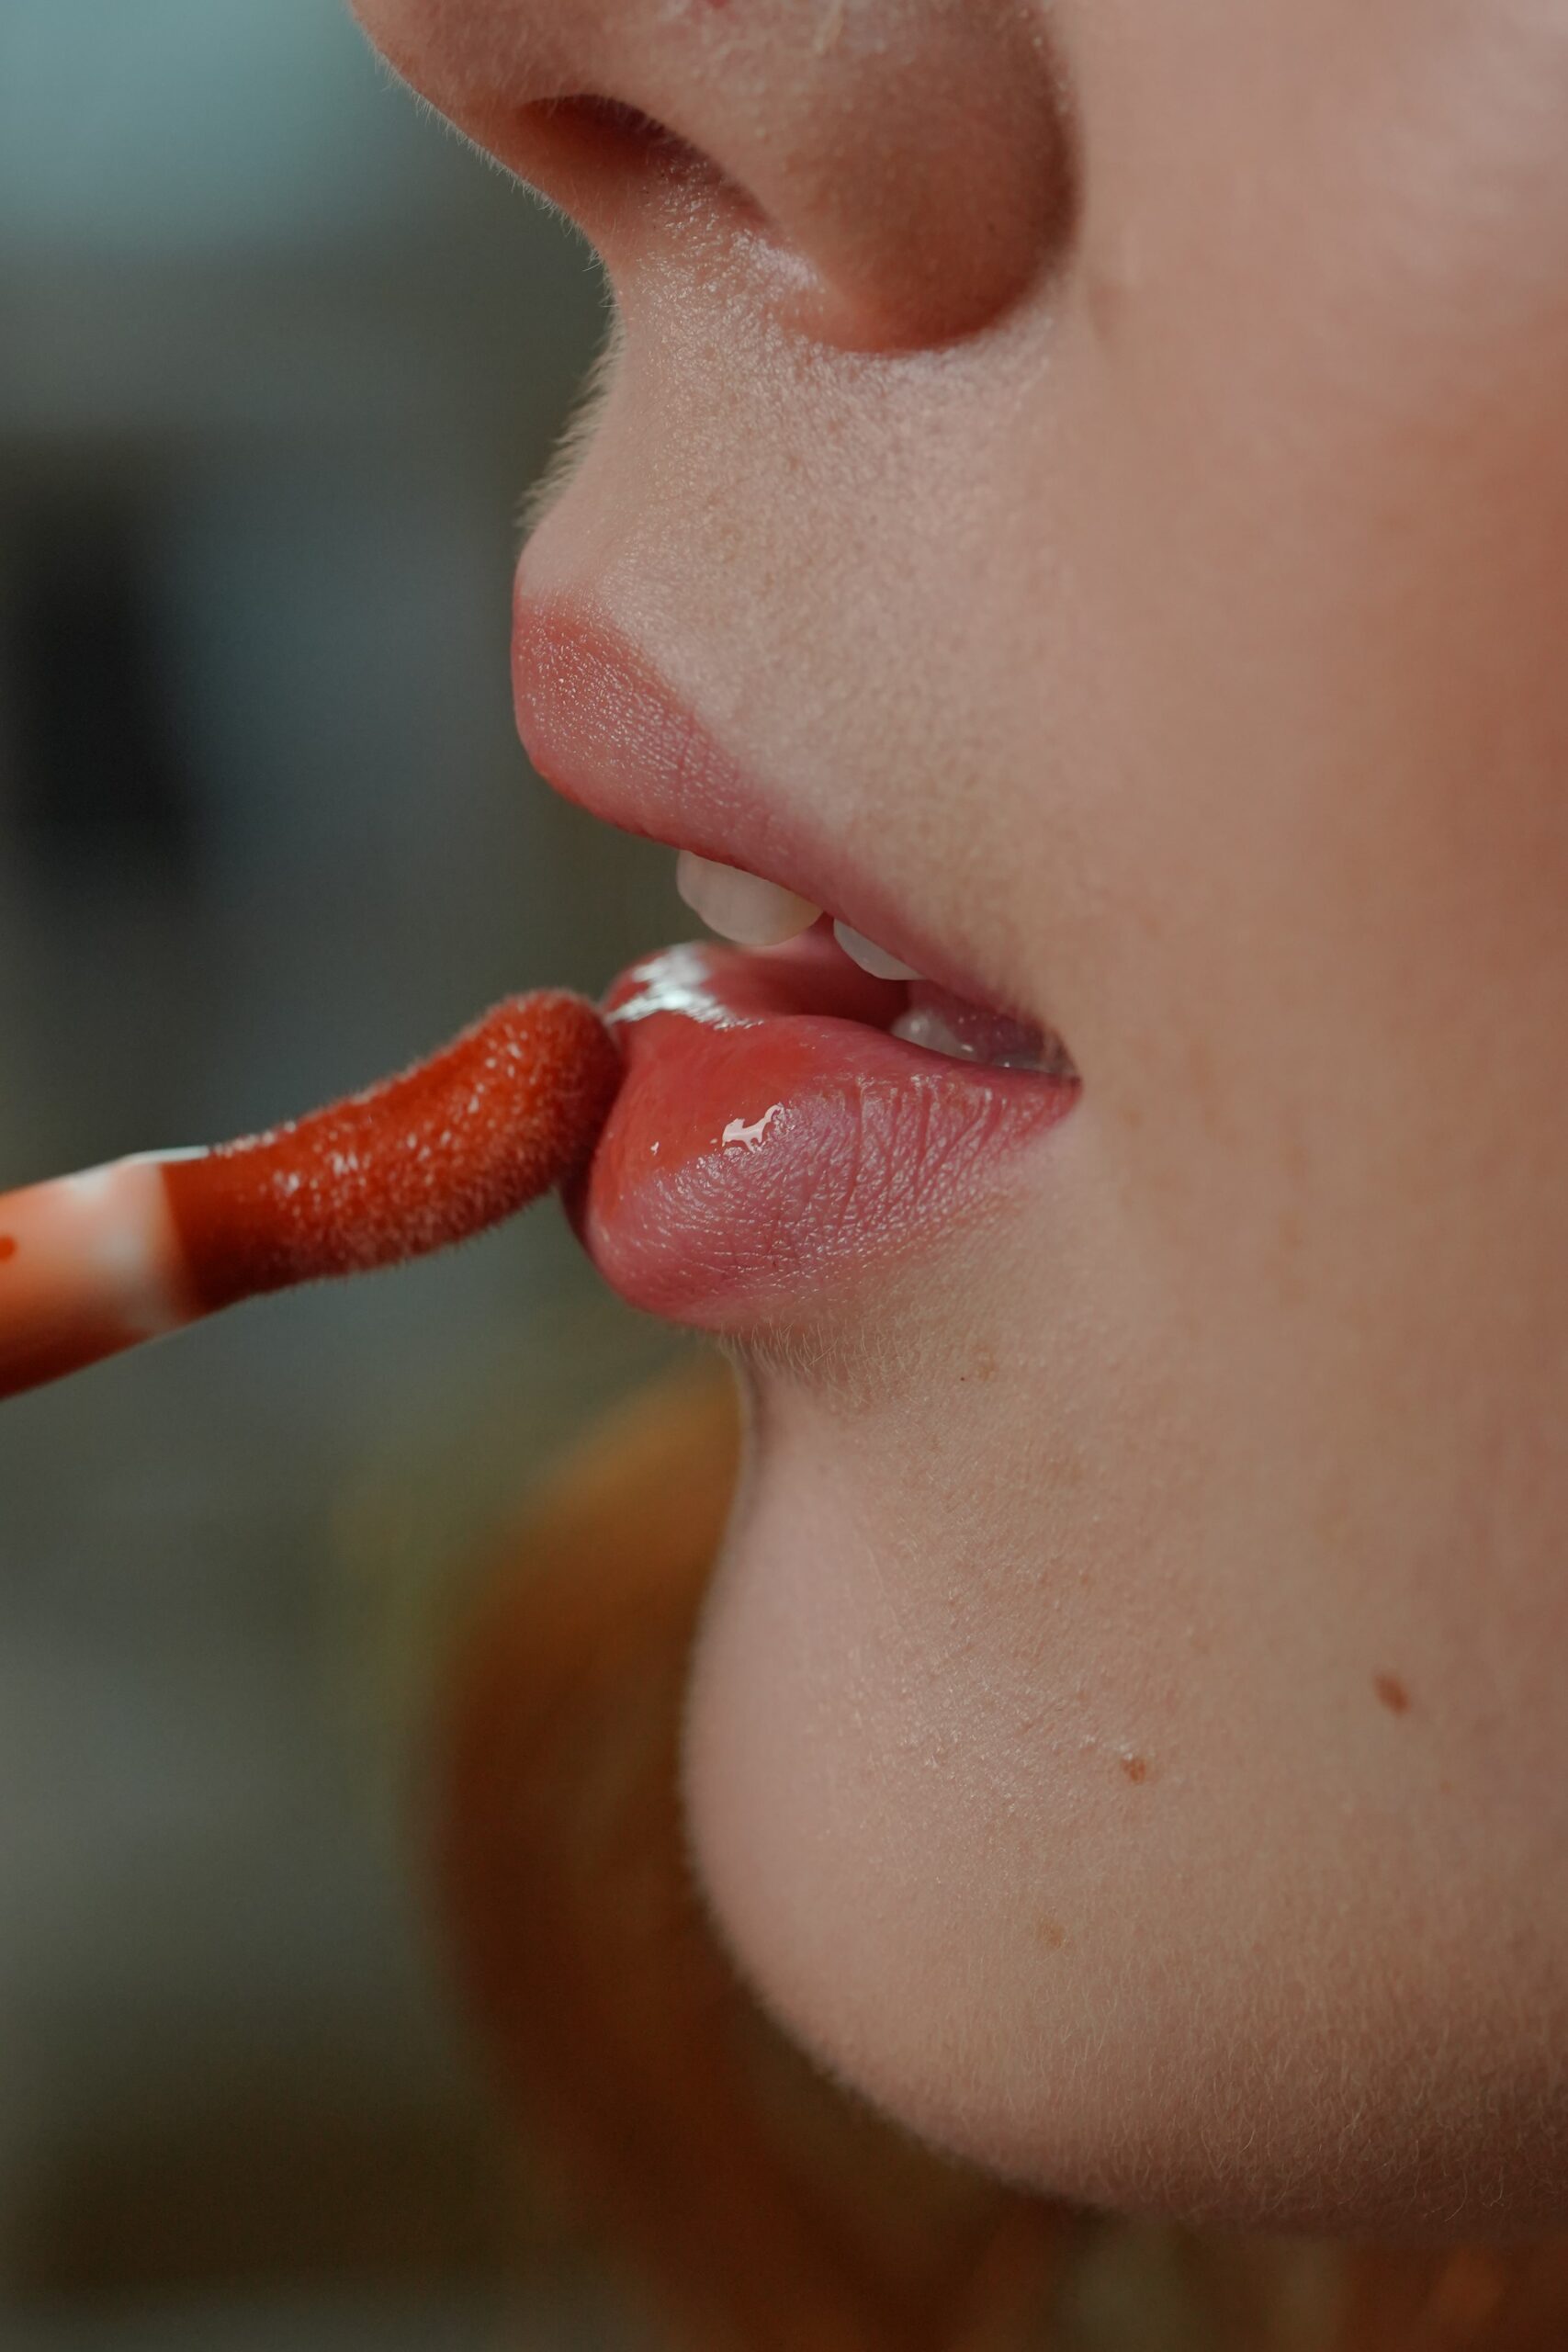
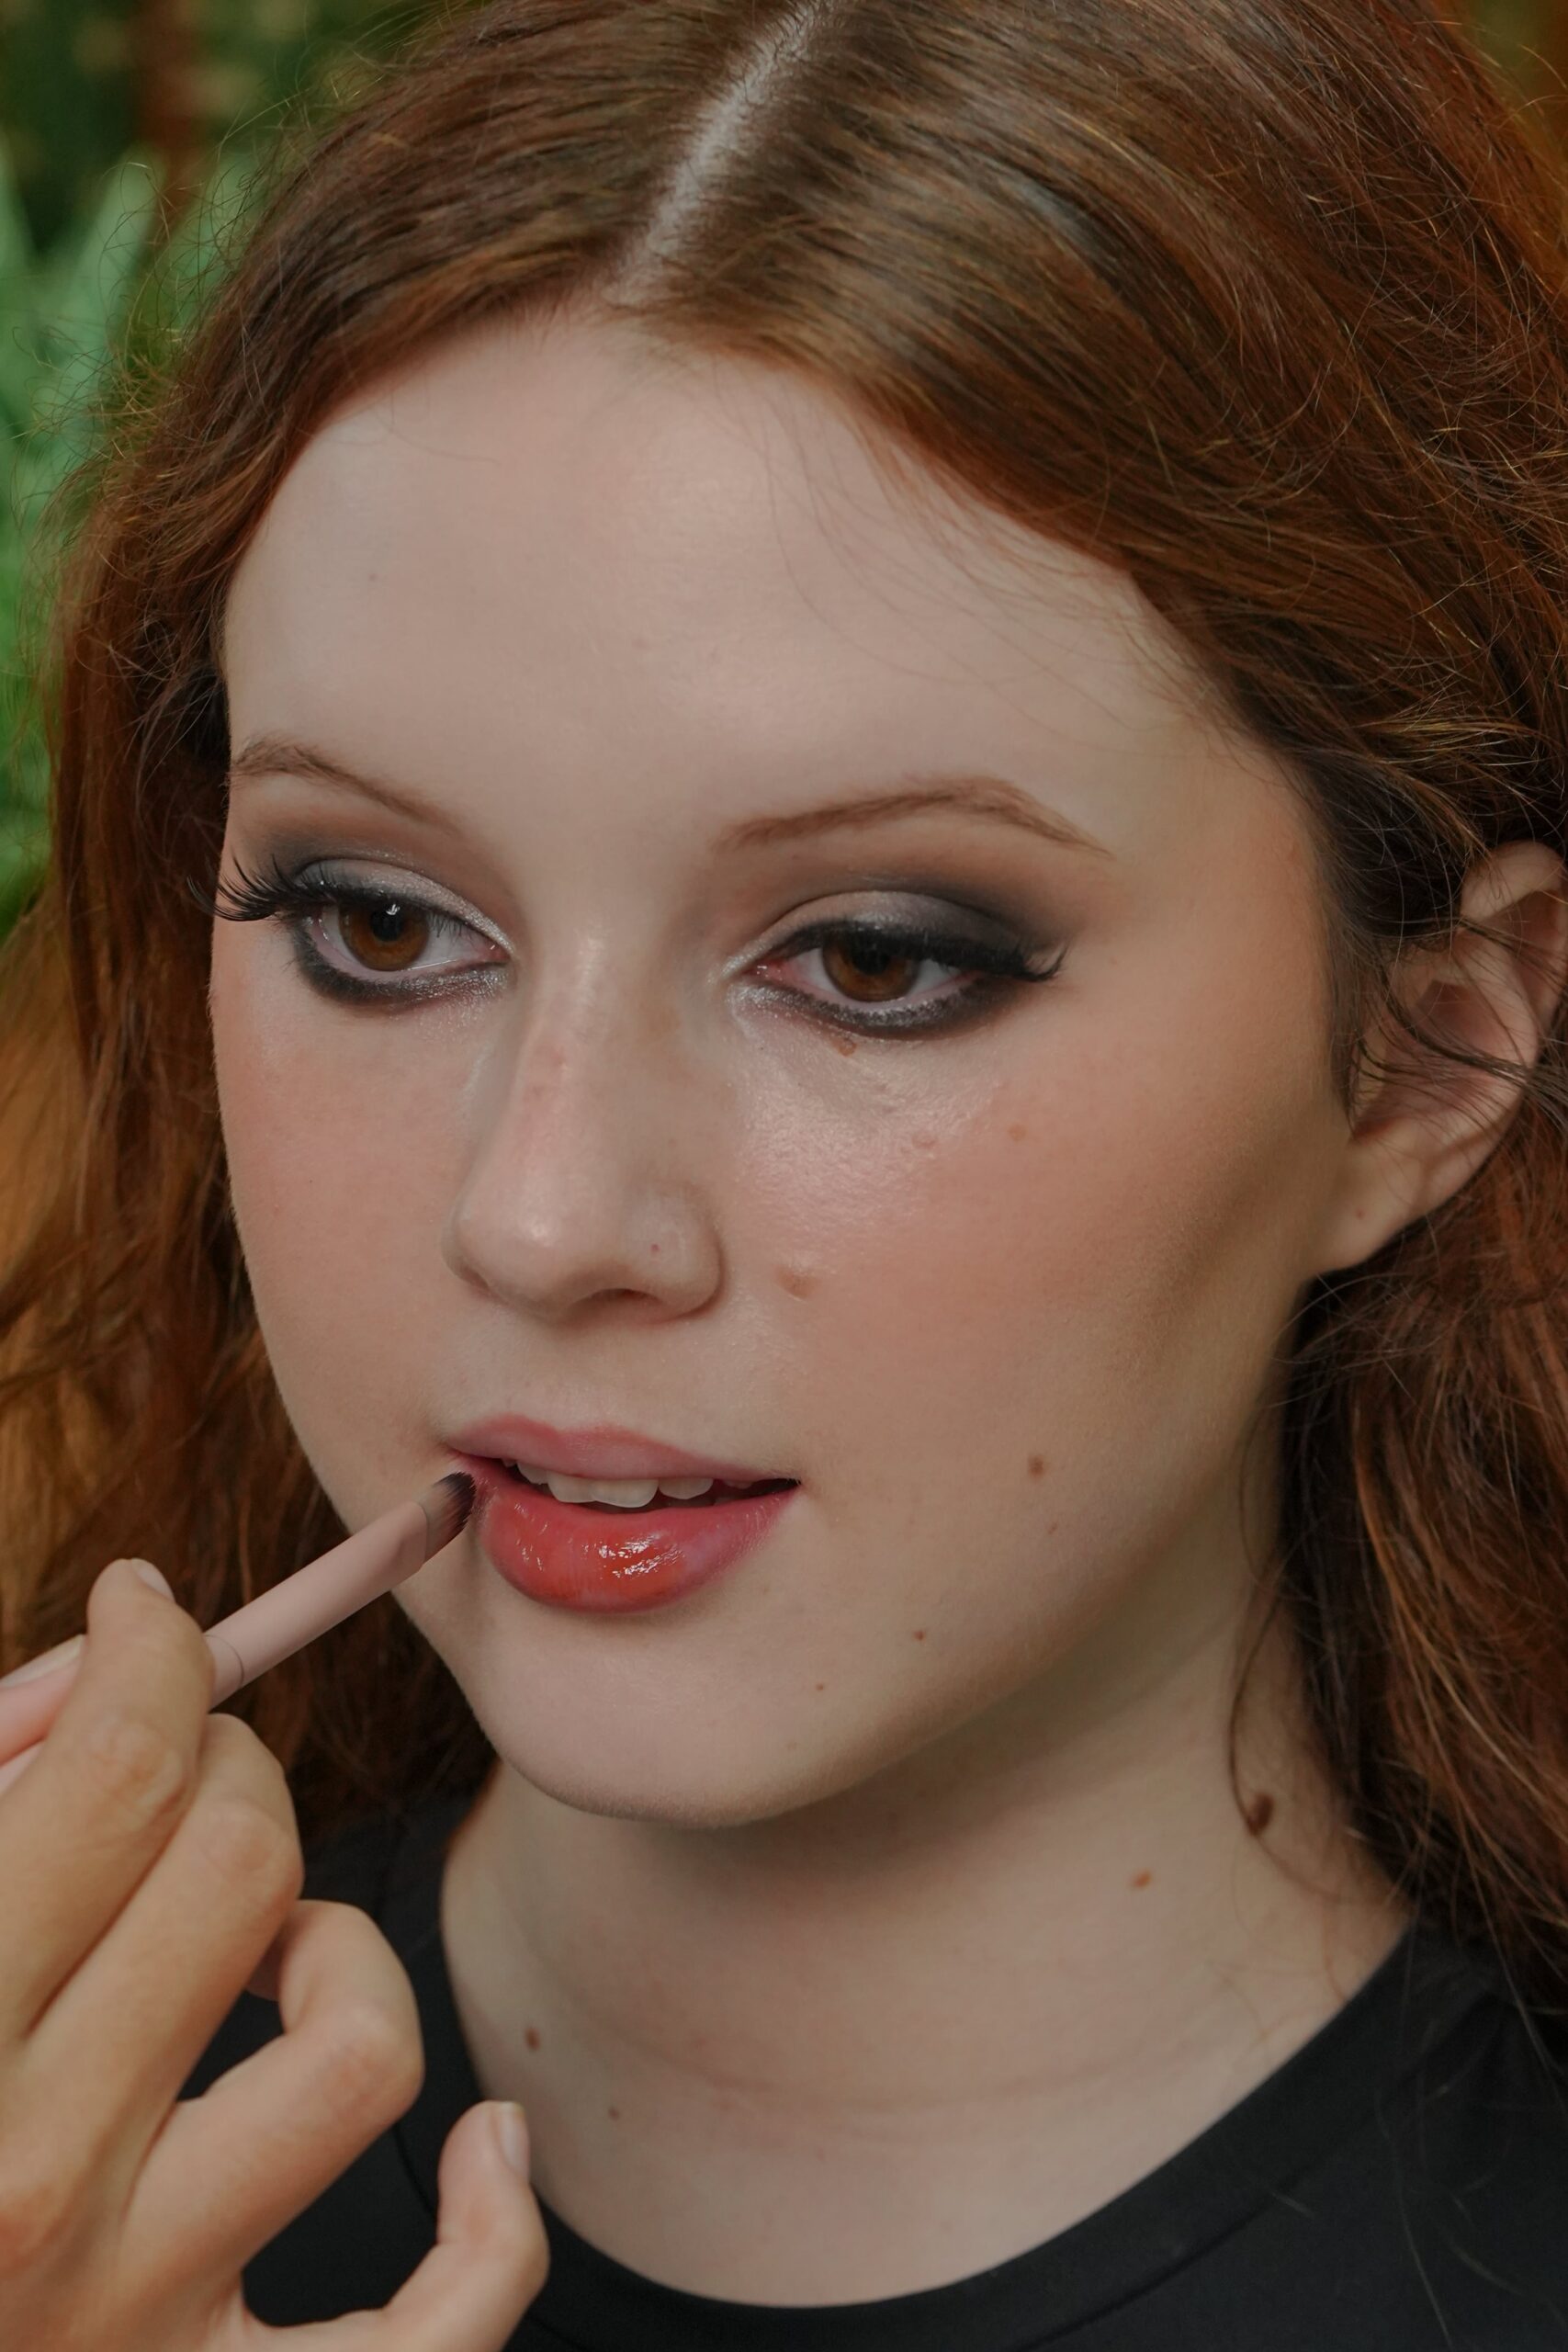
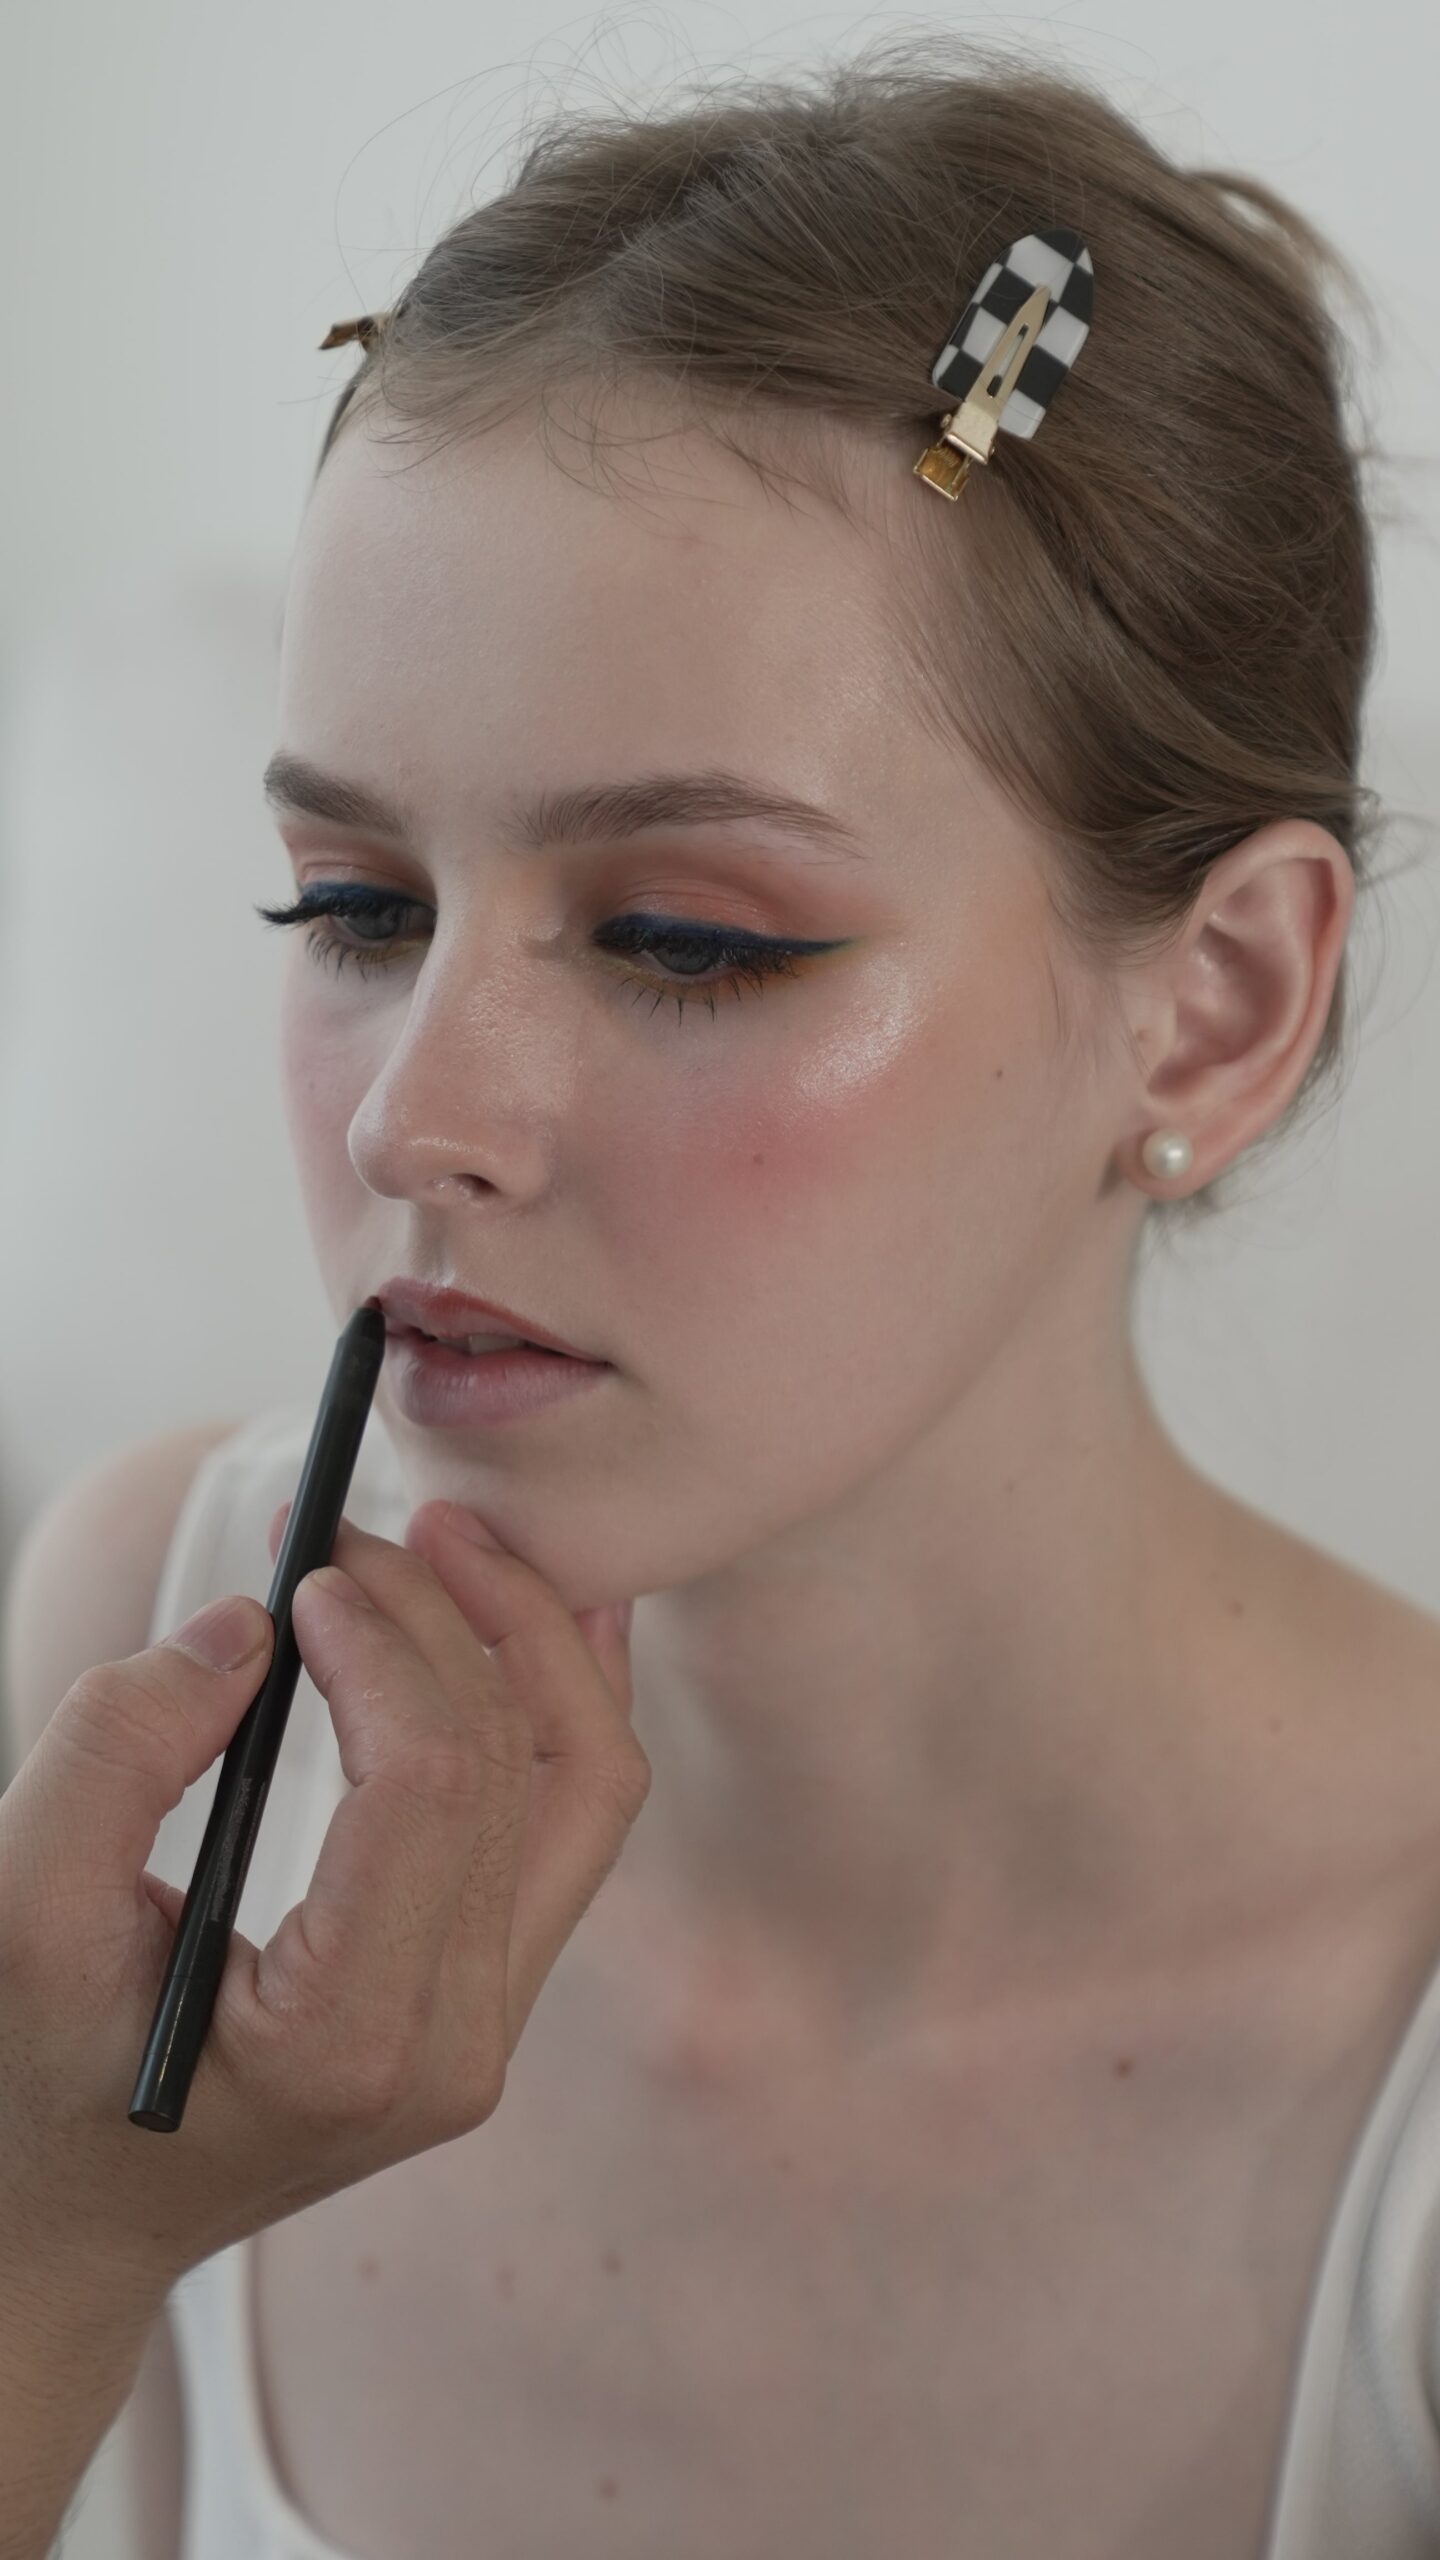
- The Power of Lip Liner: The most critical tool for a precise look is a lip liner that matches your red lipstick. First, outline the natural shape of your lips with the liner, starting with the cupid’s bow and working your way outwards. This creates a base that will prevent the lipstick from bleeding, which is especially important with a bold color like red. Then, fill in your lips entirely with the pencil. This creates a uniform base that not only prevents bleeding but also helps your color last much longer, even as the top layer wears off.
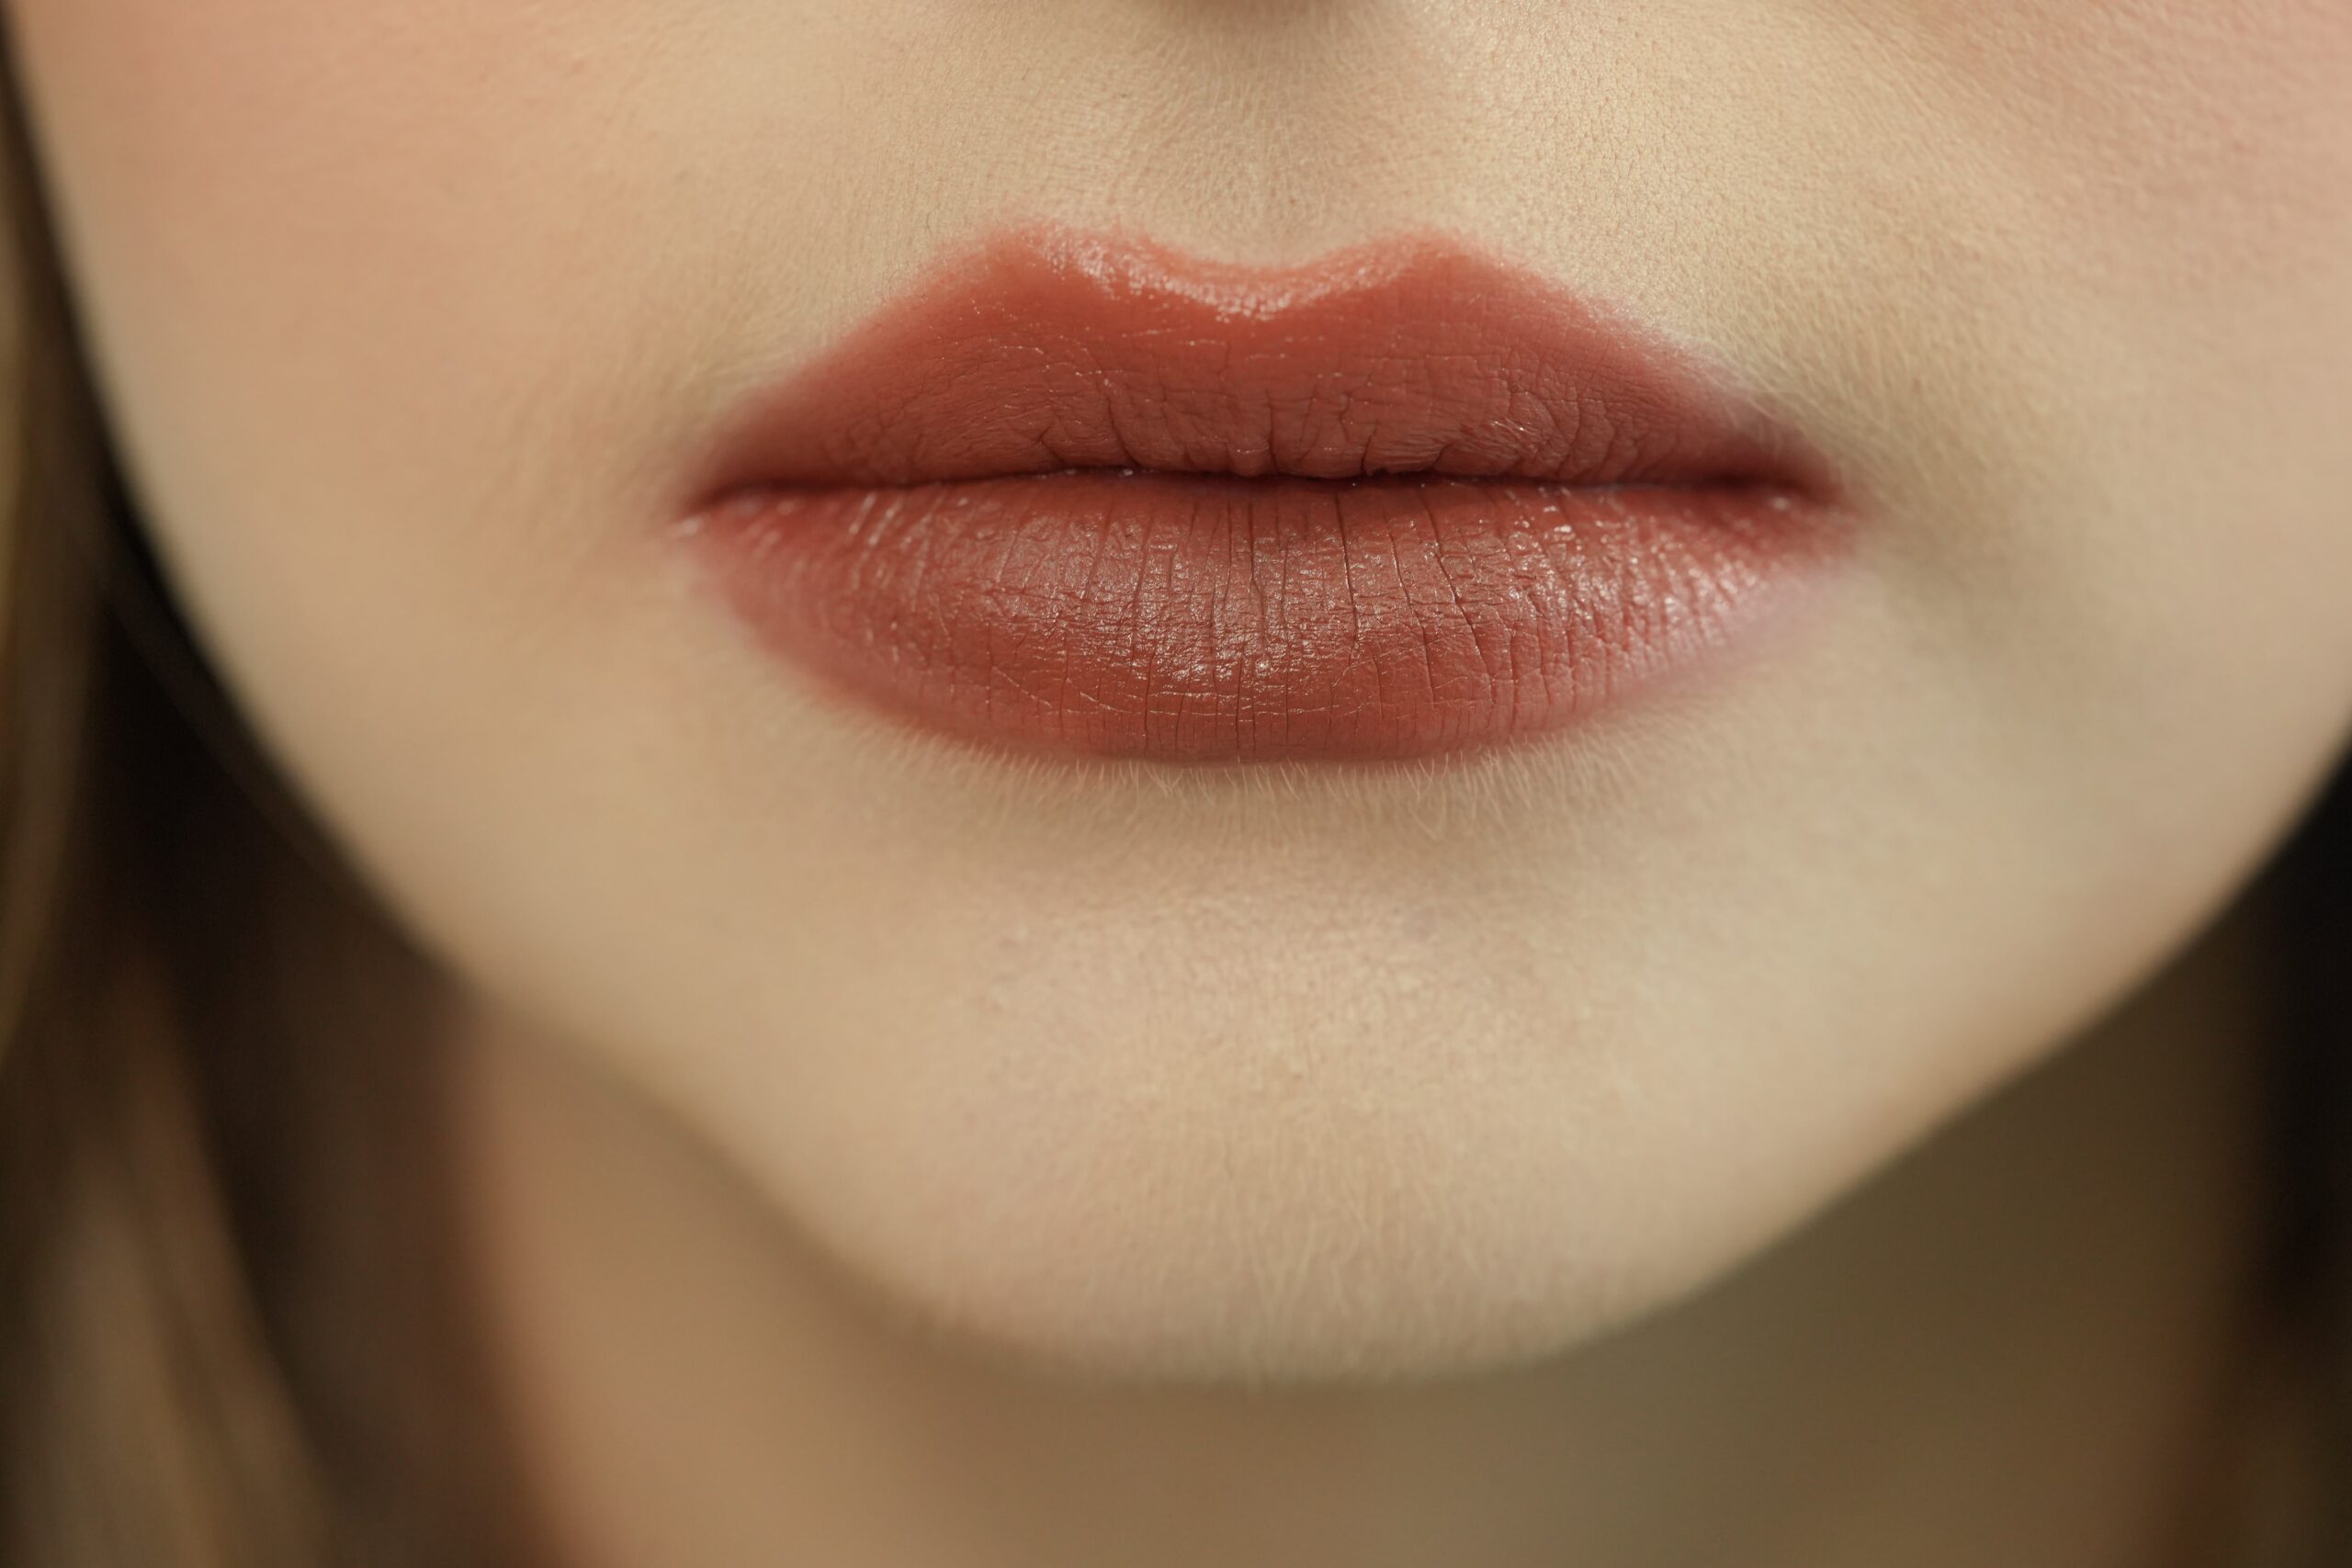
- Applying the Lipstick: After creating your lip liner base, you can apply your lipstick. For more precision, especially with a vibrant color like red, use a lip brush to fill in the color. This technique allows for a more controlled, even application. Furthermore, you can also apply it directly from the tube, but be sure to work slowly and carefully, especially around the cupid’s bow and the corners of your mouth.
- Blot and Layer: For an even more intense color payoff and a longer-lasting finish, apply the first layer of lipstick, then gently blot your lips with a tissue to remove excess product. Apply a second thin layer of lipstick. This layering technique builds color and durability.
Step 3: The Secret to All-Day Wear: Setting Your Look
Once the color is on, you need to set it for maximum wear, just like a professional would.
- The First Blot: After the final application, gently blot your lips with a tissue. This removes any excess product and helps to prevent smudging.
- The Powder Trick: As a final step, take a clean, single-ply tissue and gently place it over your lips. Then, with a small fluffy brush, lightly dust a translucent setting powder over the tissue. This locks the color in place without dulling its vibrancy. The powder sets the color without creating a “cakey” or heavy look, making it almost completely budge-proof.
- The Clean-Up: Use a small, flat concealer brush with a tiny amount of concealer or foundation to clean up any smudges or mistakes around the edges of your lips. This creates a crisp, sharp line that makes your red lip look absolutely flawless.
Troubleshooting Common Red Lipstick Challenges
Even with the right technique, a few common problems can arise. Here’s how to handle them:
- Feathering and Bleeding: This is a common issue with vibrant lipsticks. The best prevention is a good lip liner that is applied all over the lip as a base. If it still bleeds, you may need a lip primer to create a stronger barrier.
- Dry or Flaky Appearance: As mentioned, proper lip prep is the best defense. Avoid extra-matte formulas if your lips are prone to dryness, and opt for a satin or moisturizing matte lipstick instead.
- Color Fading in the Center: This often happens after eating or drinking. The best solution is to carry your lipstick with you for any necessary touch-ups. A quick re-application in the center of your lips is often all you need to keep your pout looking fresh.
Conclusion
By following these steps, your red lipstick will stay perfect for hours. From the preparation to the final setting, every detail matters in creating a flawless red lip that commands attention. This comprehensive guide gives you the tools and techniques to apply your lipstick with the precision of a professional. Remember to carry your lipstick with you for any necessary touch-ups, especially after eating or drinking, but with this guide, you won’t need them as often. Ultimately, a perfect red lip is a symbol of confidence and style, and by mastering this look, you can channel that same power and elegance.
Leave a Reply