
Your cart is currently empty!
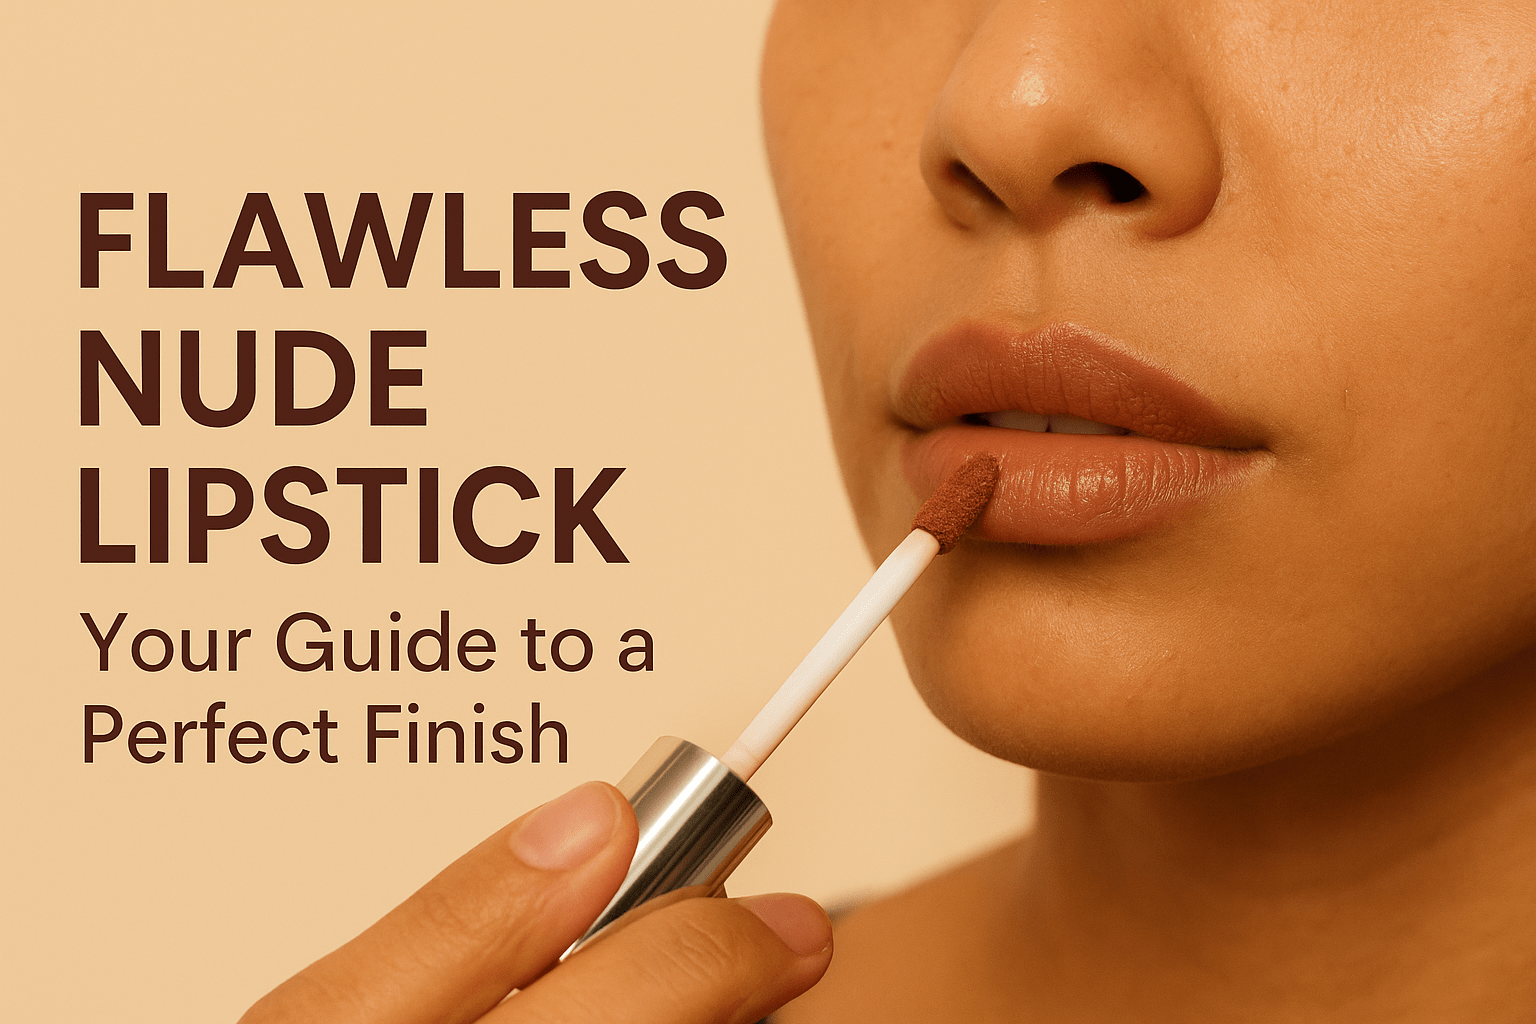
Flawless Nude Lipstick: Your Guide to a Perfect Finish
Achieve a perfect, long-lasting nude lipstick look. This step-by-step guide teaches you how to prep, apply, and set your favorite nude shade for all-day wear.
A nude lipstick can truly transform your entire makeup look. However, a flawless application is absolutely crucial for a polished finish. A single mistake, such as uneven color or bleeding, can easily ruin the elegant effect. Consequently, mastering the art of applying nude lipstick is a vital skill. It ensures your sophisticated statement stays put all day or night. Furthermore, with the right tools and a clear, step-by-step guide, you can achieve a professional-level look right at home. In this blog, we will explore the key steps for a flawless application, from preparation to setting. We will discuss the importance of prepping, using a lip liner for precision, and setting your look for maximum longevity. Get ready to apply your nude lipstick with confidence and achieve a perfect finish every time.
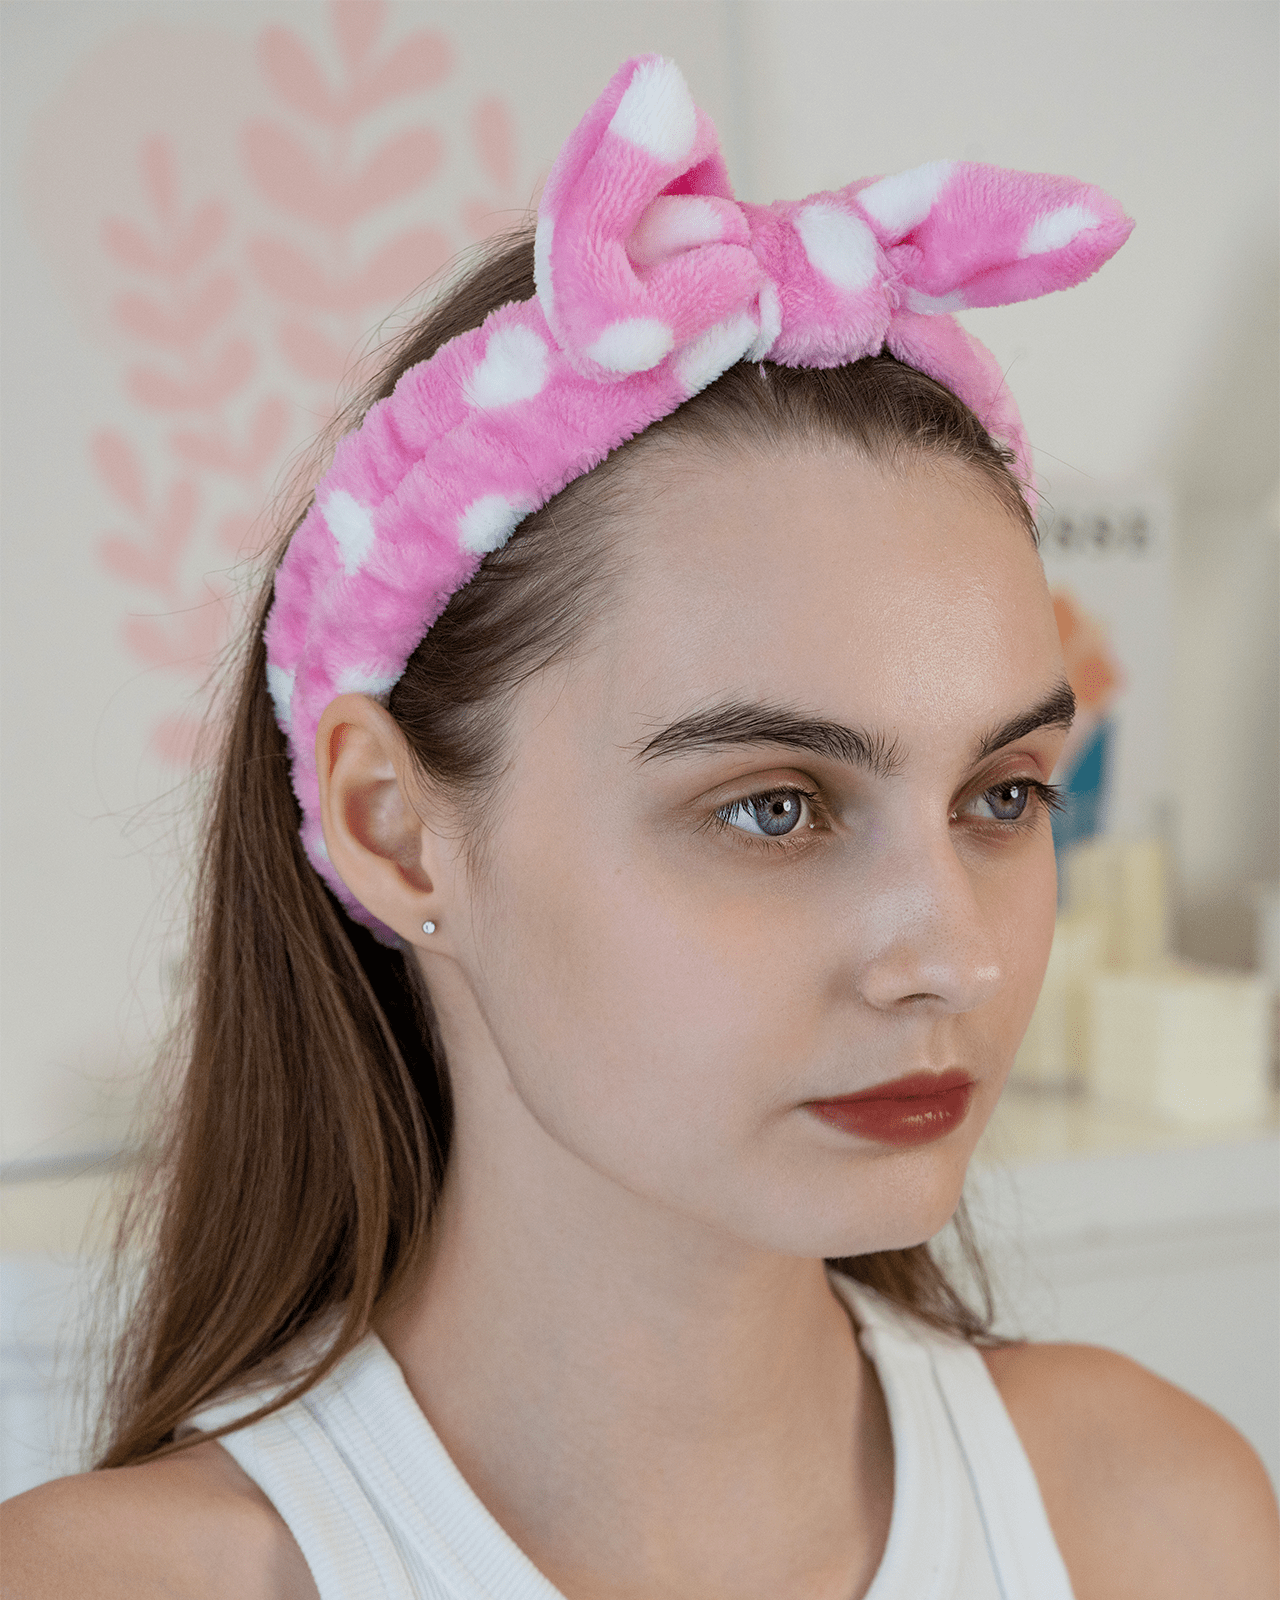
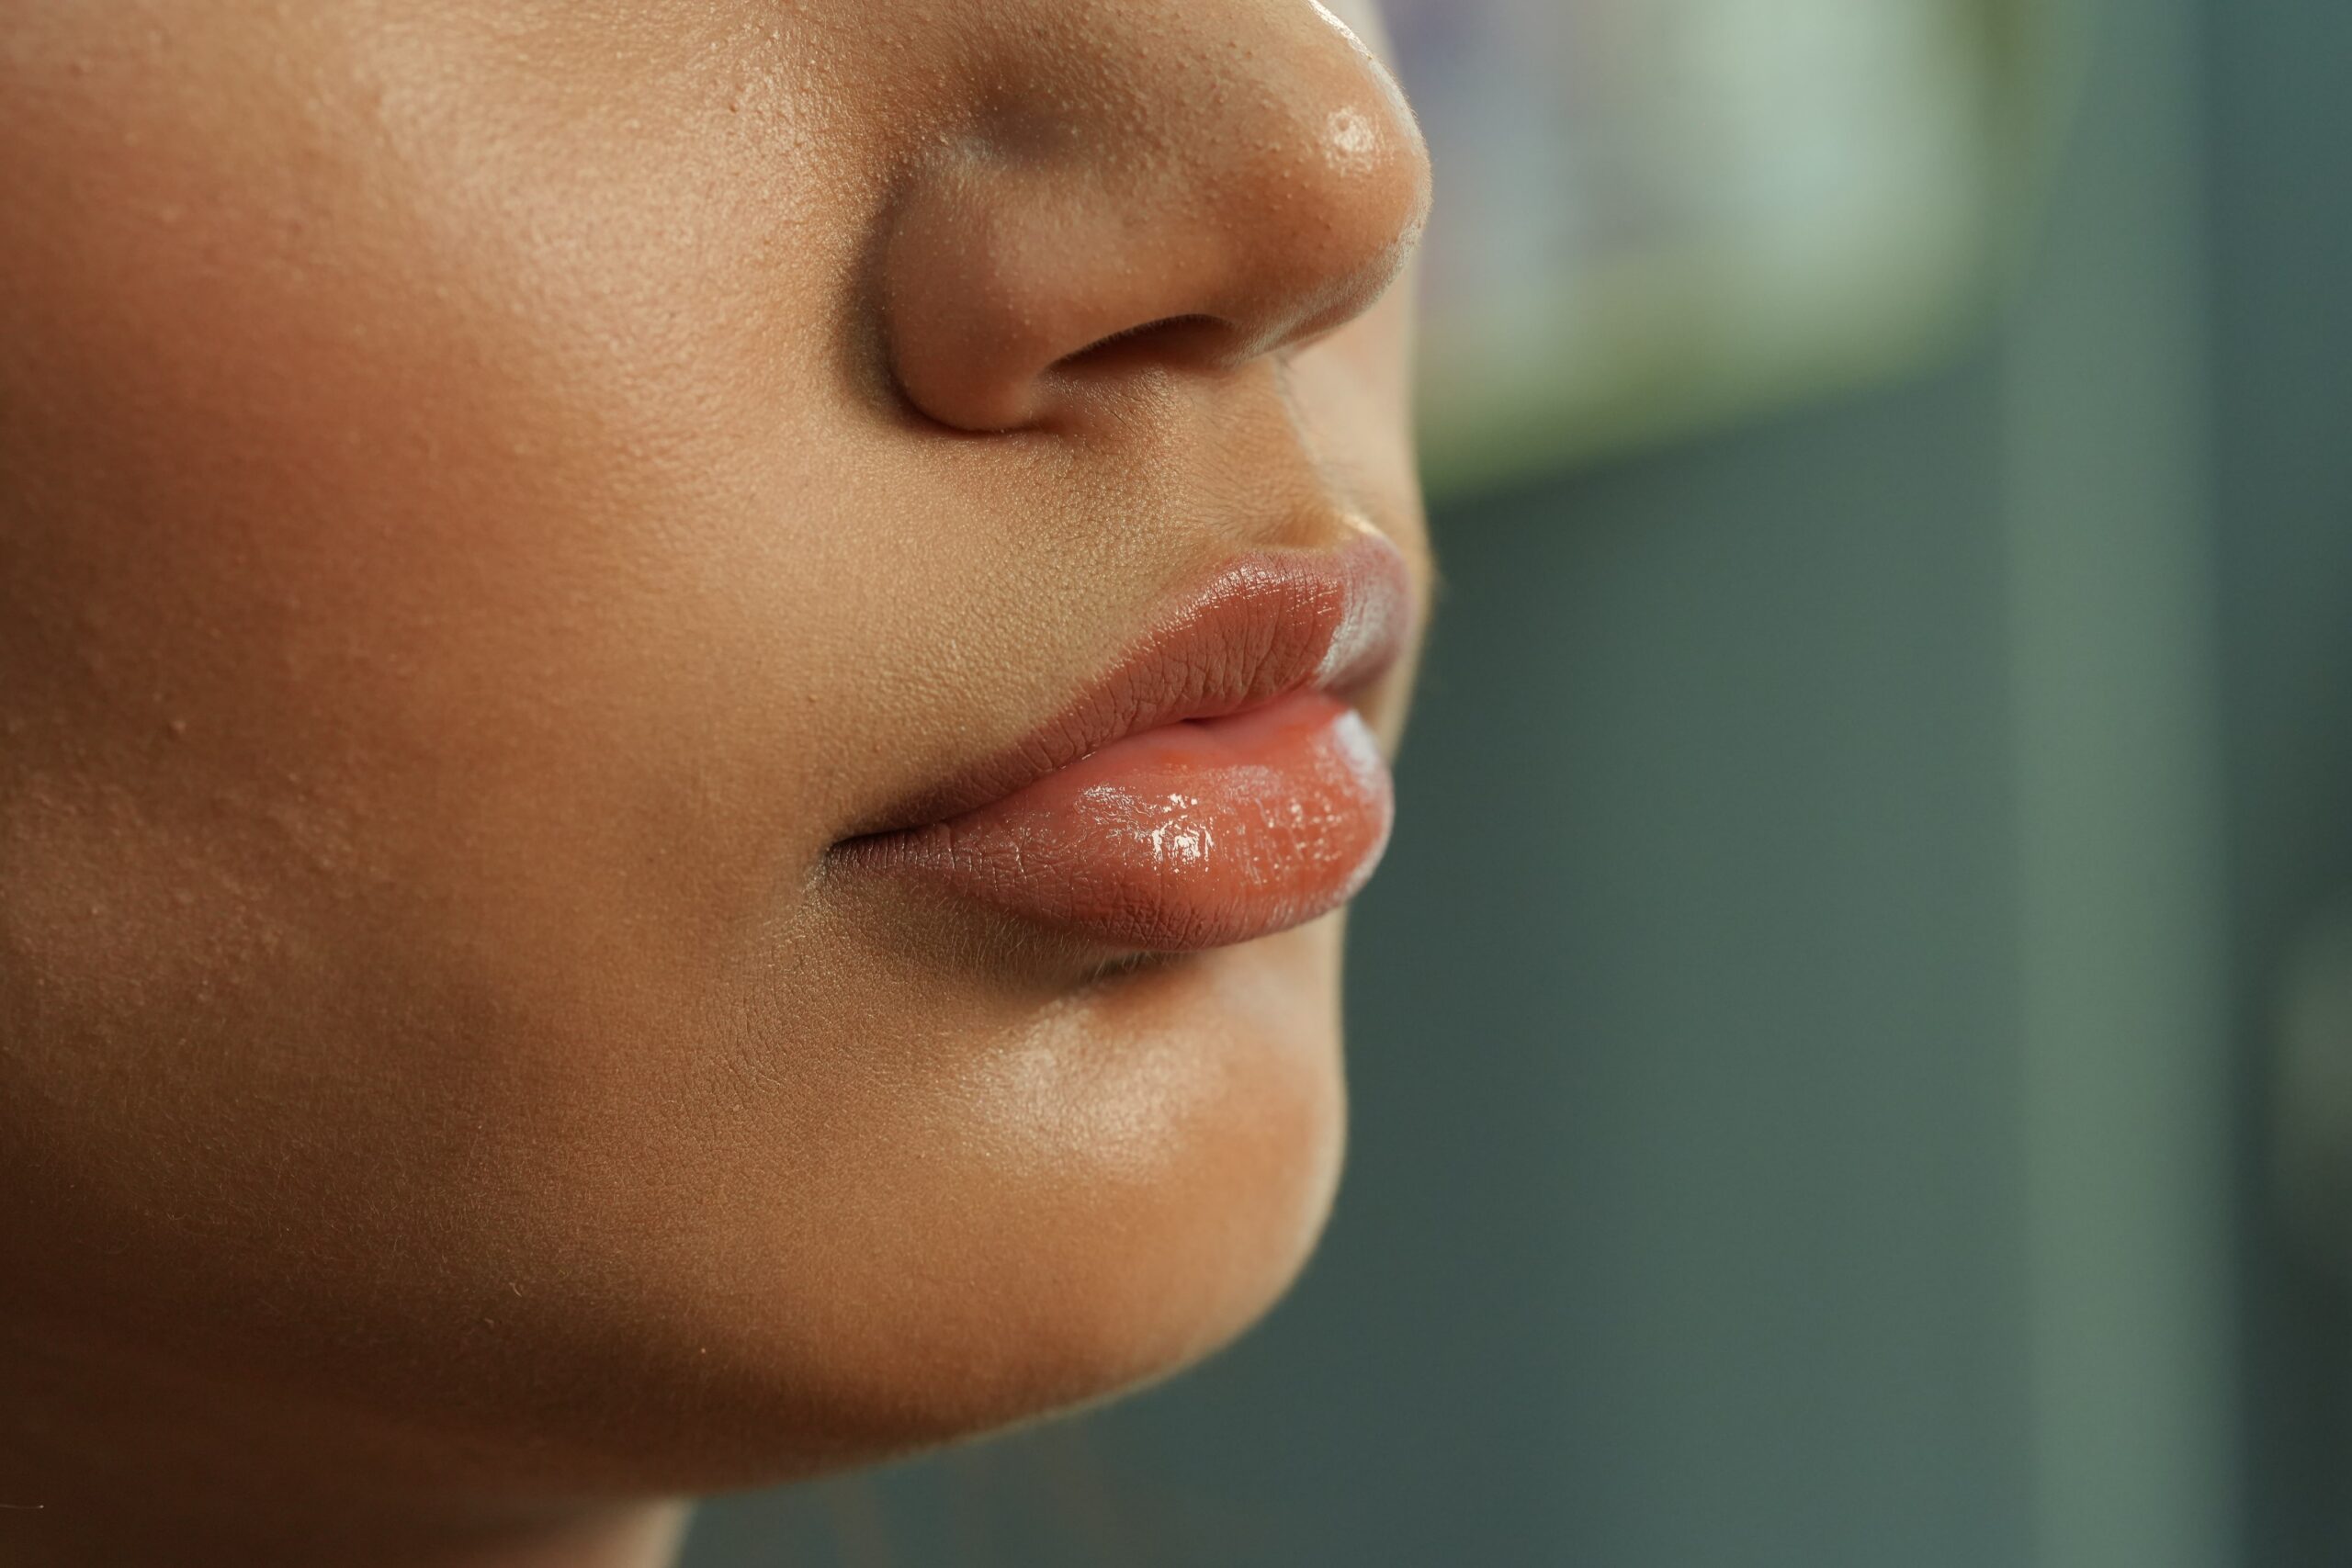
Step 1: Prep Your Lips for a Smooth Canvas
First and foremost, proper lip preparation is key. A smooth canvas is essential for a beautiful, long-lasting finish. Start by gently exfoliating your lips to remove any dry, flaky skin. You can use a dedicated lip scrub or a soft toothbrush with a little sugar. Subsequently, apply a moisturizing lip balm and let it absorb completely for a few minutes. This step is particularly important because it ensures the lipstick glides on evenly without settling into fine lines or dry patches. Afterward, gently blot away any excess balm with a tissue, leaving a clean, hydrated surface for the best result.
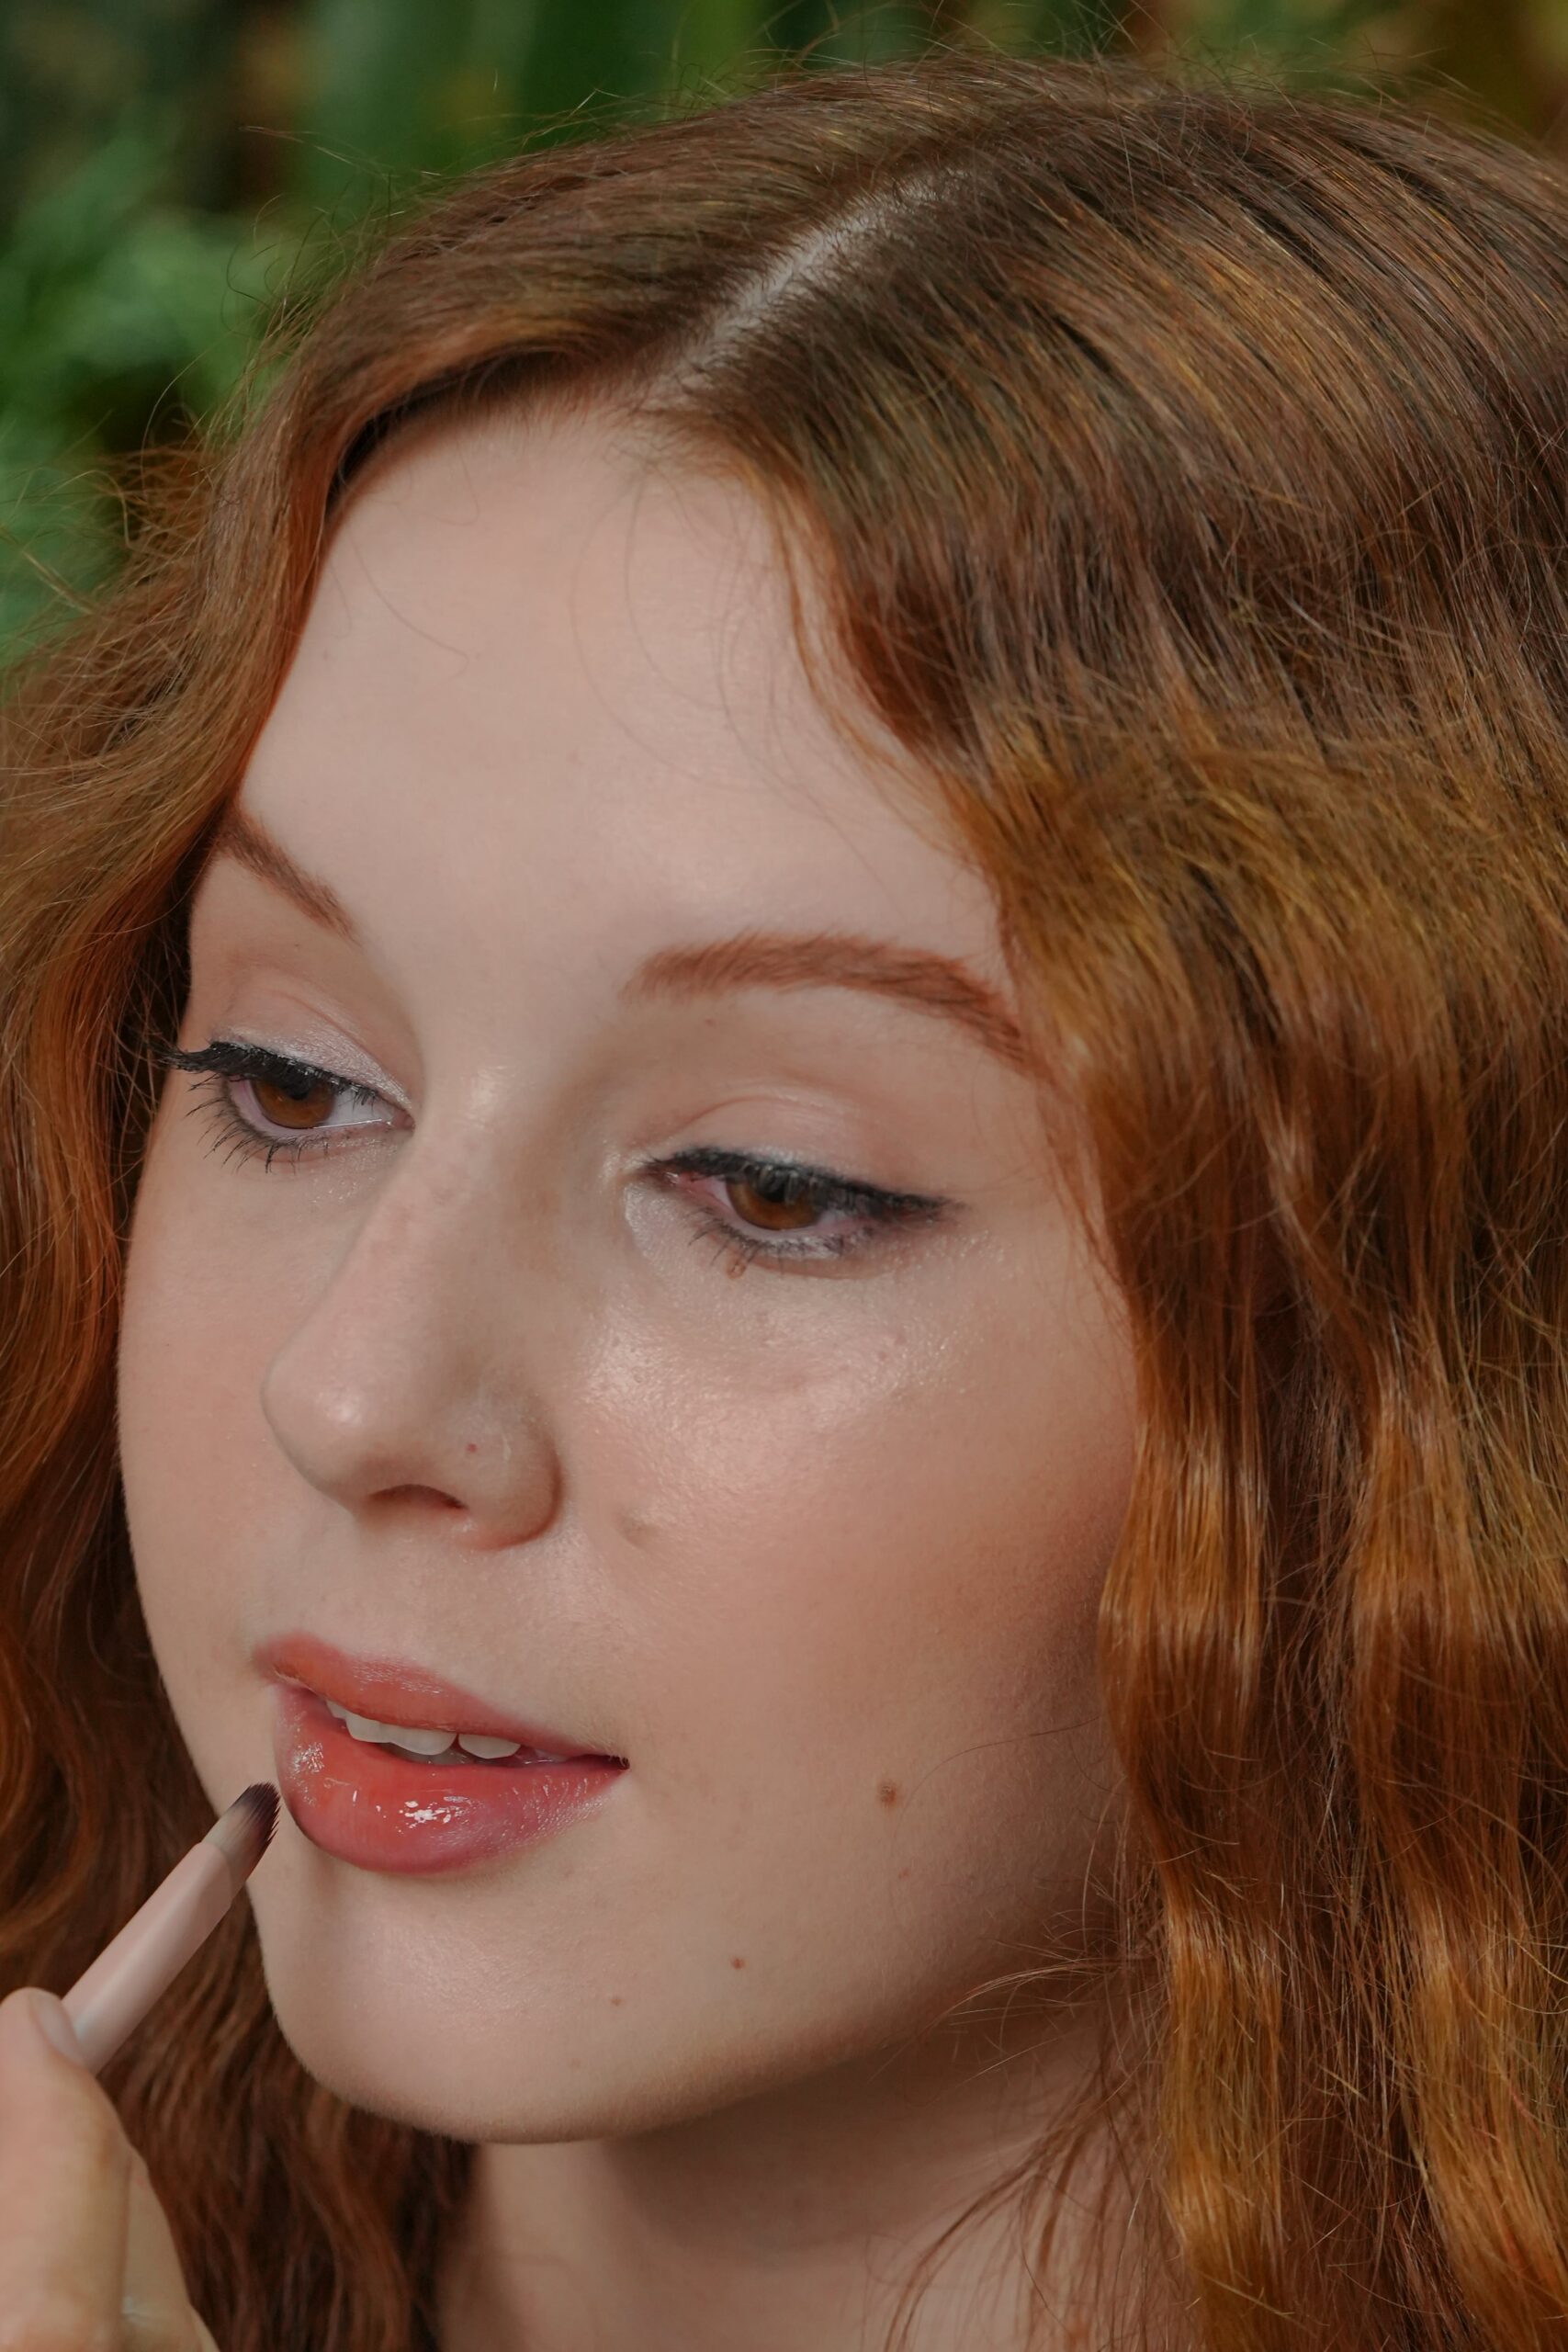
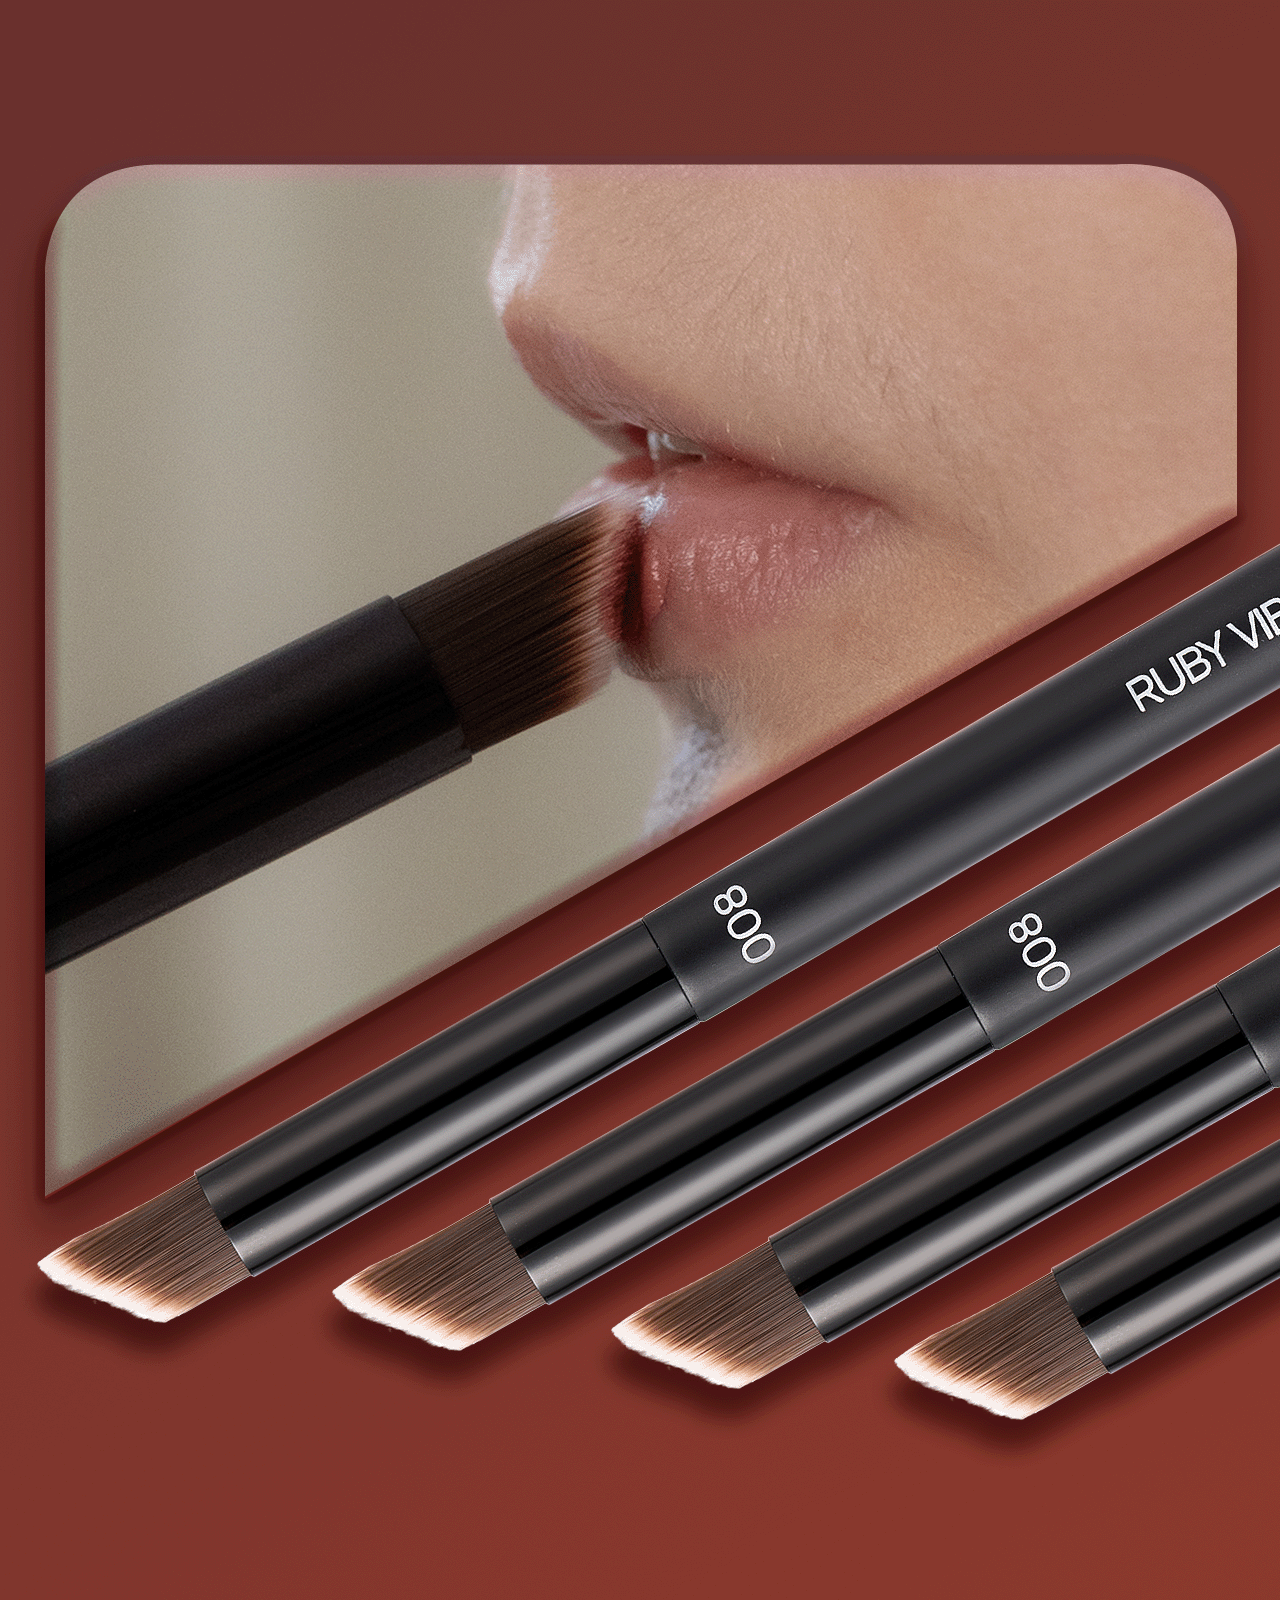
Step 2: Define and Prime with a Lip Liner
Now, for the application itself. The most critical tool for a precise and long-lasting look is a lip liner. Choose a lip liner that closely matches your nude lipstick shade or your natural lip color.
- Outline Your Lips: First, outline the natural shape of your lips with the liner. Be precise, starting from the center of your cupid’s bow and moving outward.
- Fill Them In: After outlining, fill in your lips entirely with the pencil. This creates a uniform base that will prevent the lipstick from bleeding and also helps your color last much longer, even as the top layer wears off.
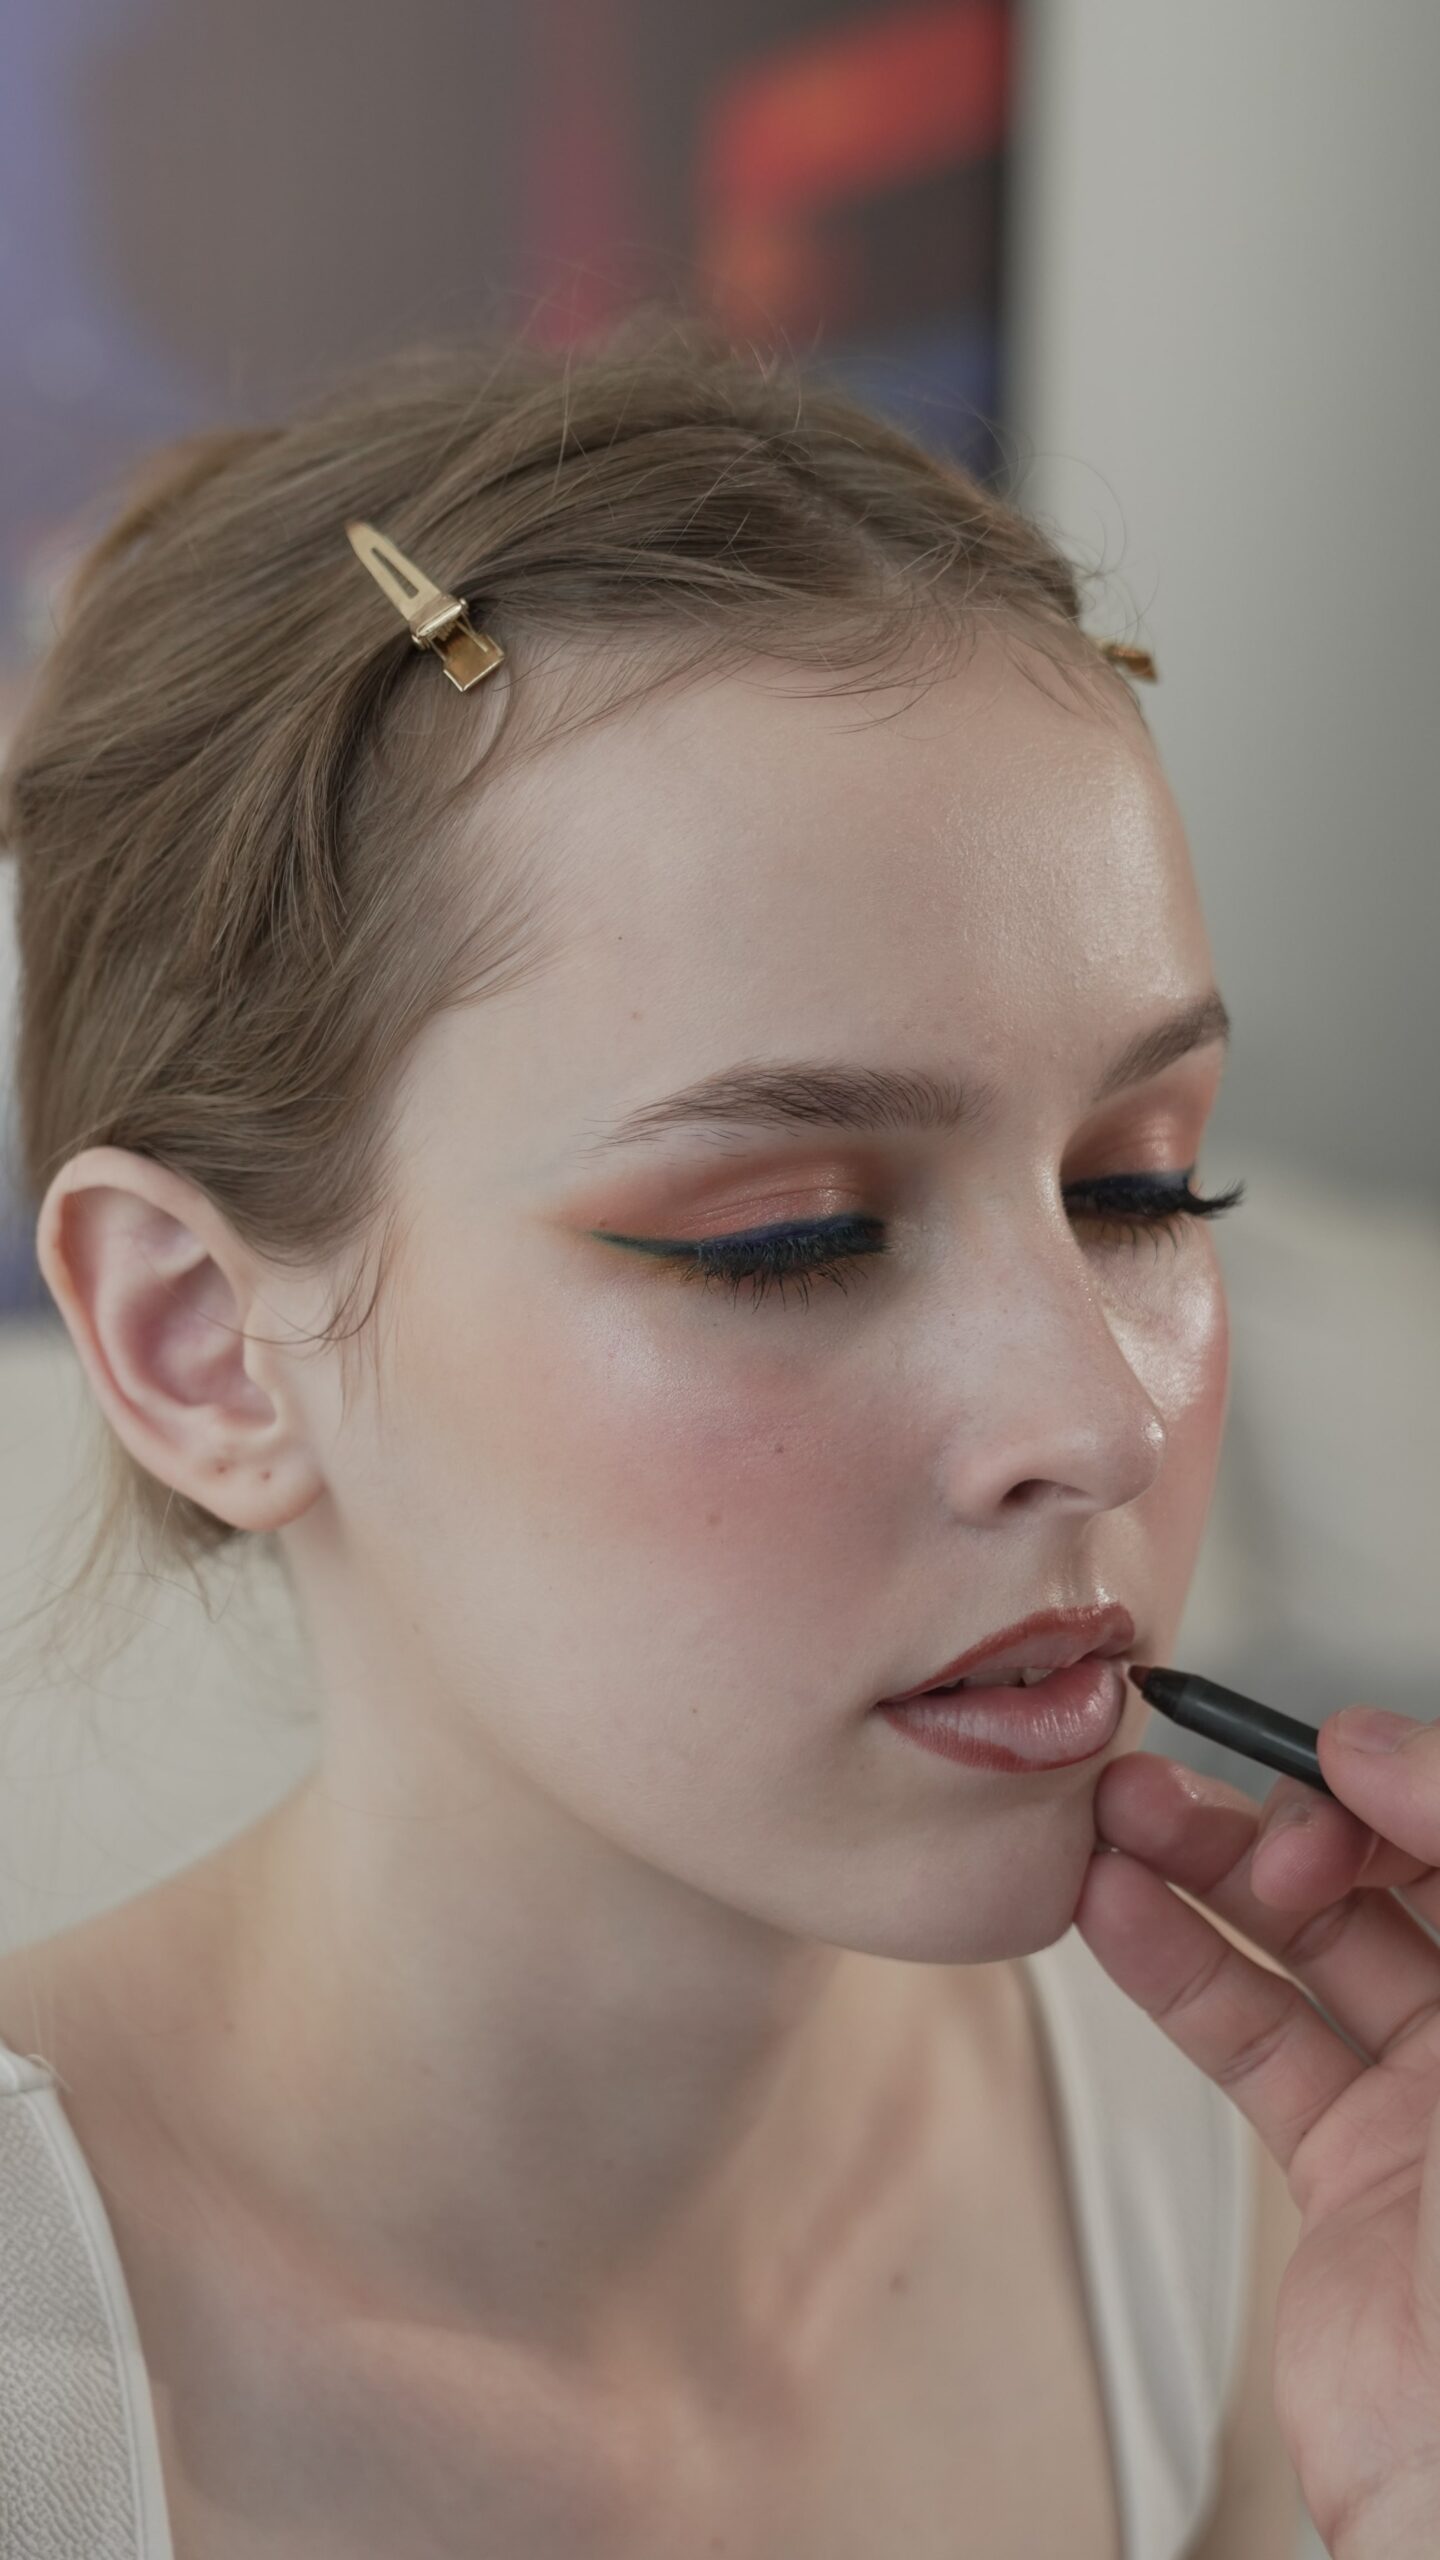
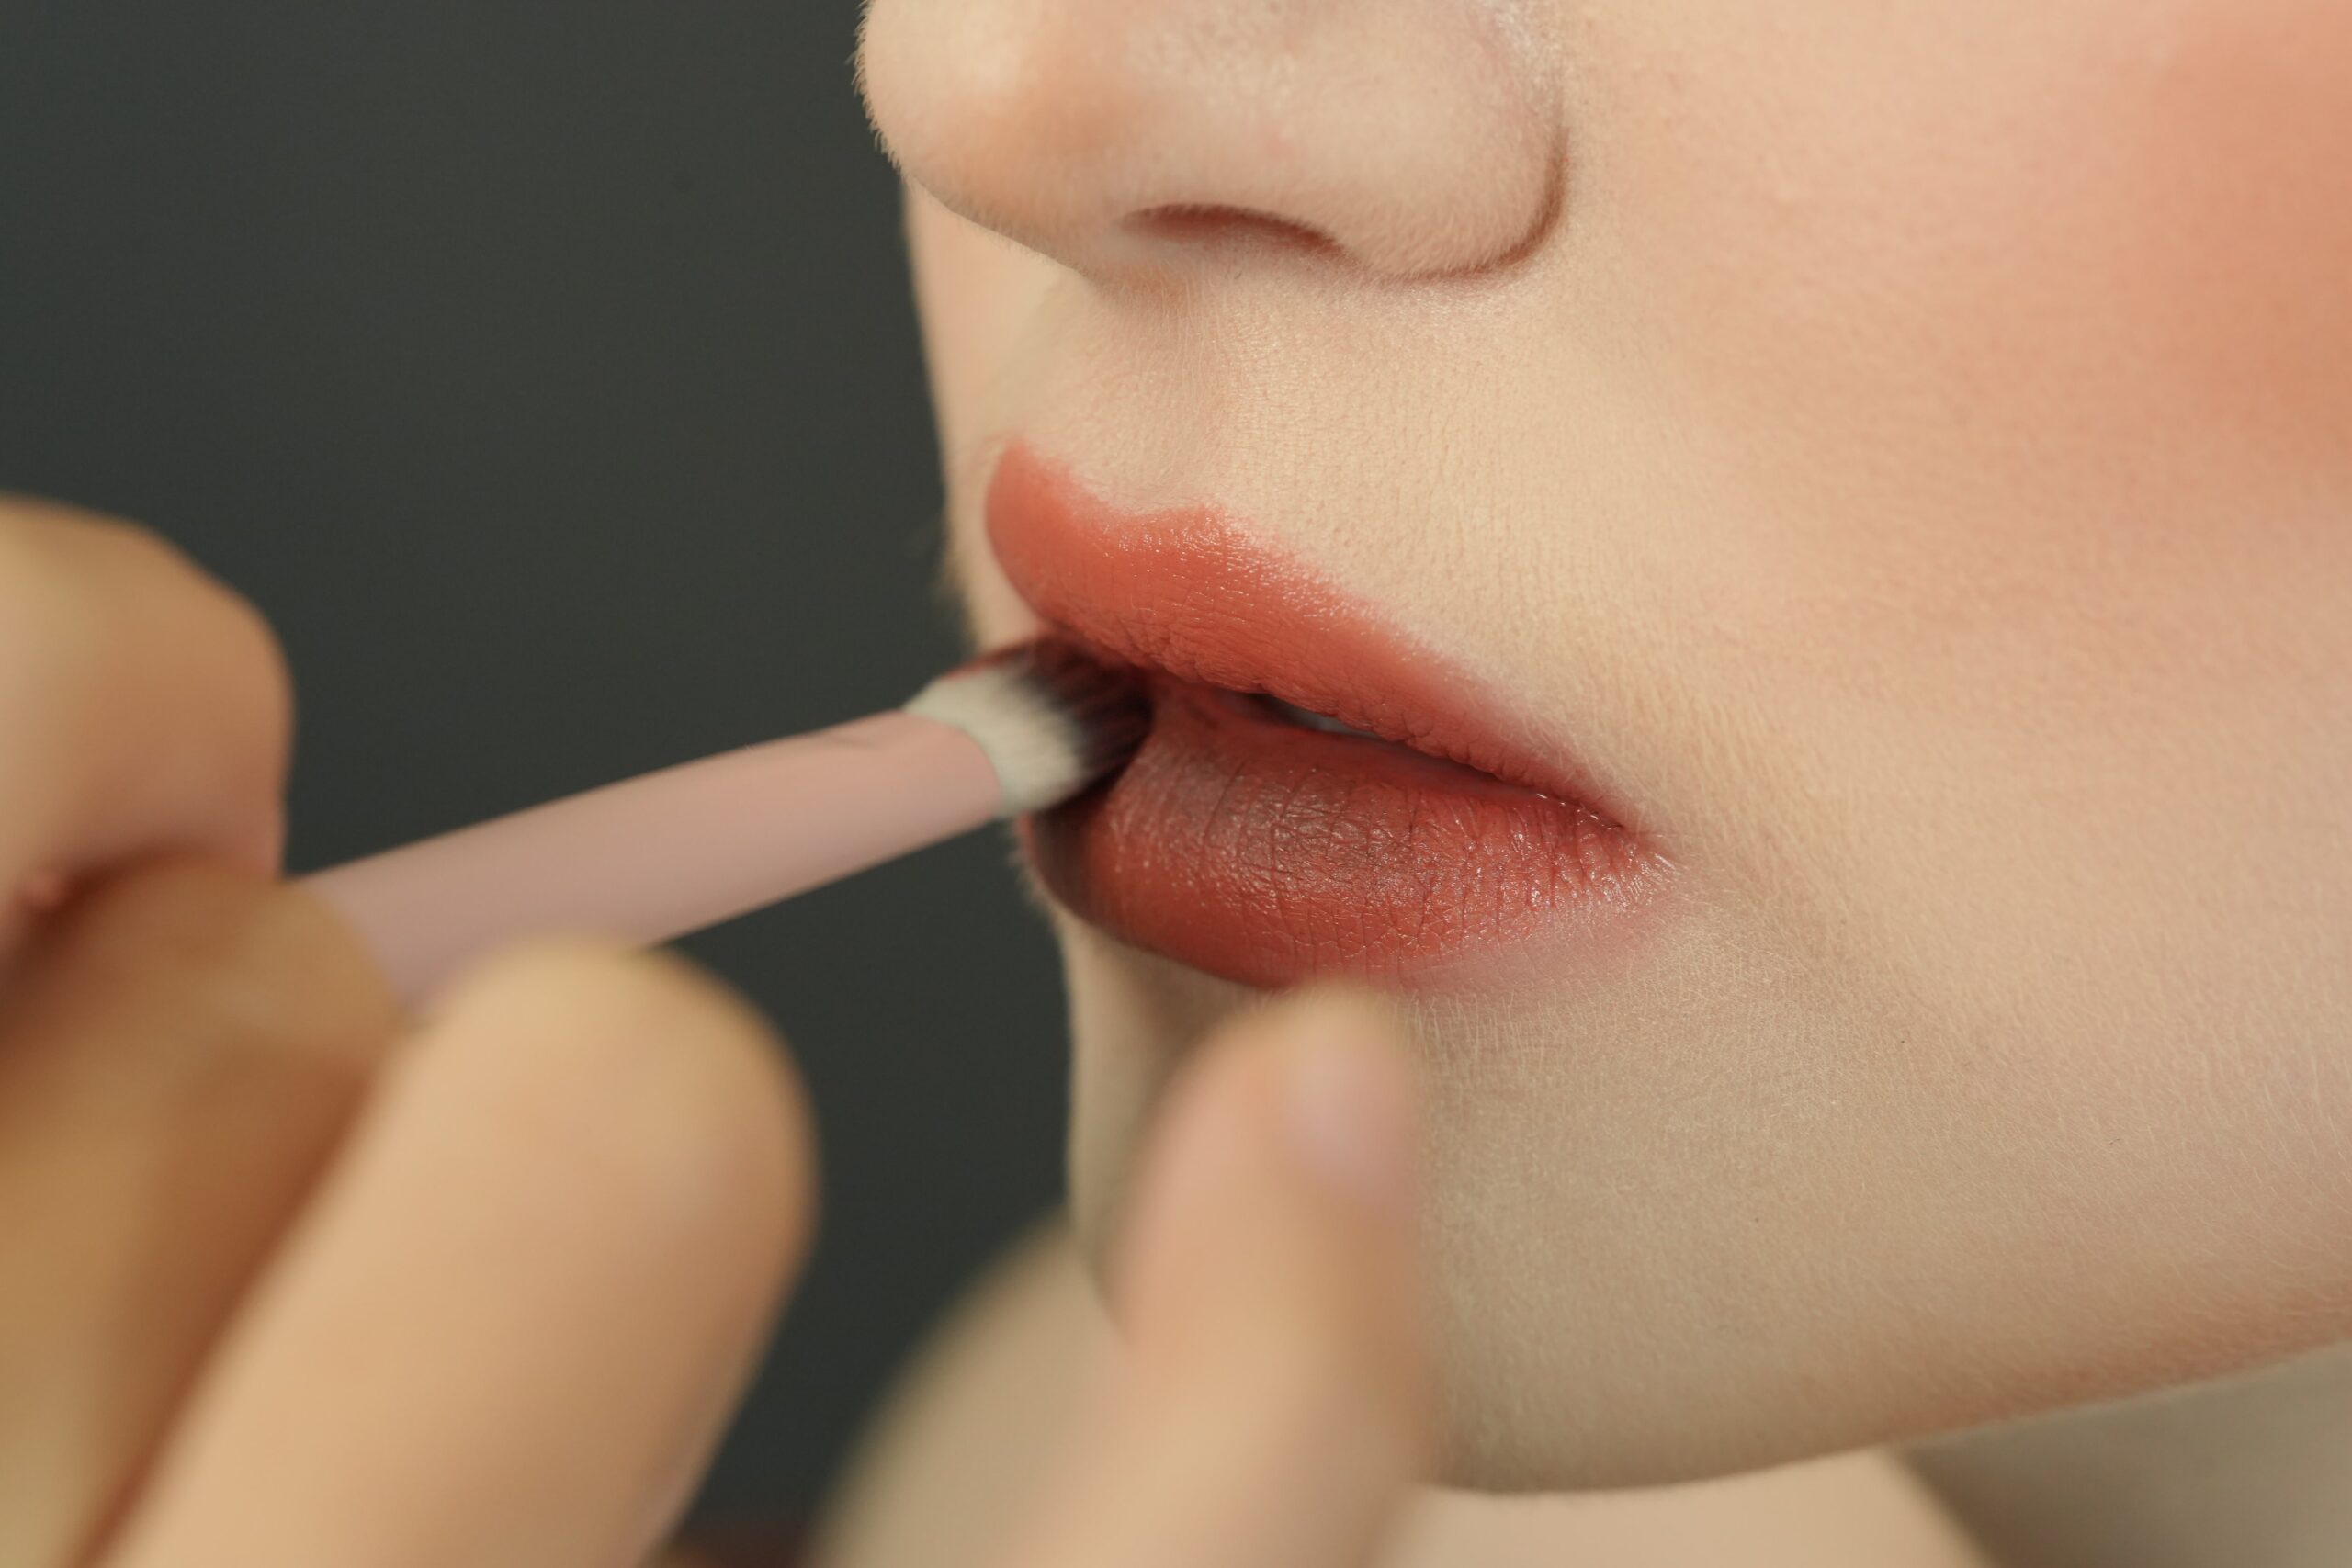
Step 3: Apply Your Nude Lipstick with Precision
Once your lips are prepped and lined, it’s time to apply the lipstick.
- Apply from the Tube or with a Brush: For more precision, especially with darker nudes, use a lip brush to fill in the color. Alternatively, you can apply it directly from the tube, starting from the center and moving outwards.
- Work Slowly and Carefully: Work slowly and carefully to ensure the color is applied evenly across your lips. Press your lips together gently to help distribute the product.
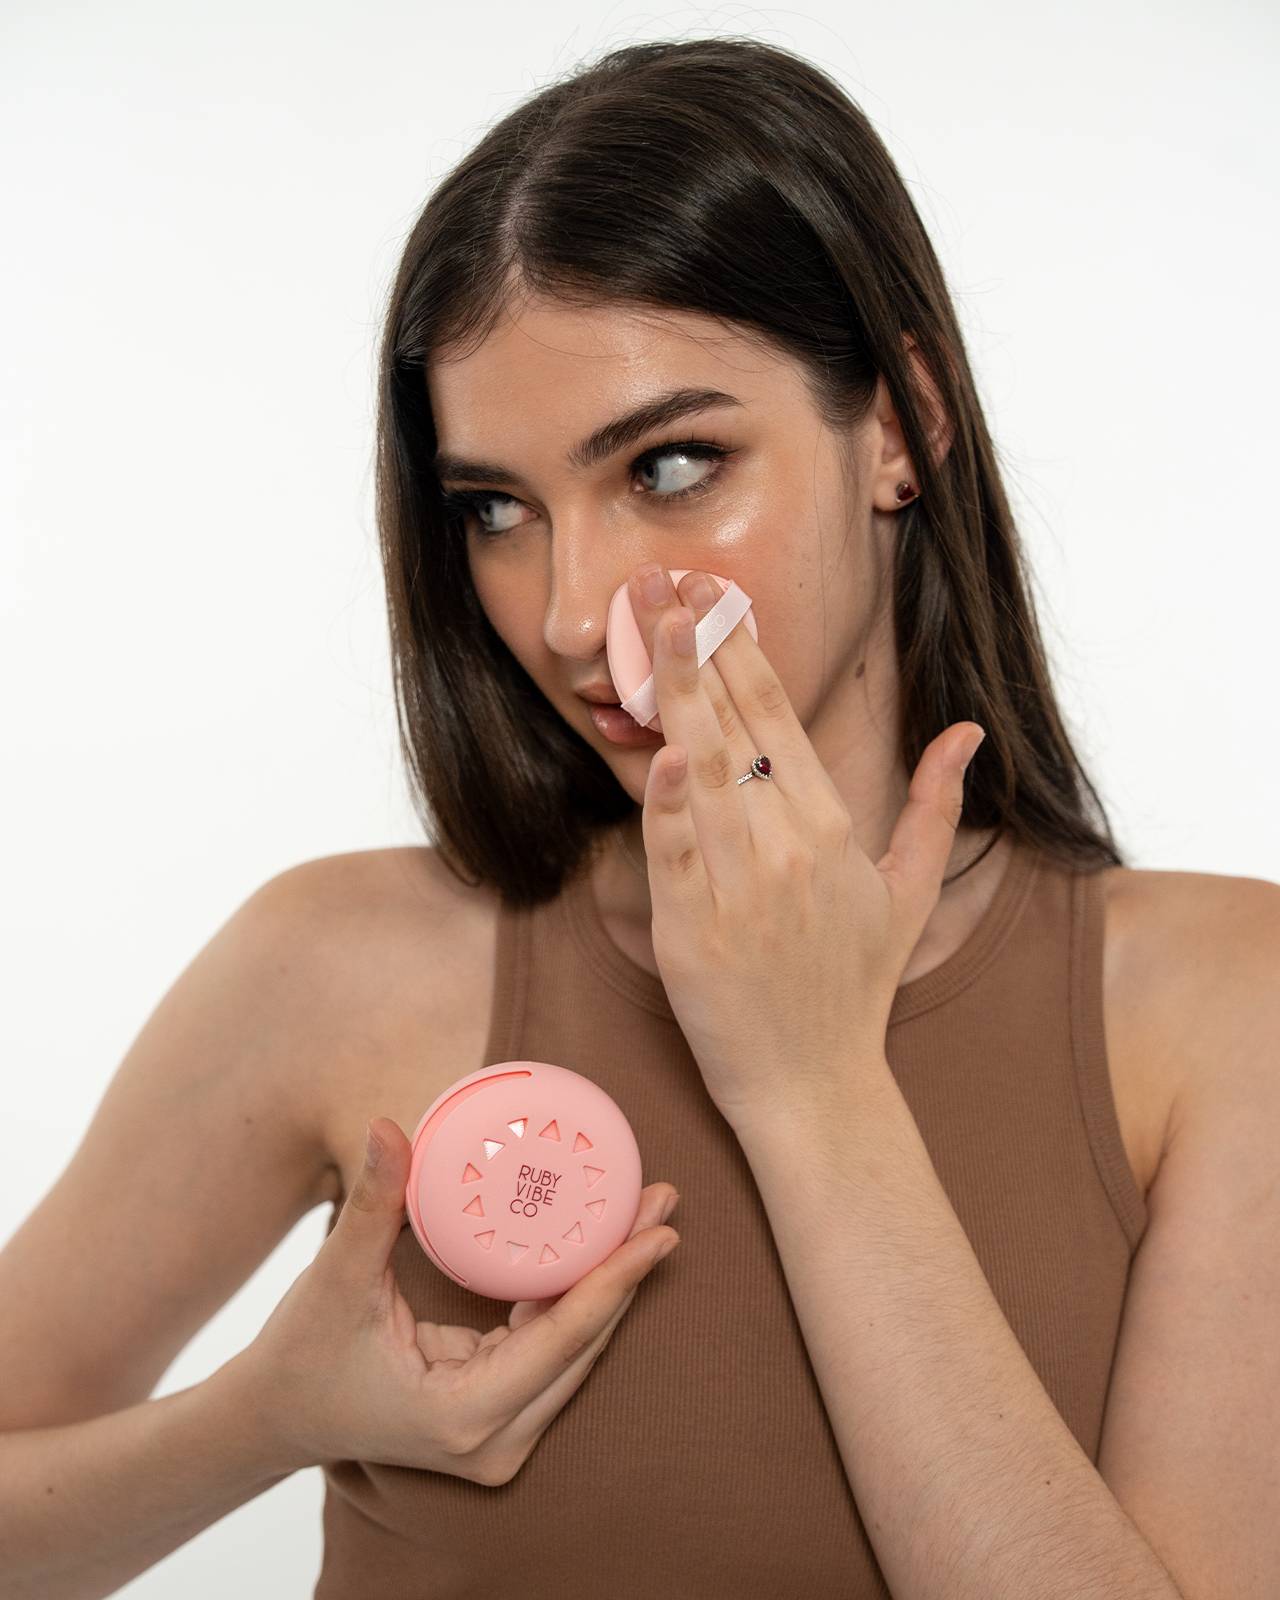
Step 4: Set Your Lipstick for All-Day Wear
Finally, once the color is on, you need to set it to ensure it stays flawless for hours.
- Blot with a Tissue: Gently blot your lips with a tissue. This removes any excess product and helps prevent smudging or transferring.
- The Translucent Powder Trick: For a truly long-lasting finish, take a clean tissue and gently place it over your lips. Then, with a small fluffy brush, lightly dust a translucent setting powder over the tissue. This locks the color in place without dulling its vibrancy.
Step 5: The Finishing Touch
By following these steps, your nude lipstick will stay perfect for hours. Remember to carry your lipstick with you for any necessary touch-ups, especially after eating or drinking. A quick re-application in the center of your lips is often all you need to keep your pout looking fresh and flawless throughout the day.
Leave a Reply