
Your cart is currently empty!
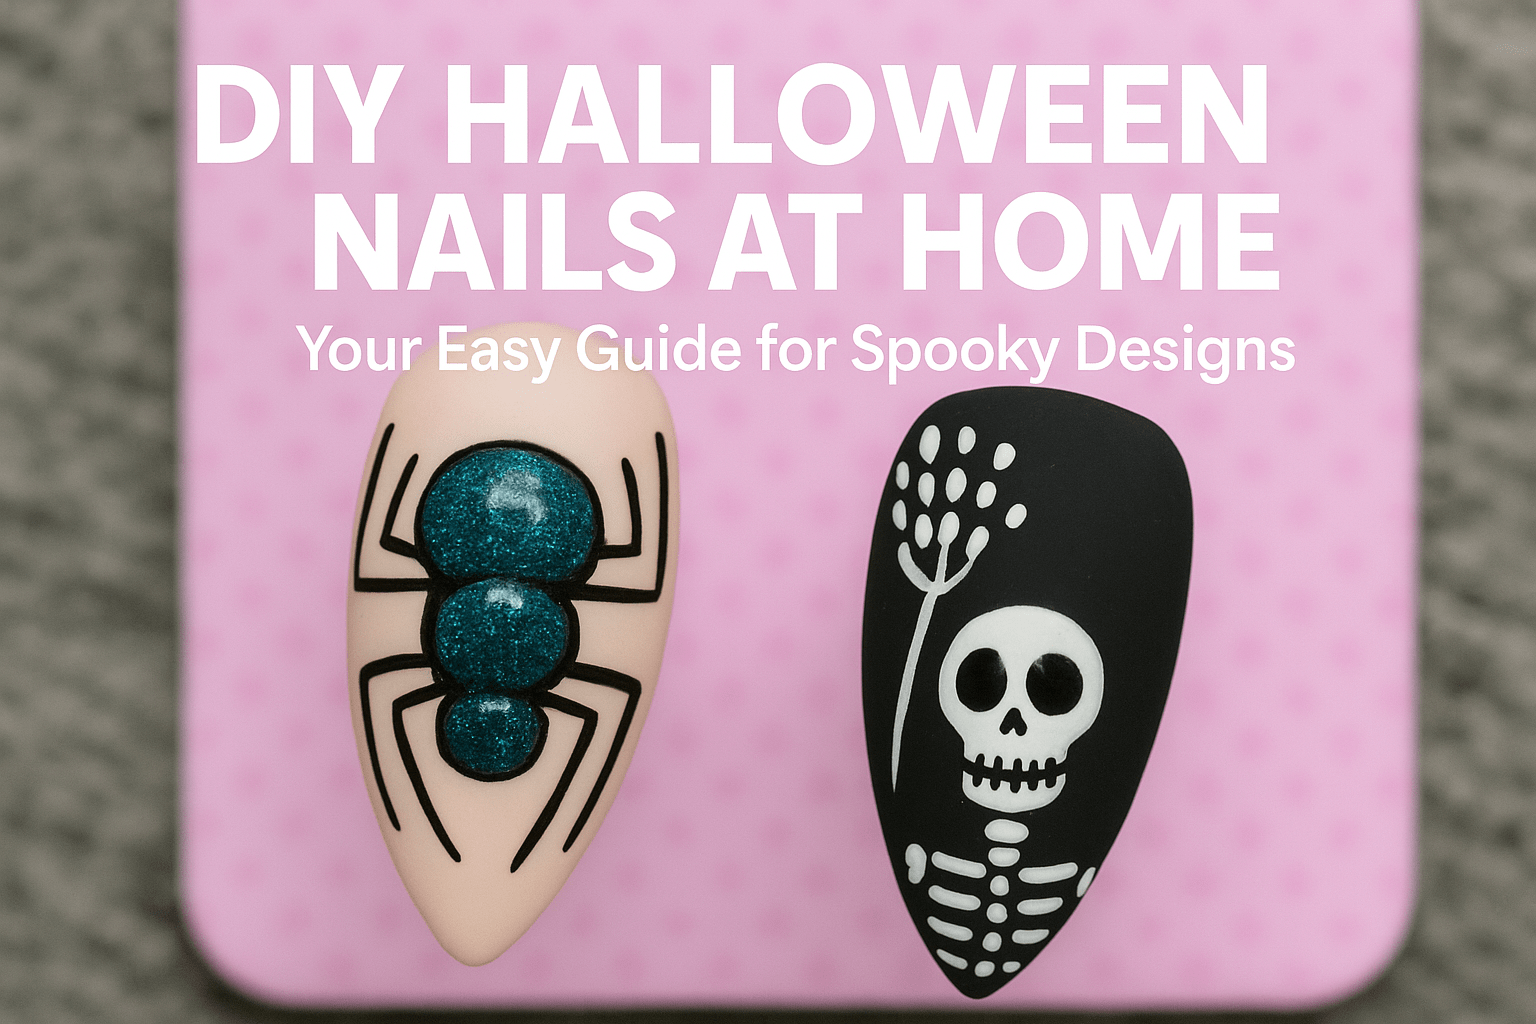
DIY Halloween Nails at Home: Your Easy Guide for Spooky Designs
Learn how to create spooky Halloween nails from home. This DIY guide covers everything from prep to polish, making it easy for beginners.
Achieving Professional Halloween Nails at Home
Creating beautiful Halloween nails at home is an achievable goal for anyone. You don’t need to be a professional nail artist to master this technique. This step-by-step guide is designed to help you create a stunning spooky manicure from the comfort of your own home. We will cover all the essential tools and provide detailed instructions. Furthermore, we will include some pro tips to ensure your manicure looks flawless. By following these simple steps, you will be well on your way to becoming a Halloween nail expert.
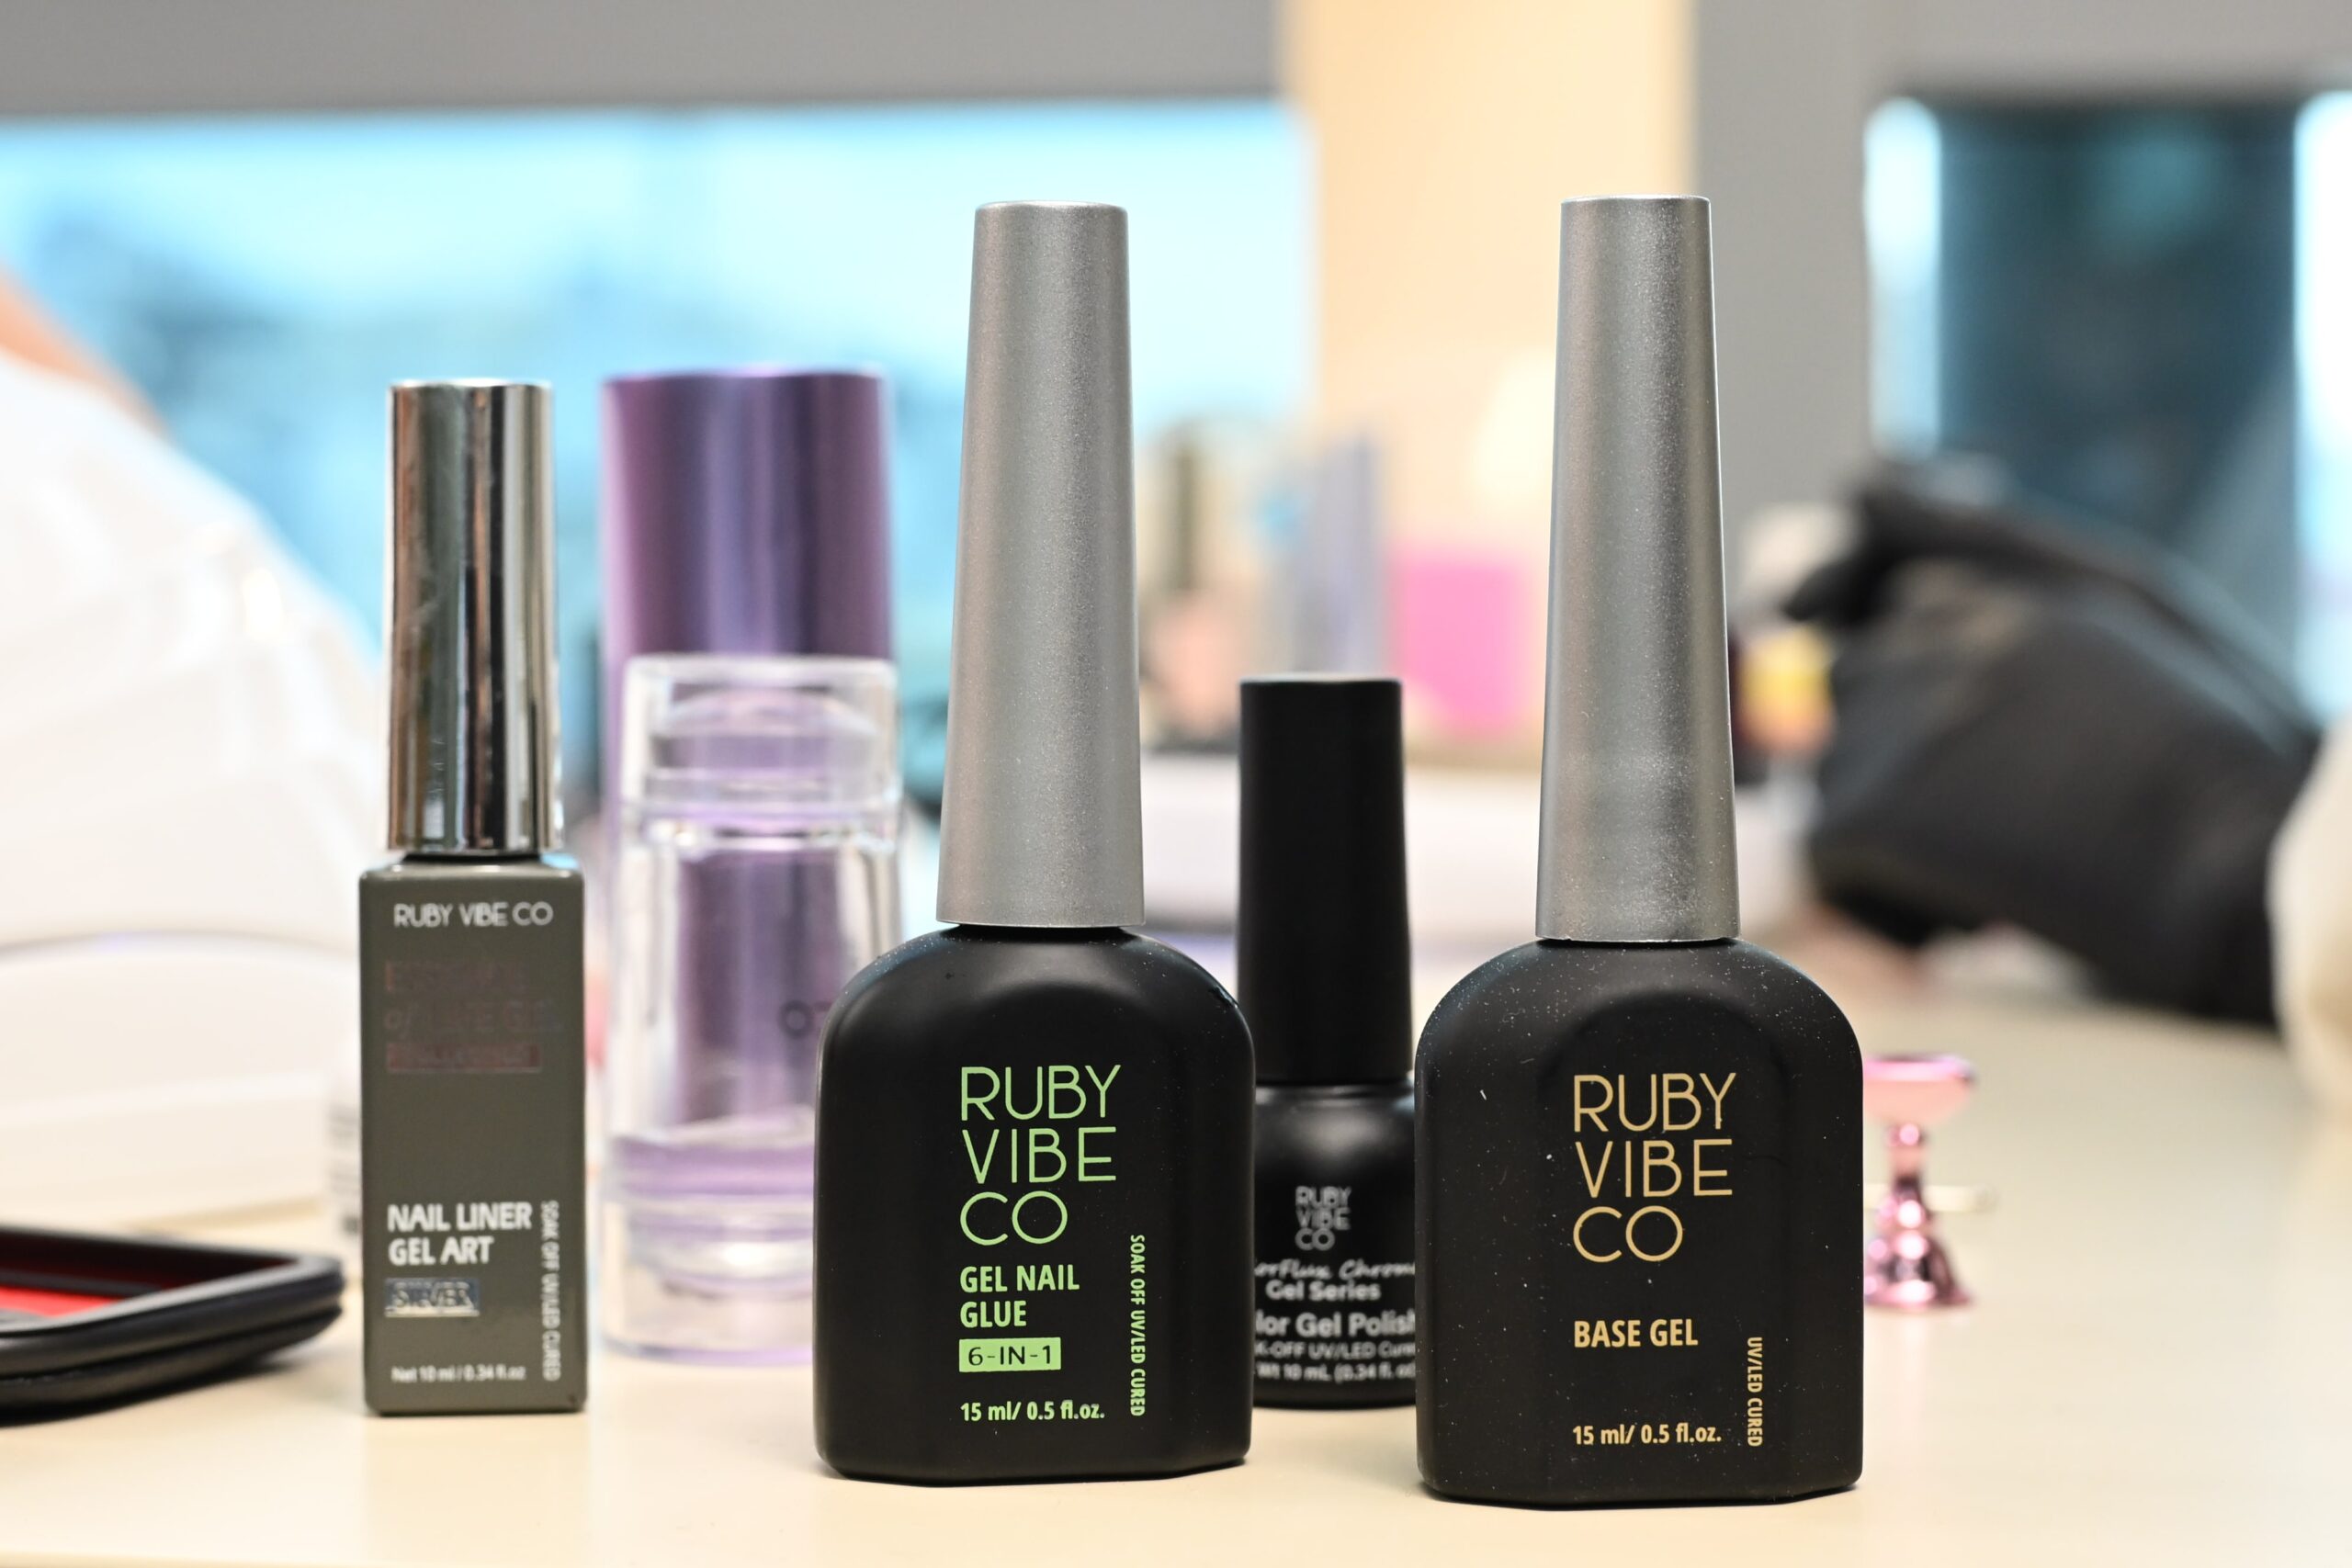
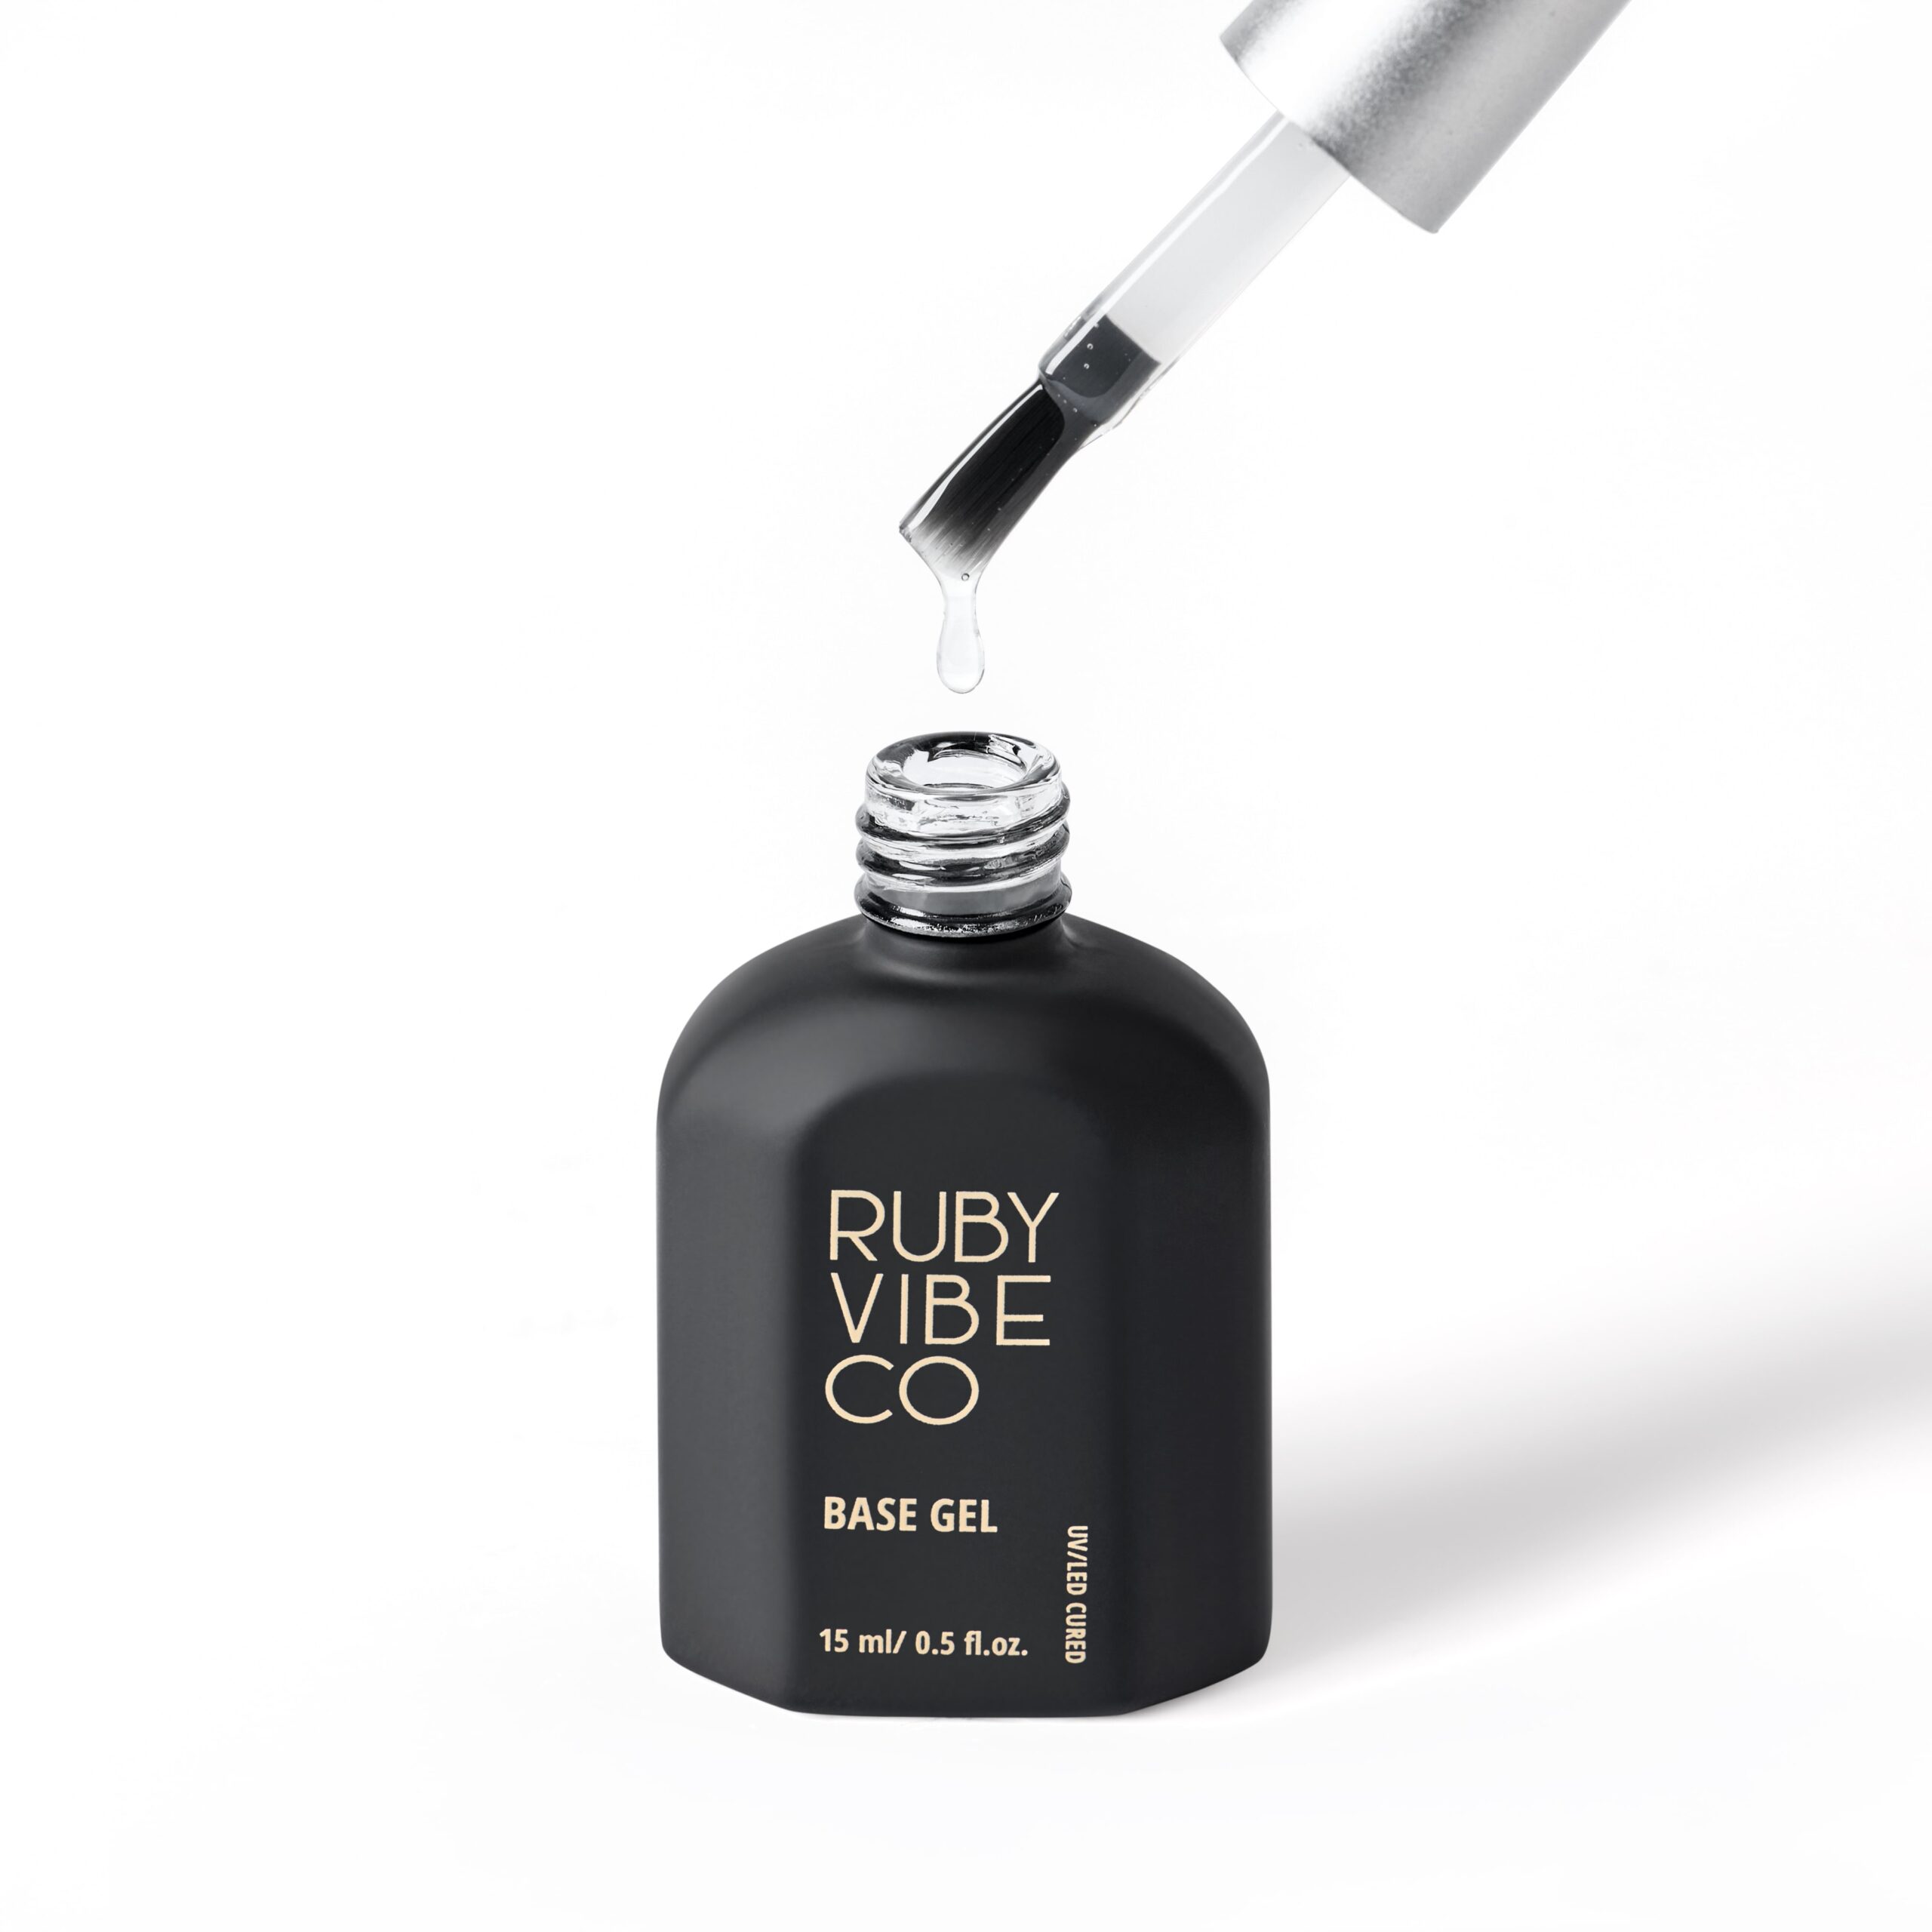
Before you start, gather all your supplies. You will need a base coat, a top coat, and your chosen Halloween-themed polishes, such as black, orange, purple, and green. Additionally, it is a good idea to have a fine-tipped nail art brush and a dotting tool. Most importantly, having some nail polish remover and cotton swabs is a game-changer. This helps with cleanup and fixing any mistakes. Having everything organized will make the process much smoother.
The first and most crucial step is nail preparation. First, file your nails to your desired shape and gently push back your cuticles. Afterward, use a buffer to smooth the nail surface. This is crucial because it ensures the polish adheres evenly without any bumps. Subsequently, clean your nails with a cotton ball soaked in nail polish remover to get rid of any oils or residue. Finally, apply a thin layer of base coat to protect your nails and create a smooth canvas. Let this layer dry completely before moving on.
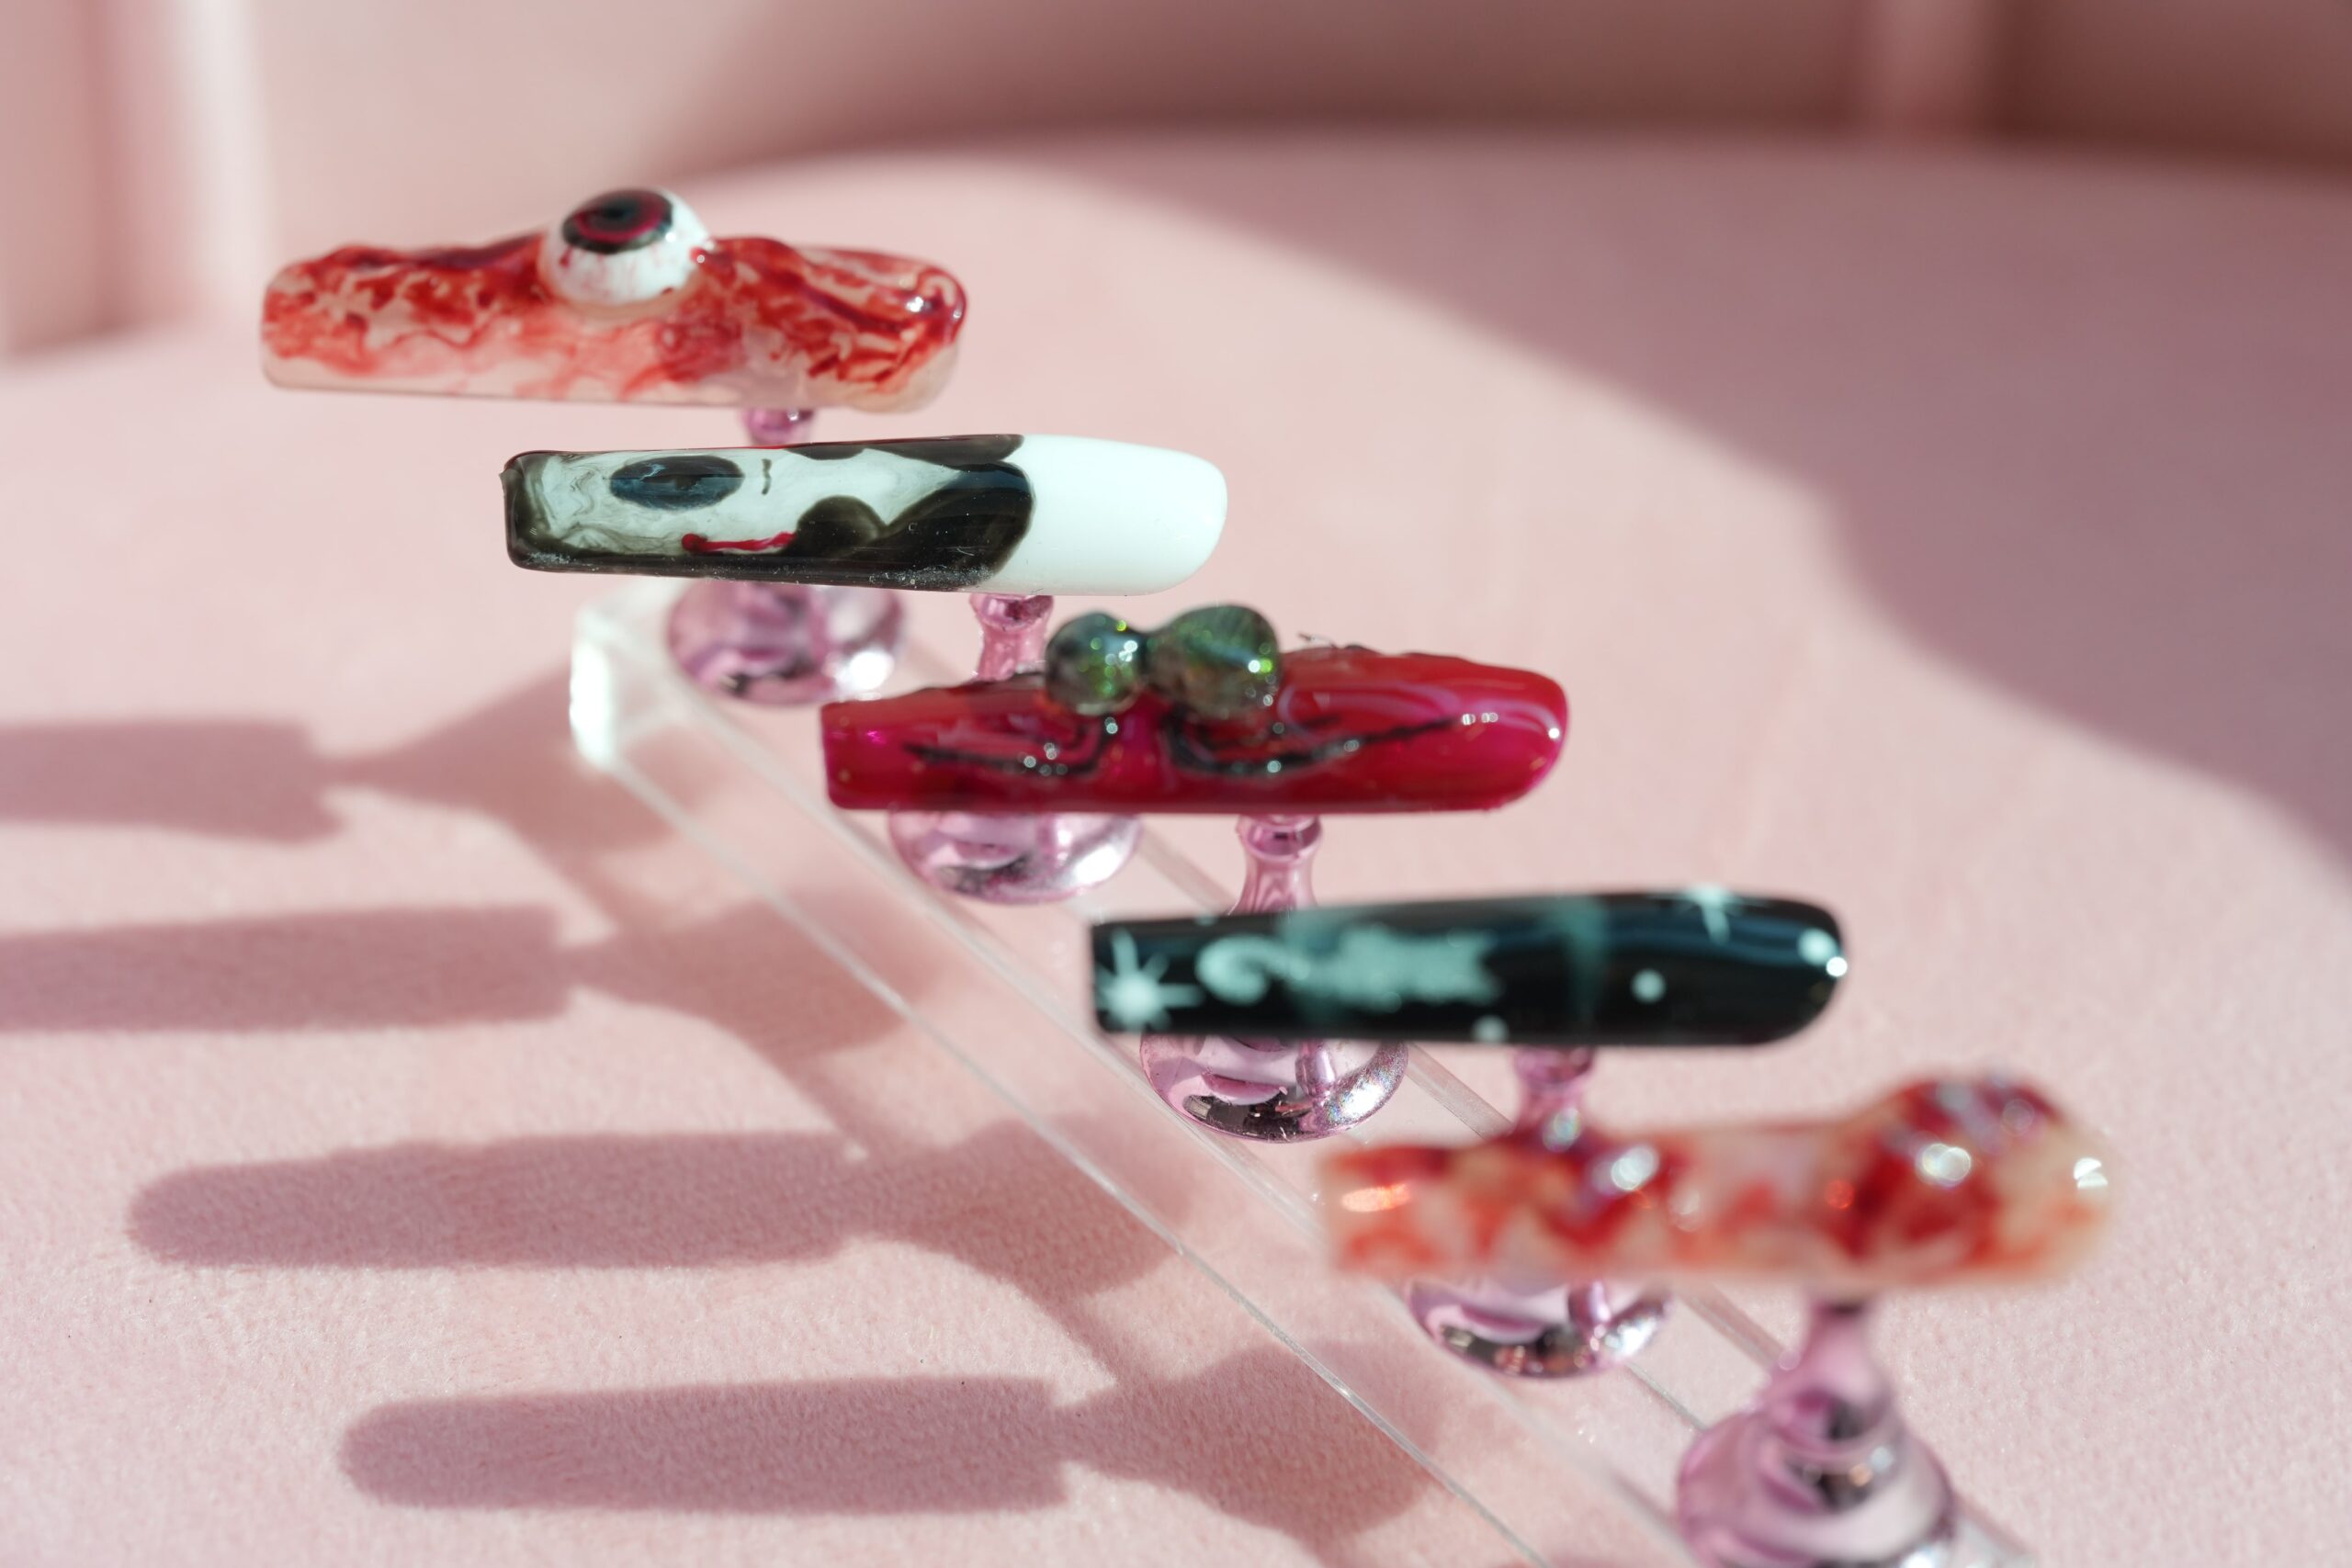
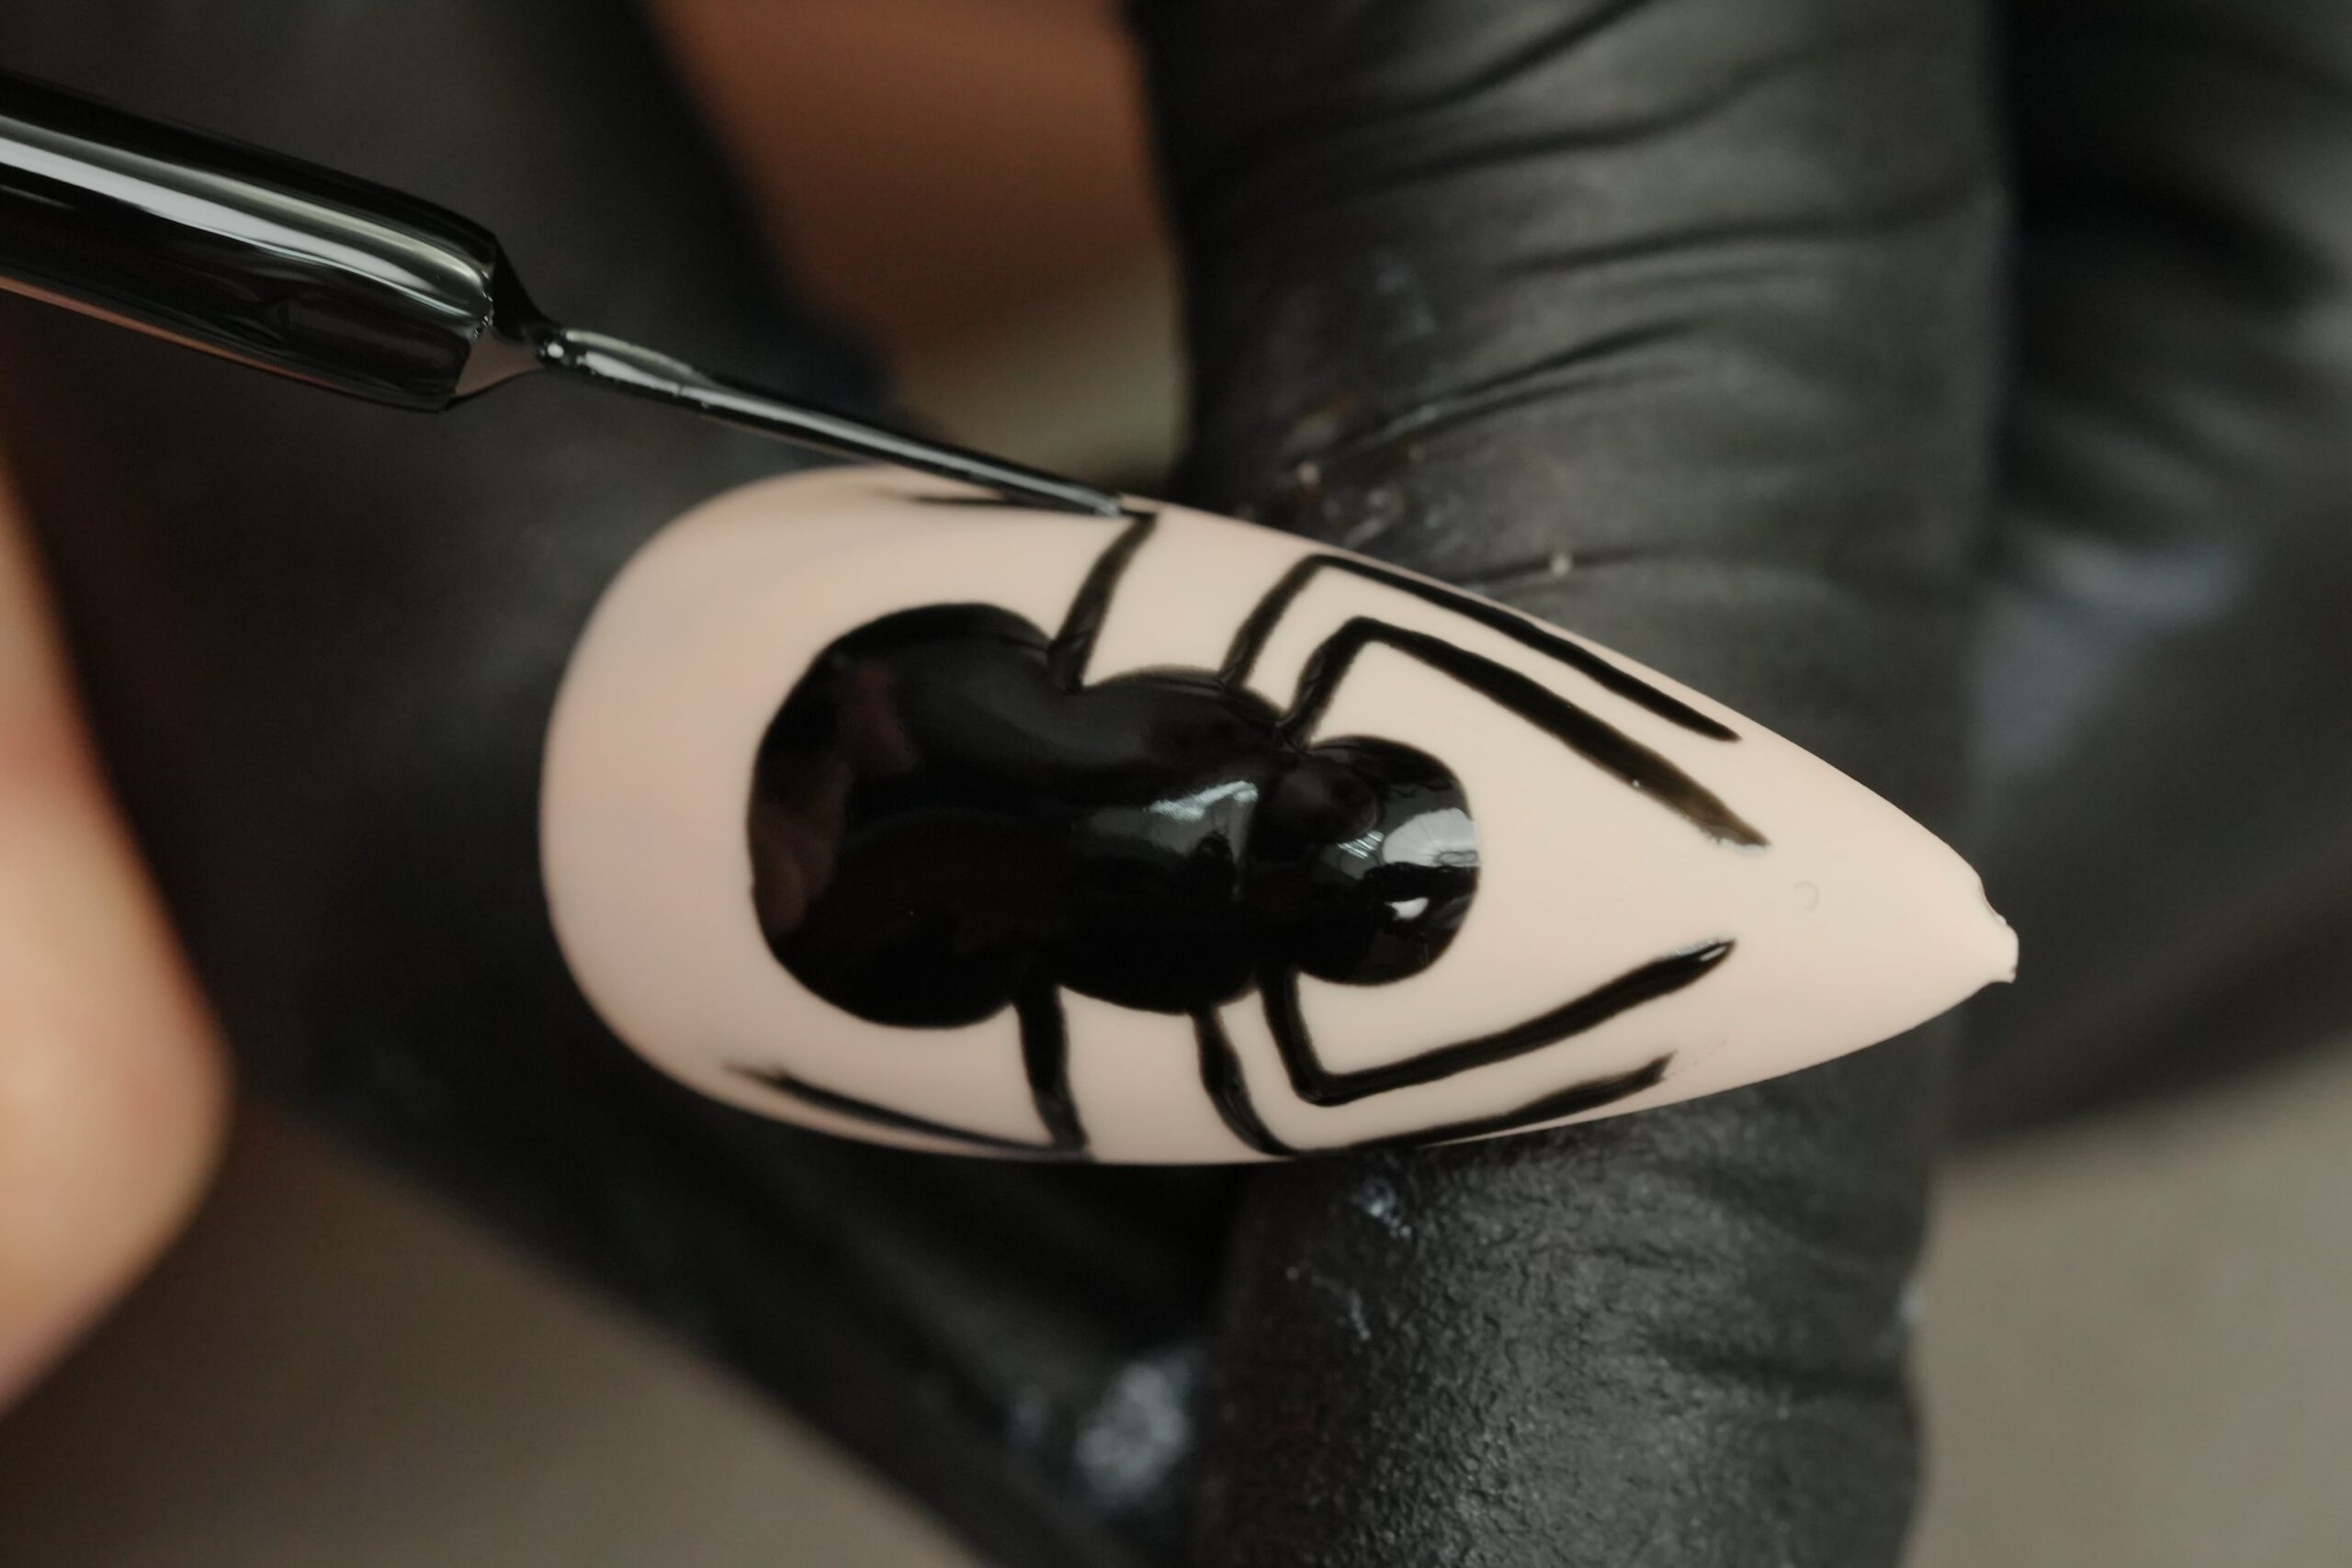
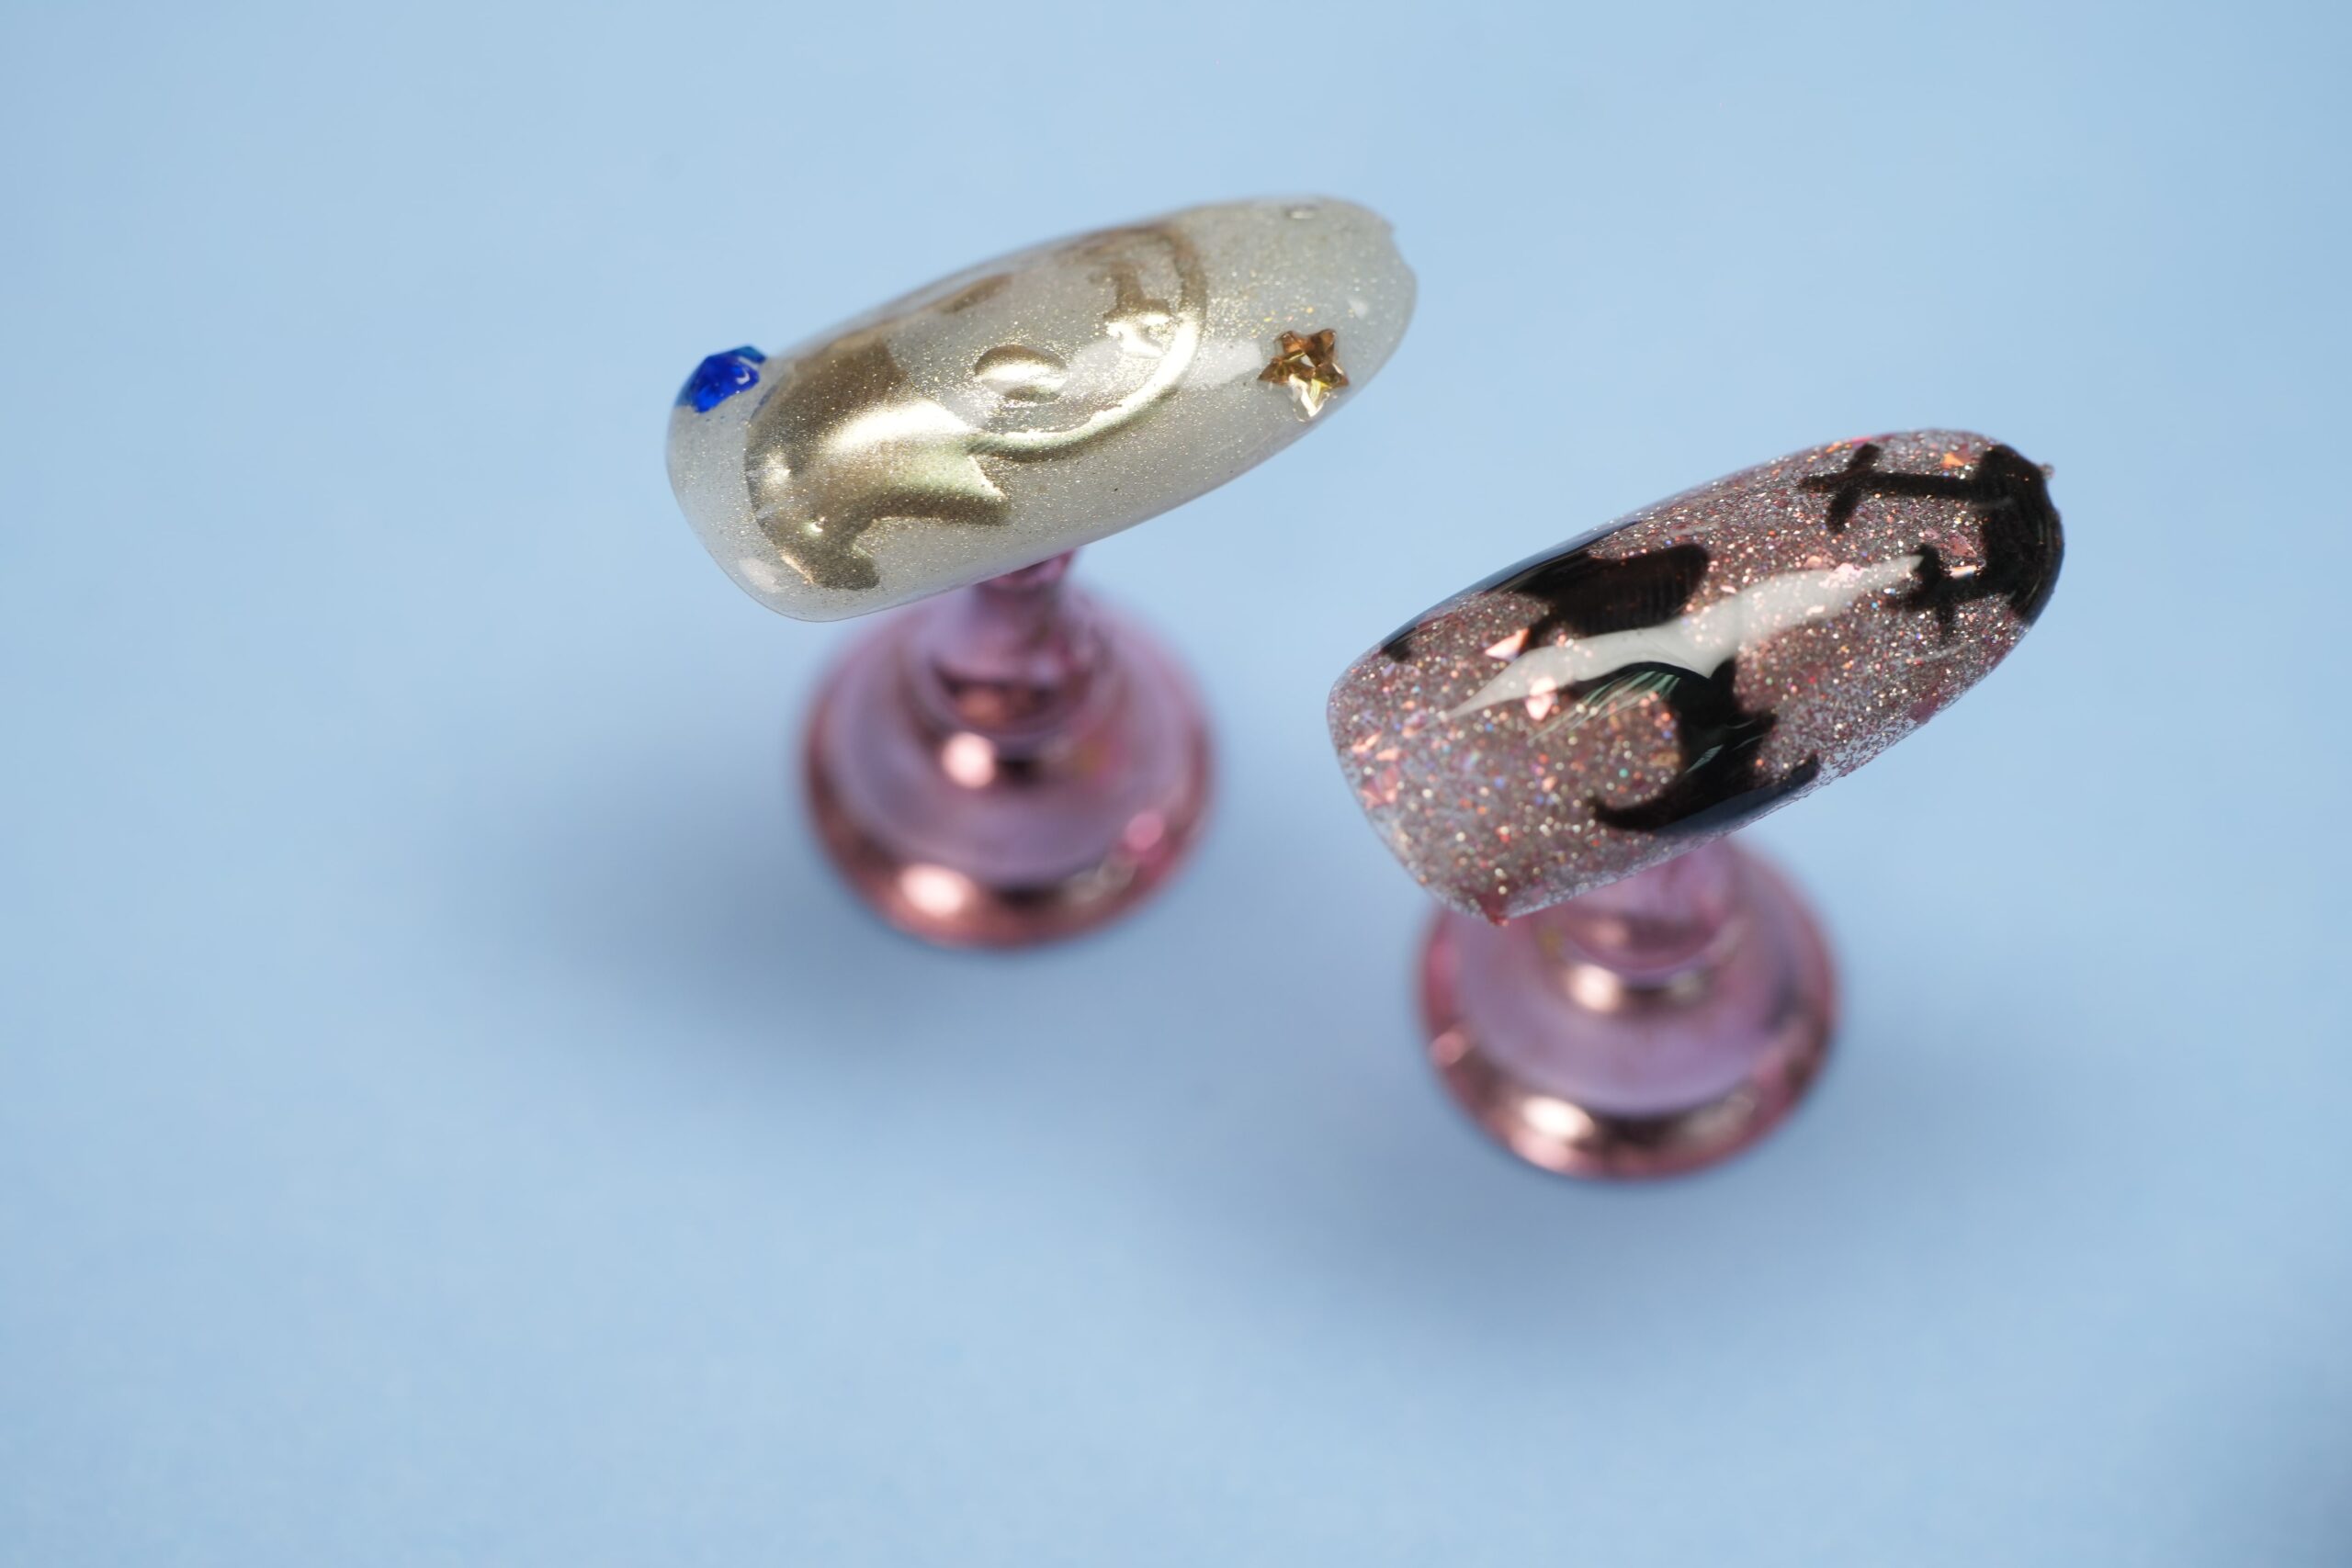
Now for the fun part: the design. First, apply two thin coats of your base color and let them dry completely. After that, use your nail art tools to create your spooky designs. For a simple ghost, for instance, dip your dotting tool in white polish and press it onto your nail. Then, drag the dot downwards to create the ghost’s tail. Add two small dots for eyes with black polish. For a spiderweb, draw thin lines from the tip of the nail to the base, and then connect them with curved lines. Repeat this step for all your nails.
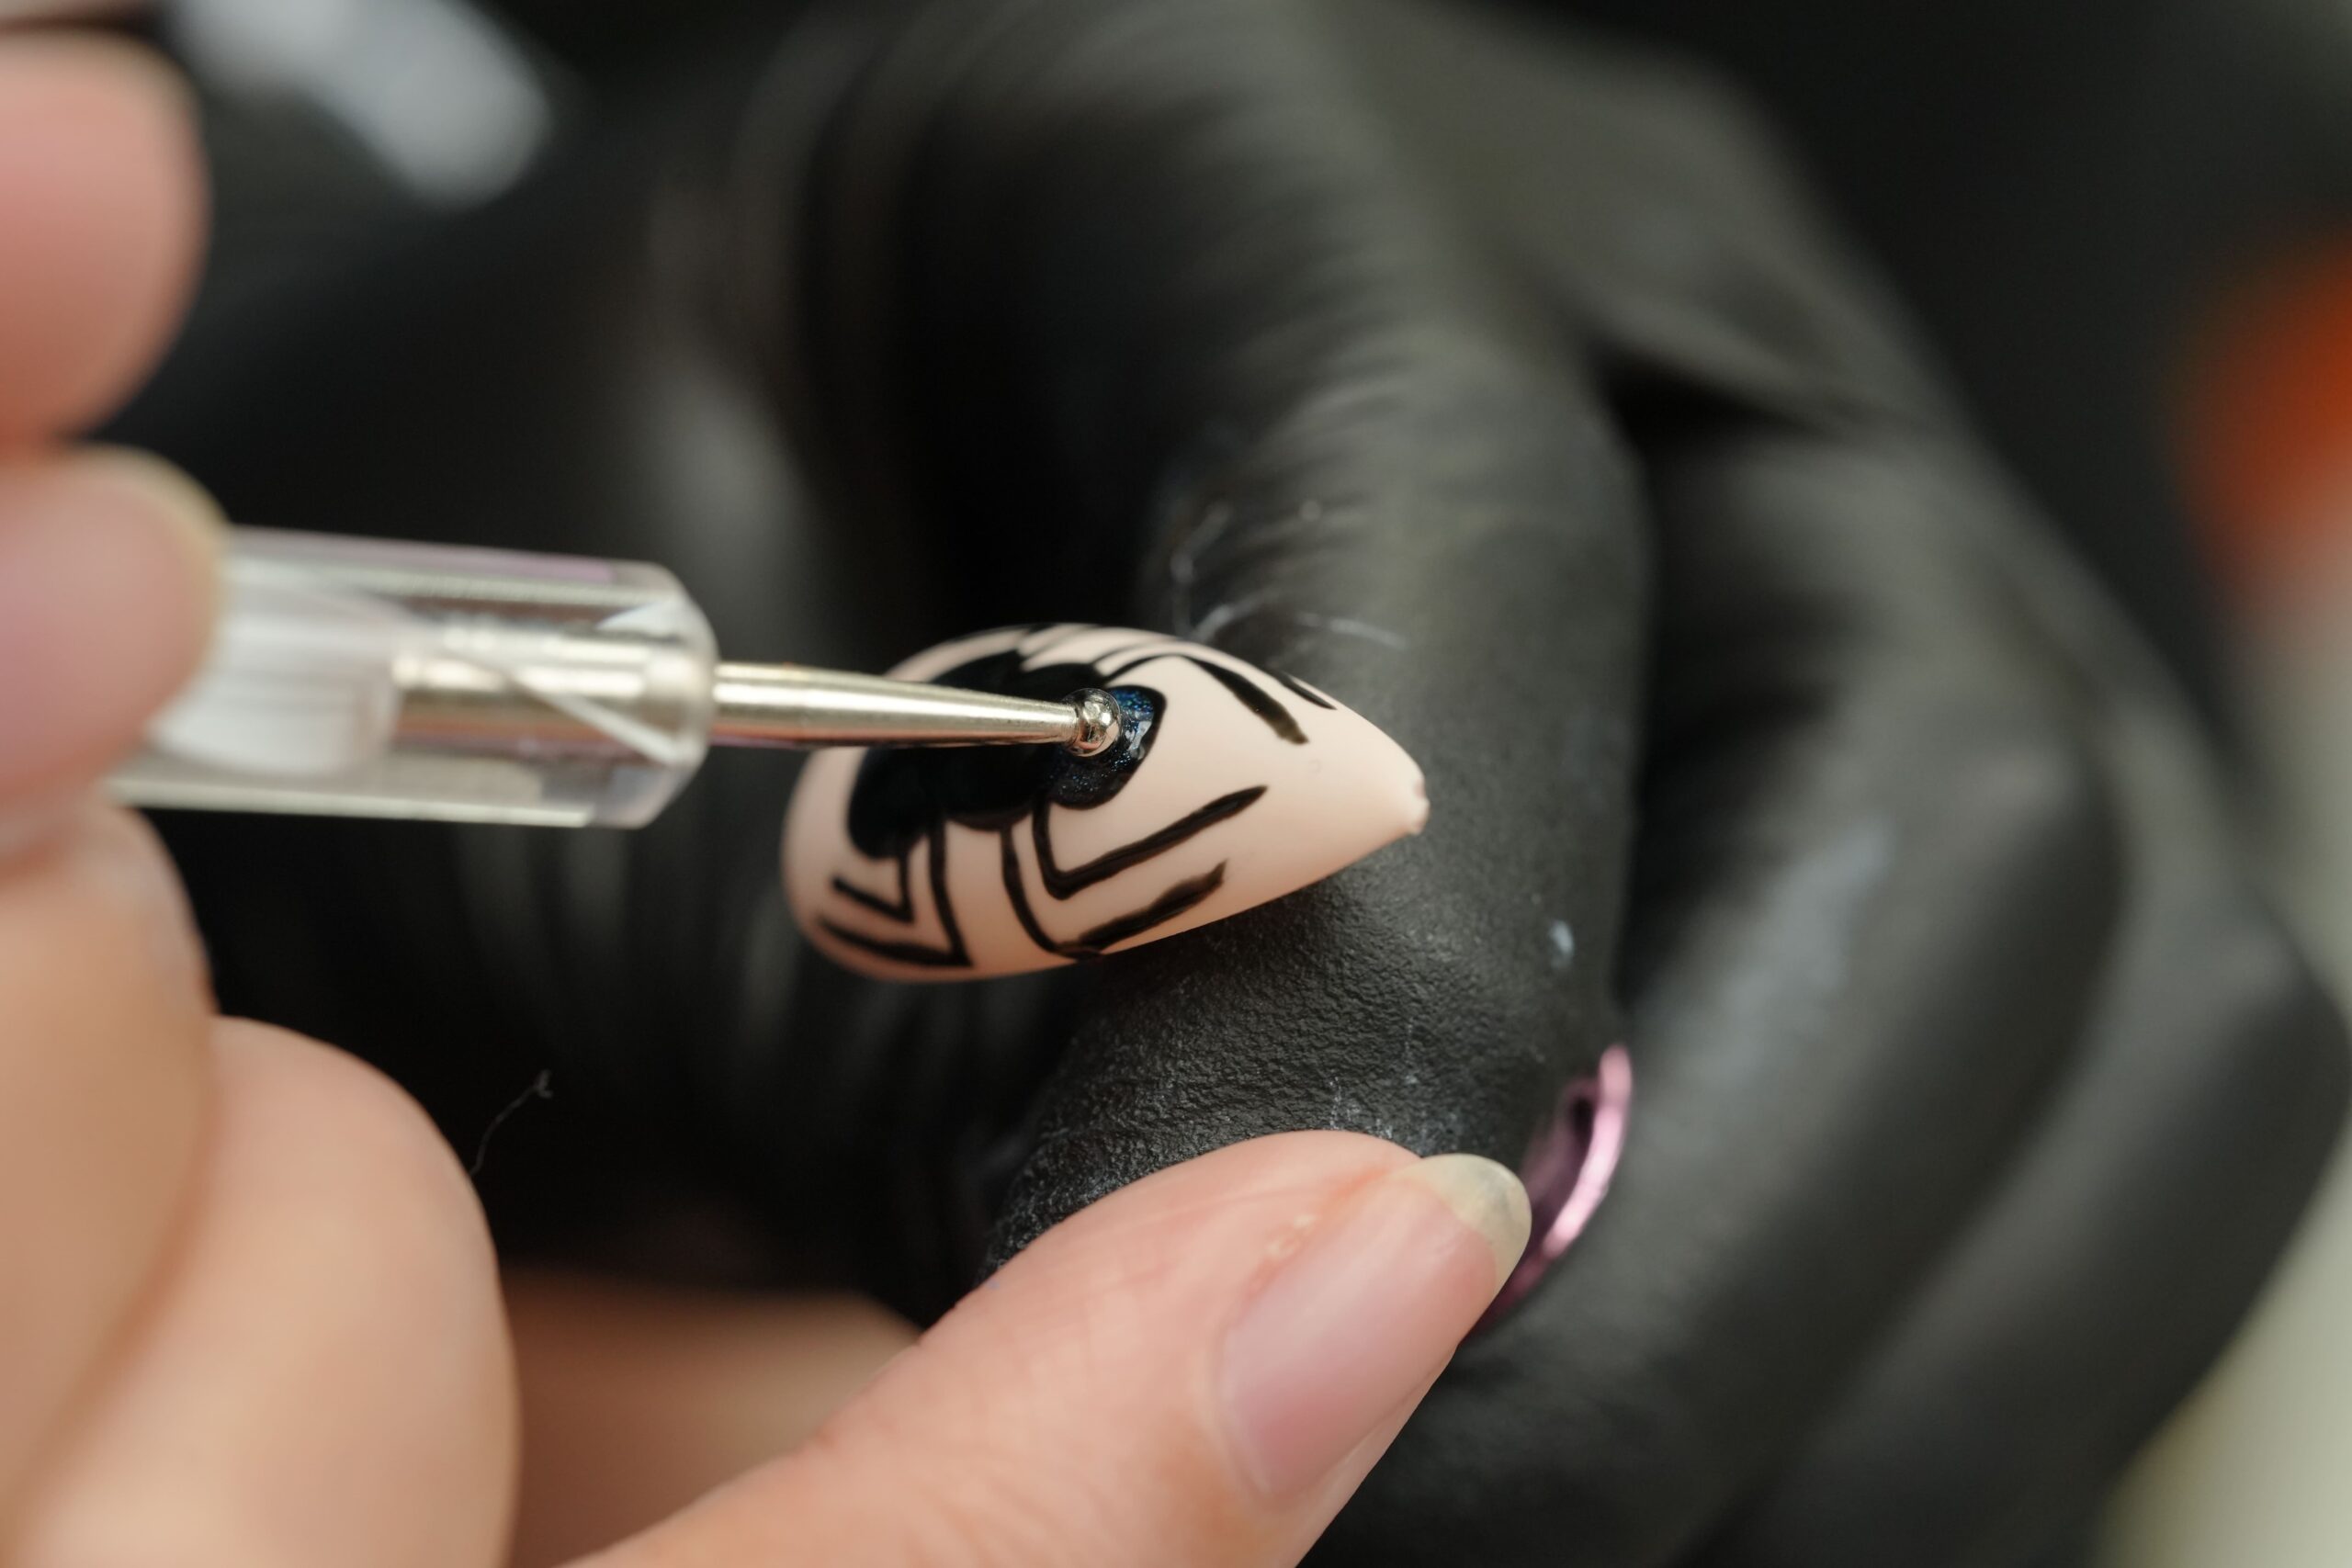
Furthermore, you can use a fine brush to create tiny bats or skulls. The key is to work slowly and be patient with yourself.
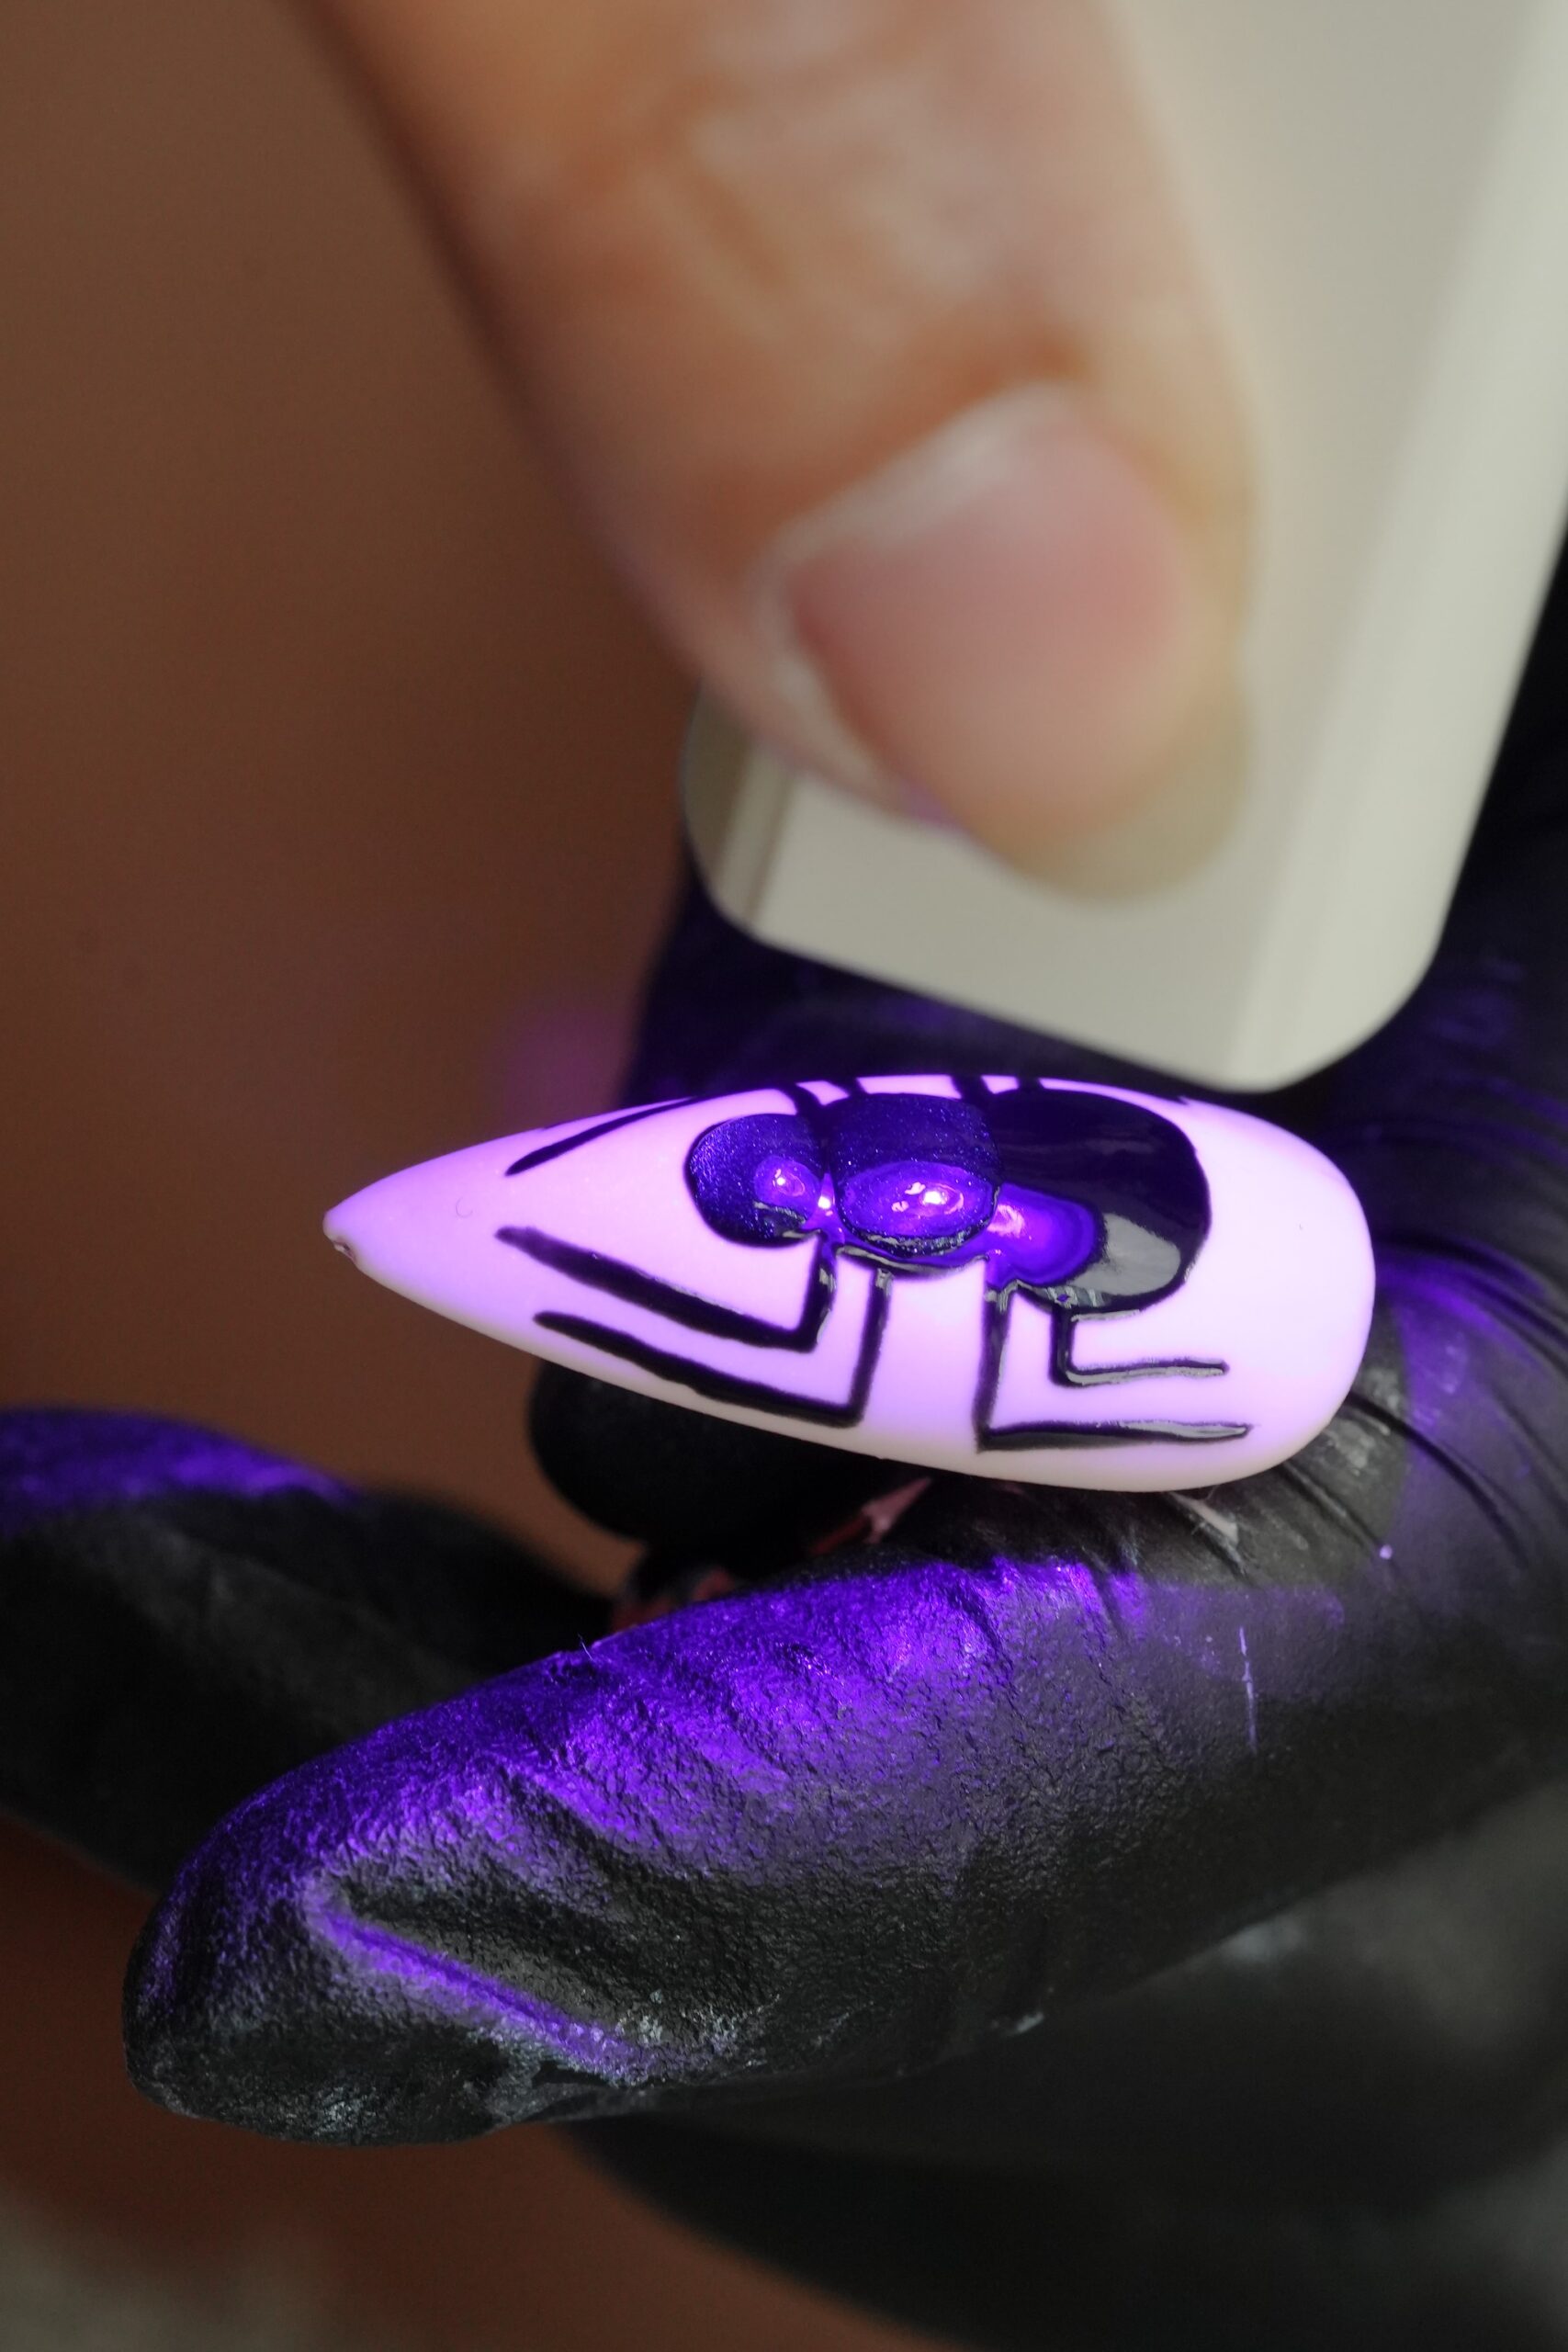
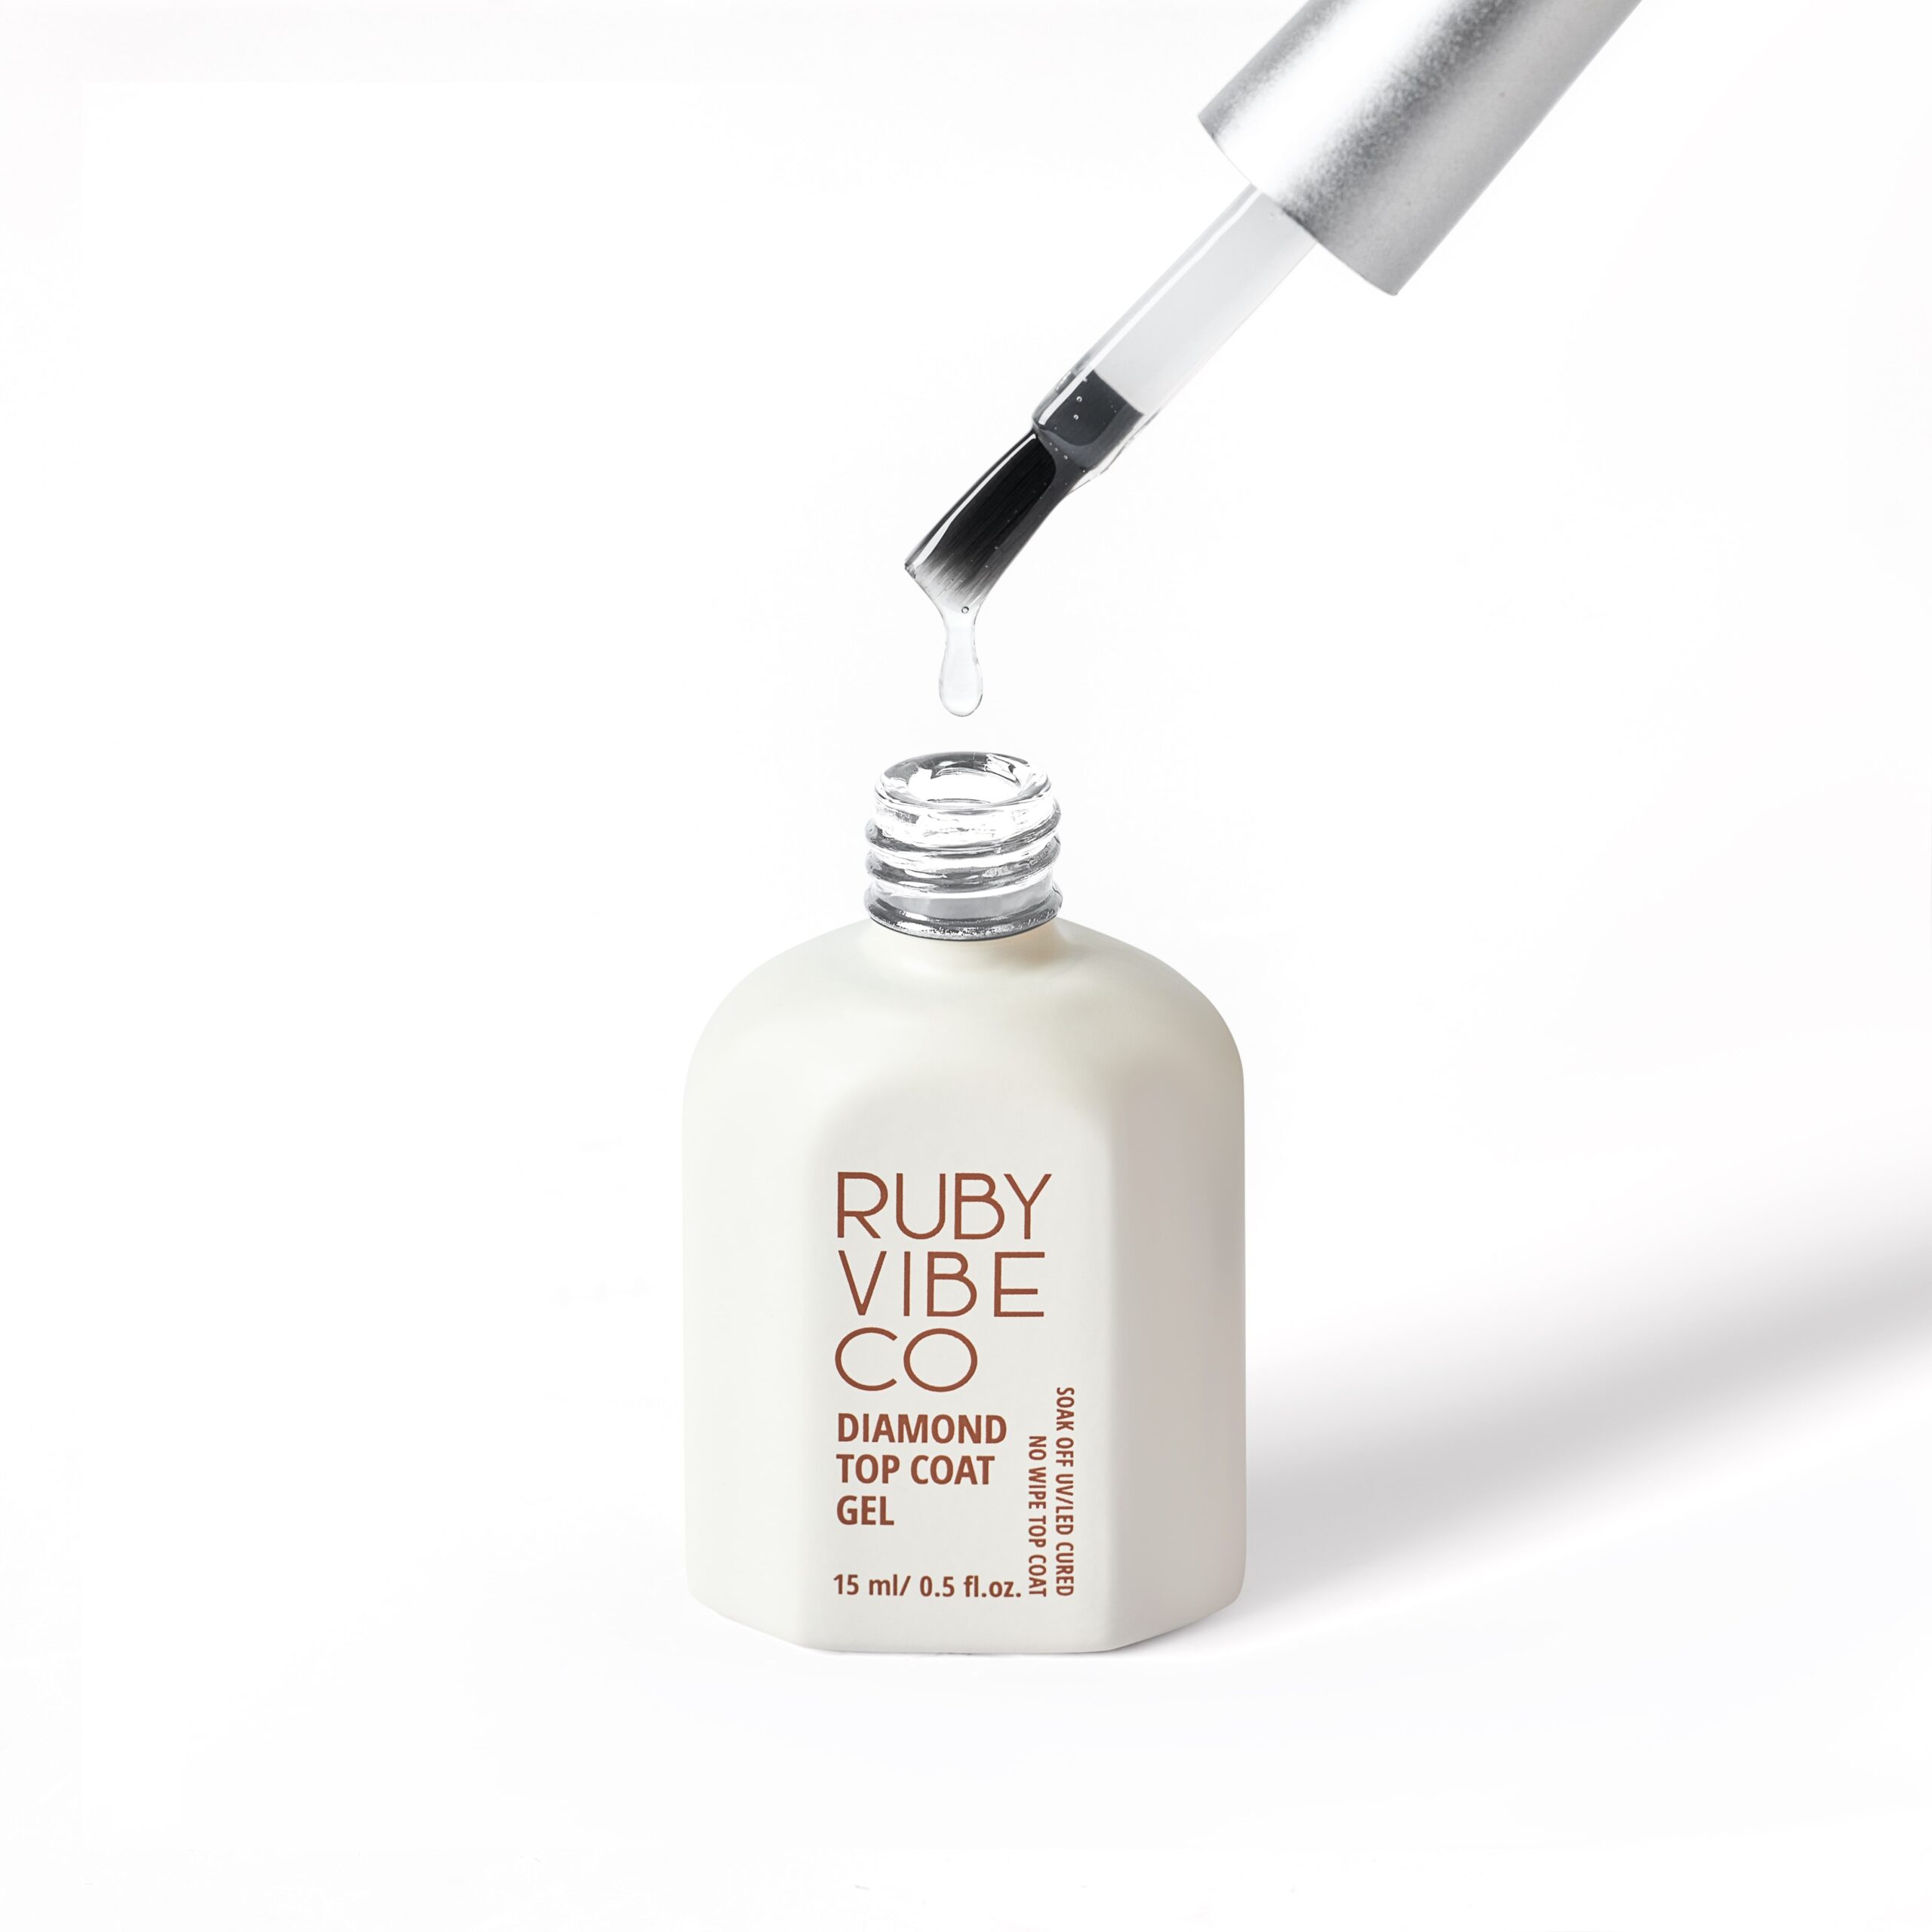
Finally, to finish your masterpiece, apply a generous layer of top coat. This will seal your design and add a glossy finish. In addition, the top coat helps your manicure last longer and prevents chipping. For a truly professional finish, let your nails dry for a few minutes and then apply a second layer of top coat.
As these steps show, with a little practice and patience, you can achieve beautiful Halloween nails right at home.
Leave a Reply