
Your cart is currently empty!

Spooktacular Halloween Nails: Your Ultimate Guide to Frightfully Fun Designs
Get ready for Halloween with our ultimate guide to spooky nail art. Discover the hottest trends and creative ideas to make your manicure frightfully fun.
The Spooktacular World of Halloween Nails
Halloween nails are an exciting and essential part of the spooky season. They offer a fantastic way to express your festive spirit, from subtle and chic designs to bold and terrifying masterpieces. Consequently, this unique nail art makes a fantastic choice for anyone who wants their nails to stand out during the holiday. Furthermore, Halloween nails are incredibly versatile. You can create them with a wide variety of colors, textures, and themes, which means there’s a perfect style for everyone. In this guide, we will explore everything you need to know about this festive trend. We will discuss the different types of designs, the tools you need, and the step-by-step process to achieve a professional look. Therefore, get ready to dive into the dazzling world of this incredible holiday nail art.
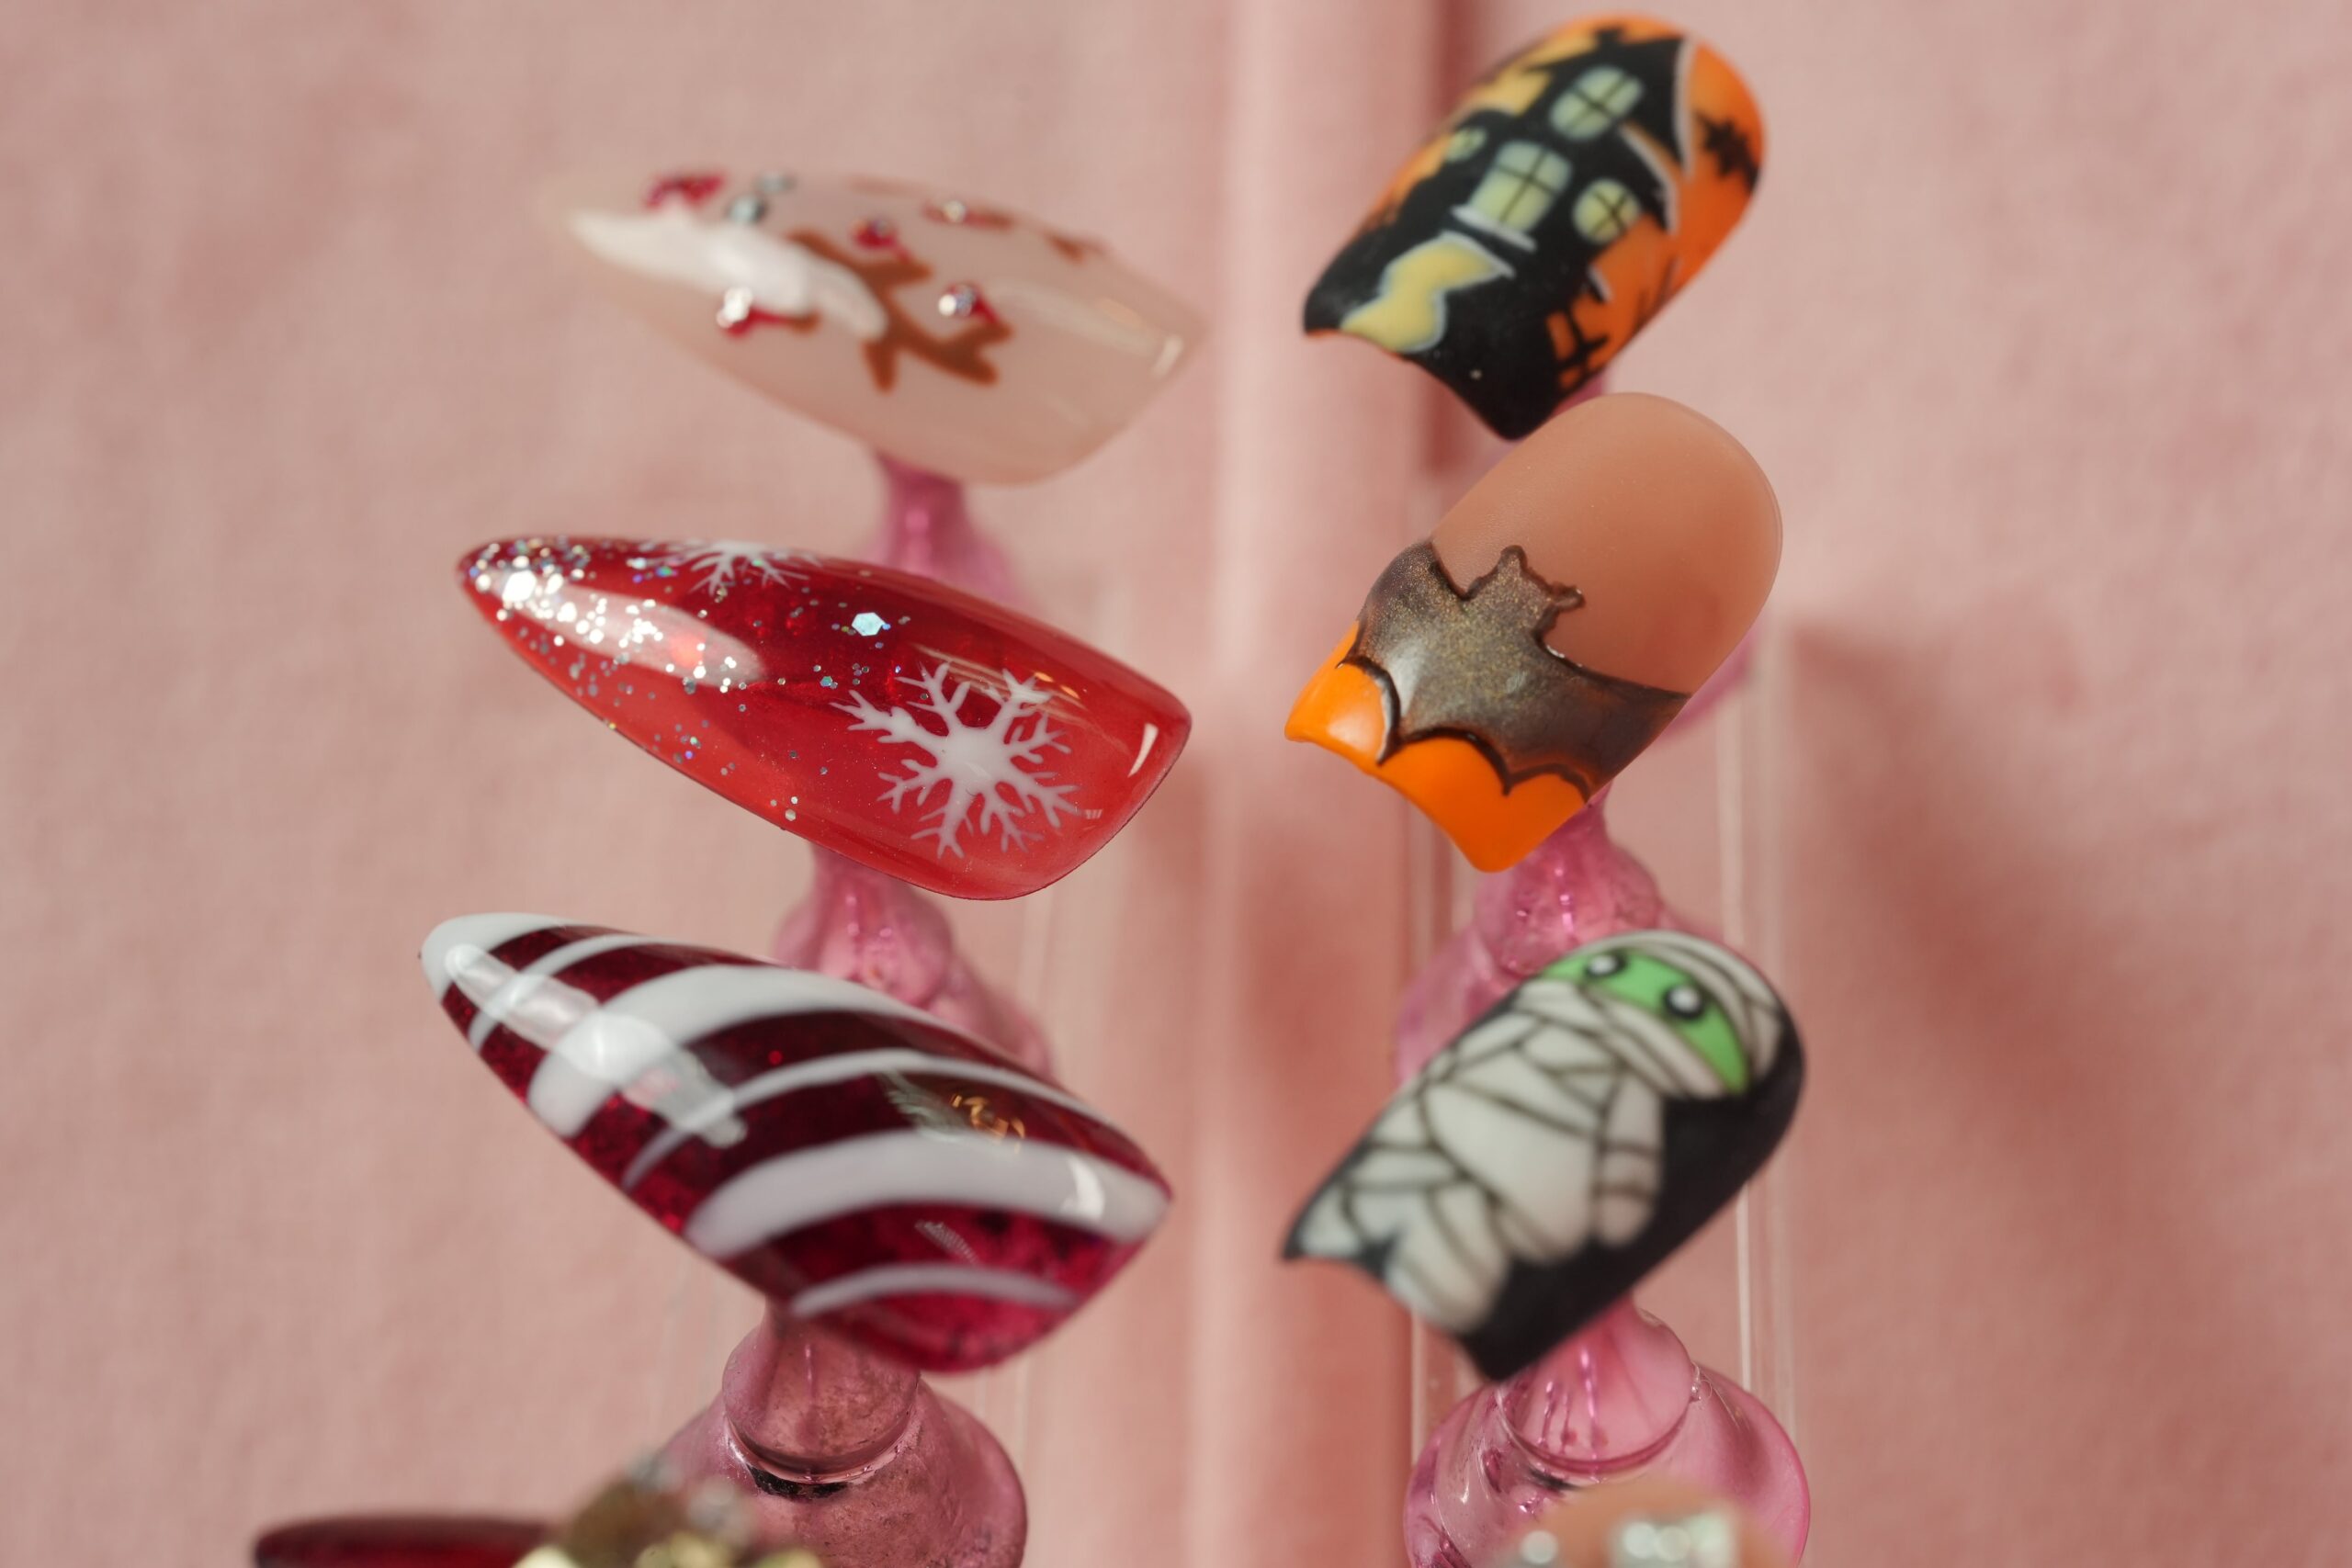
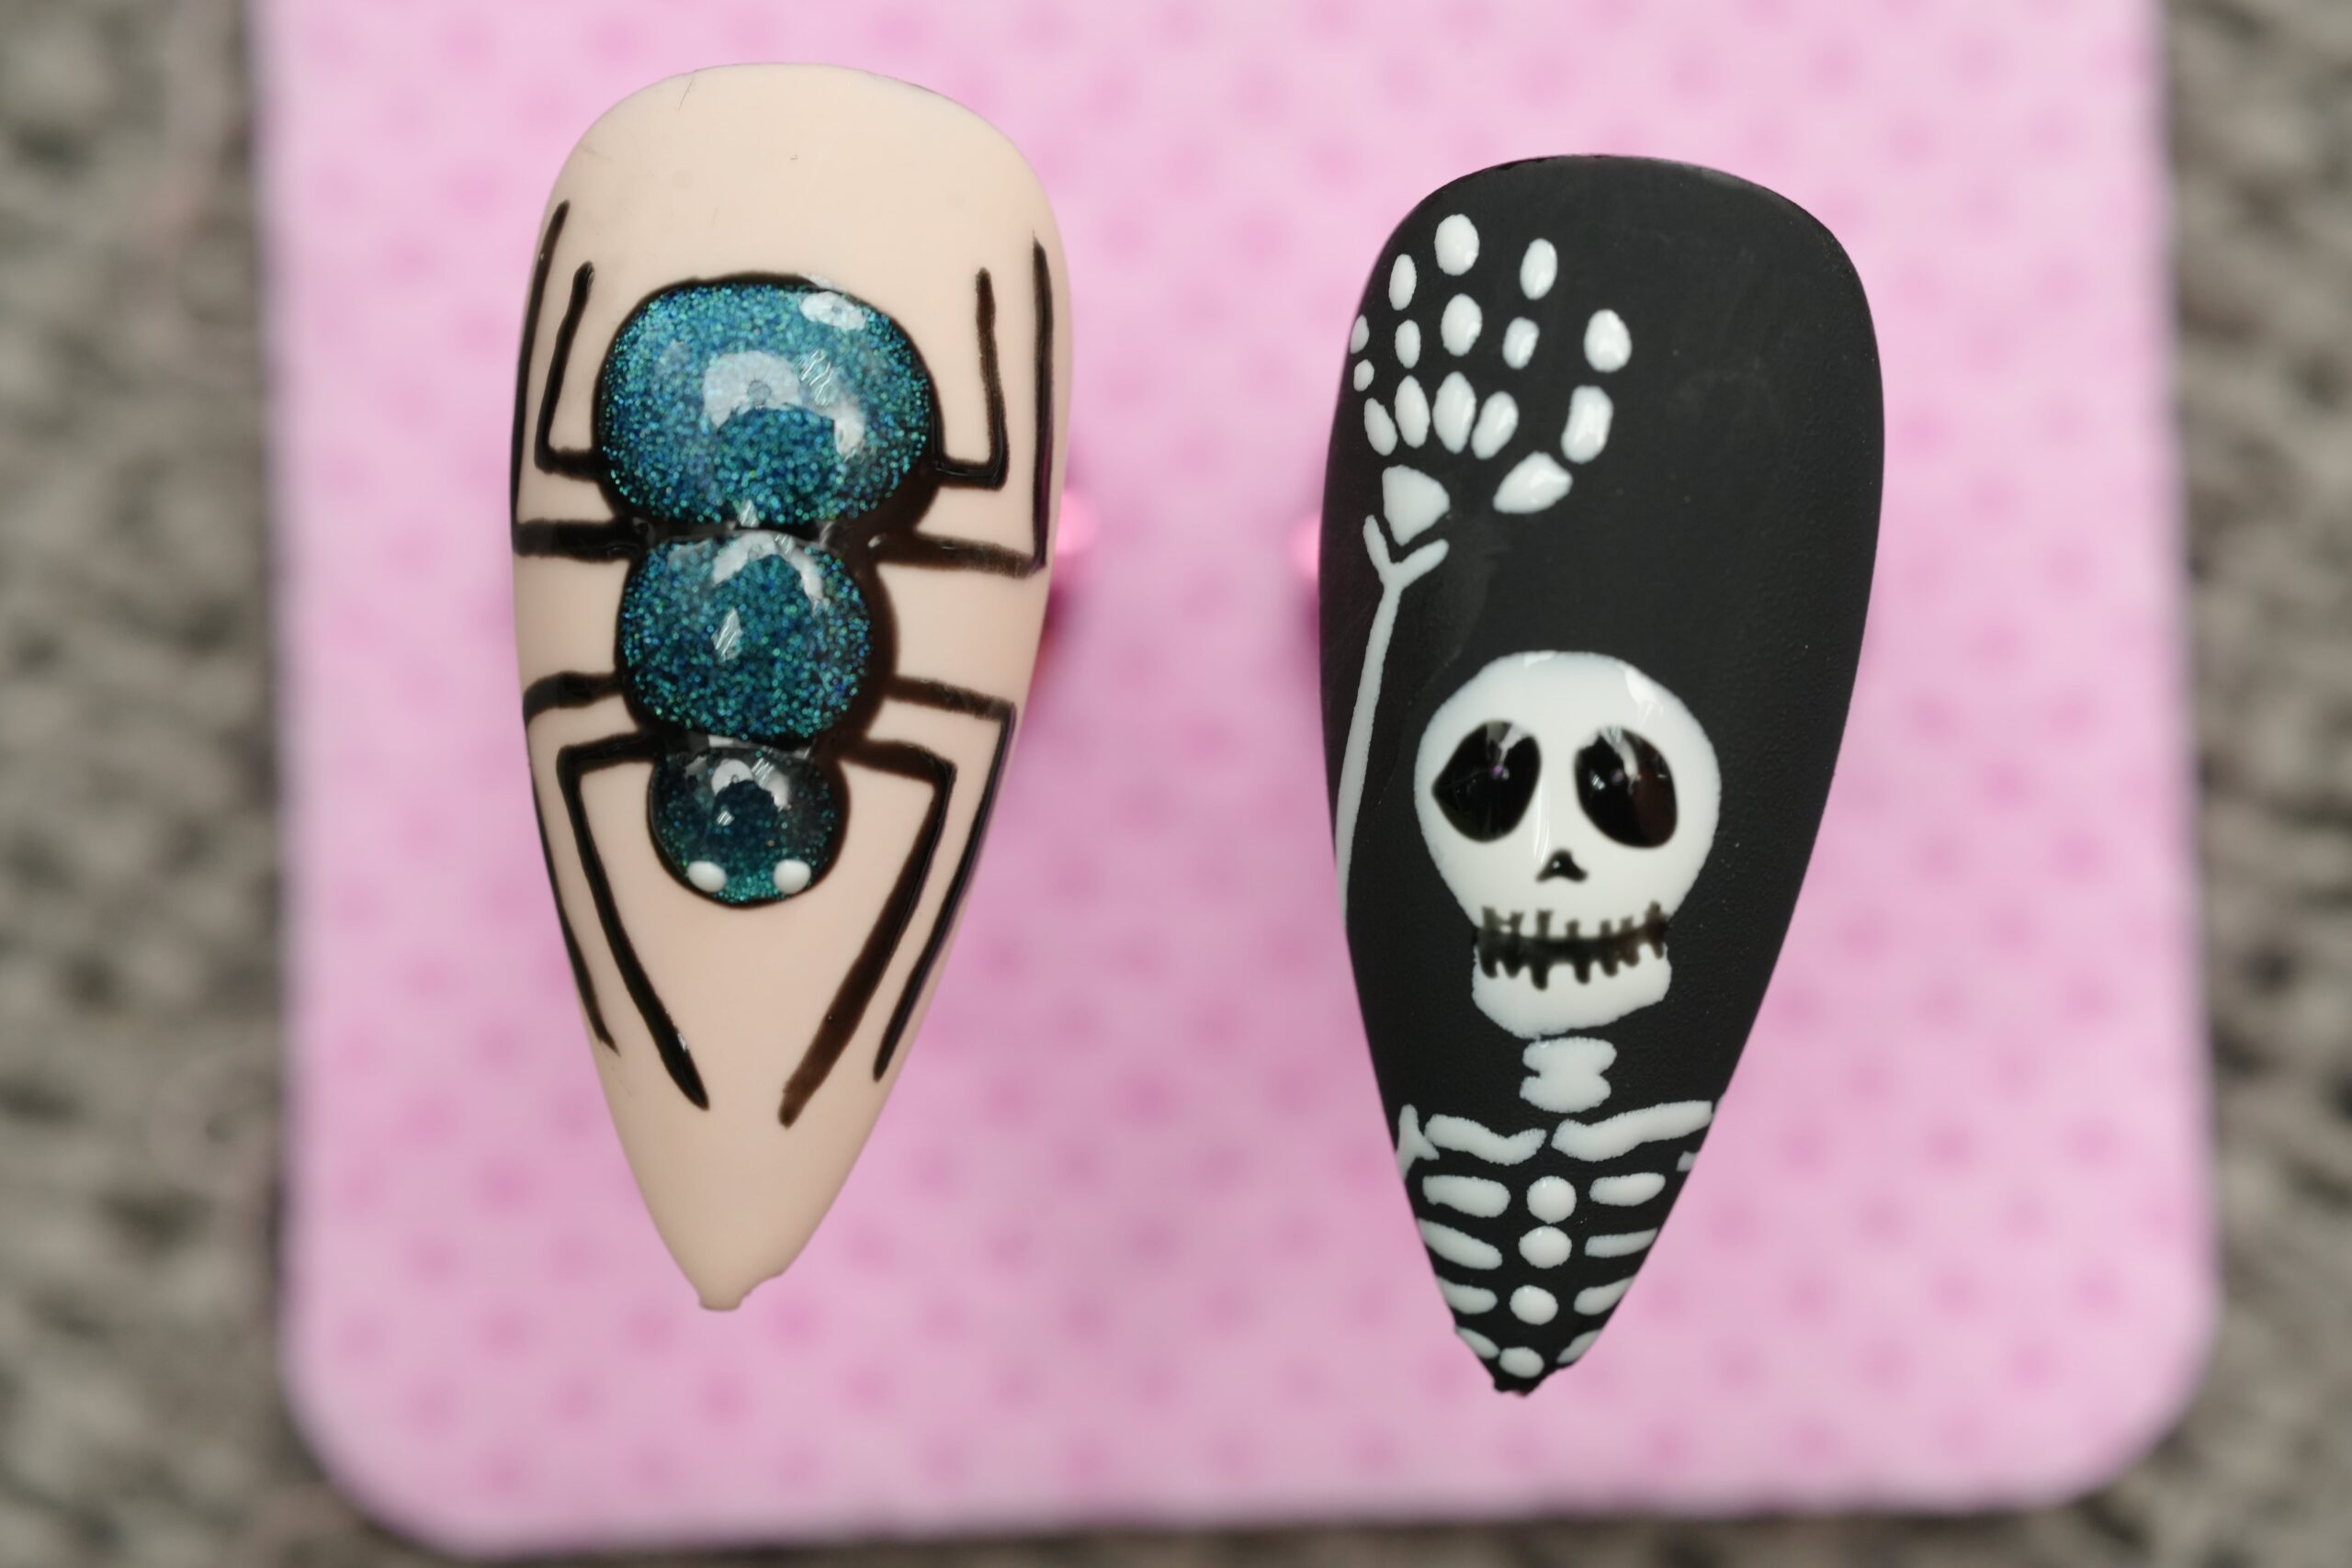
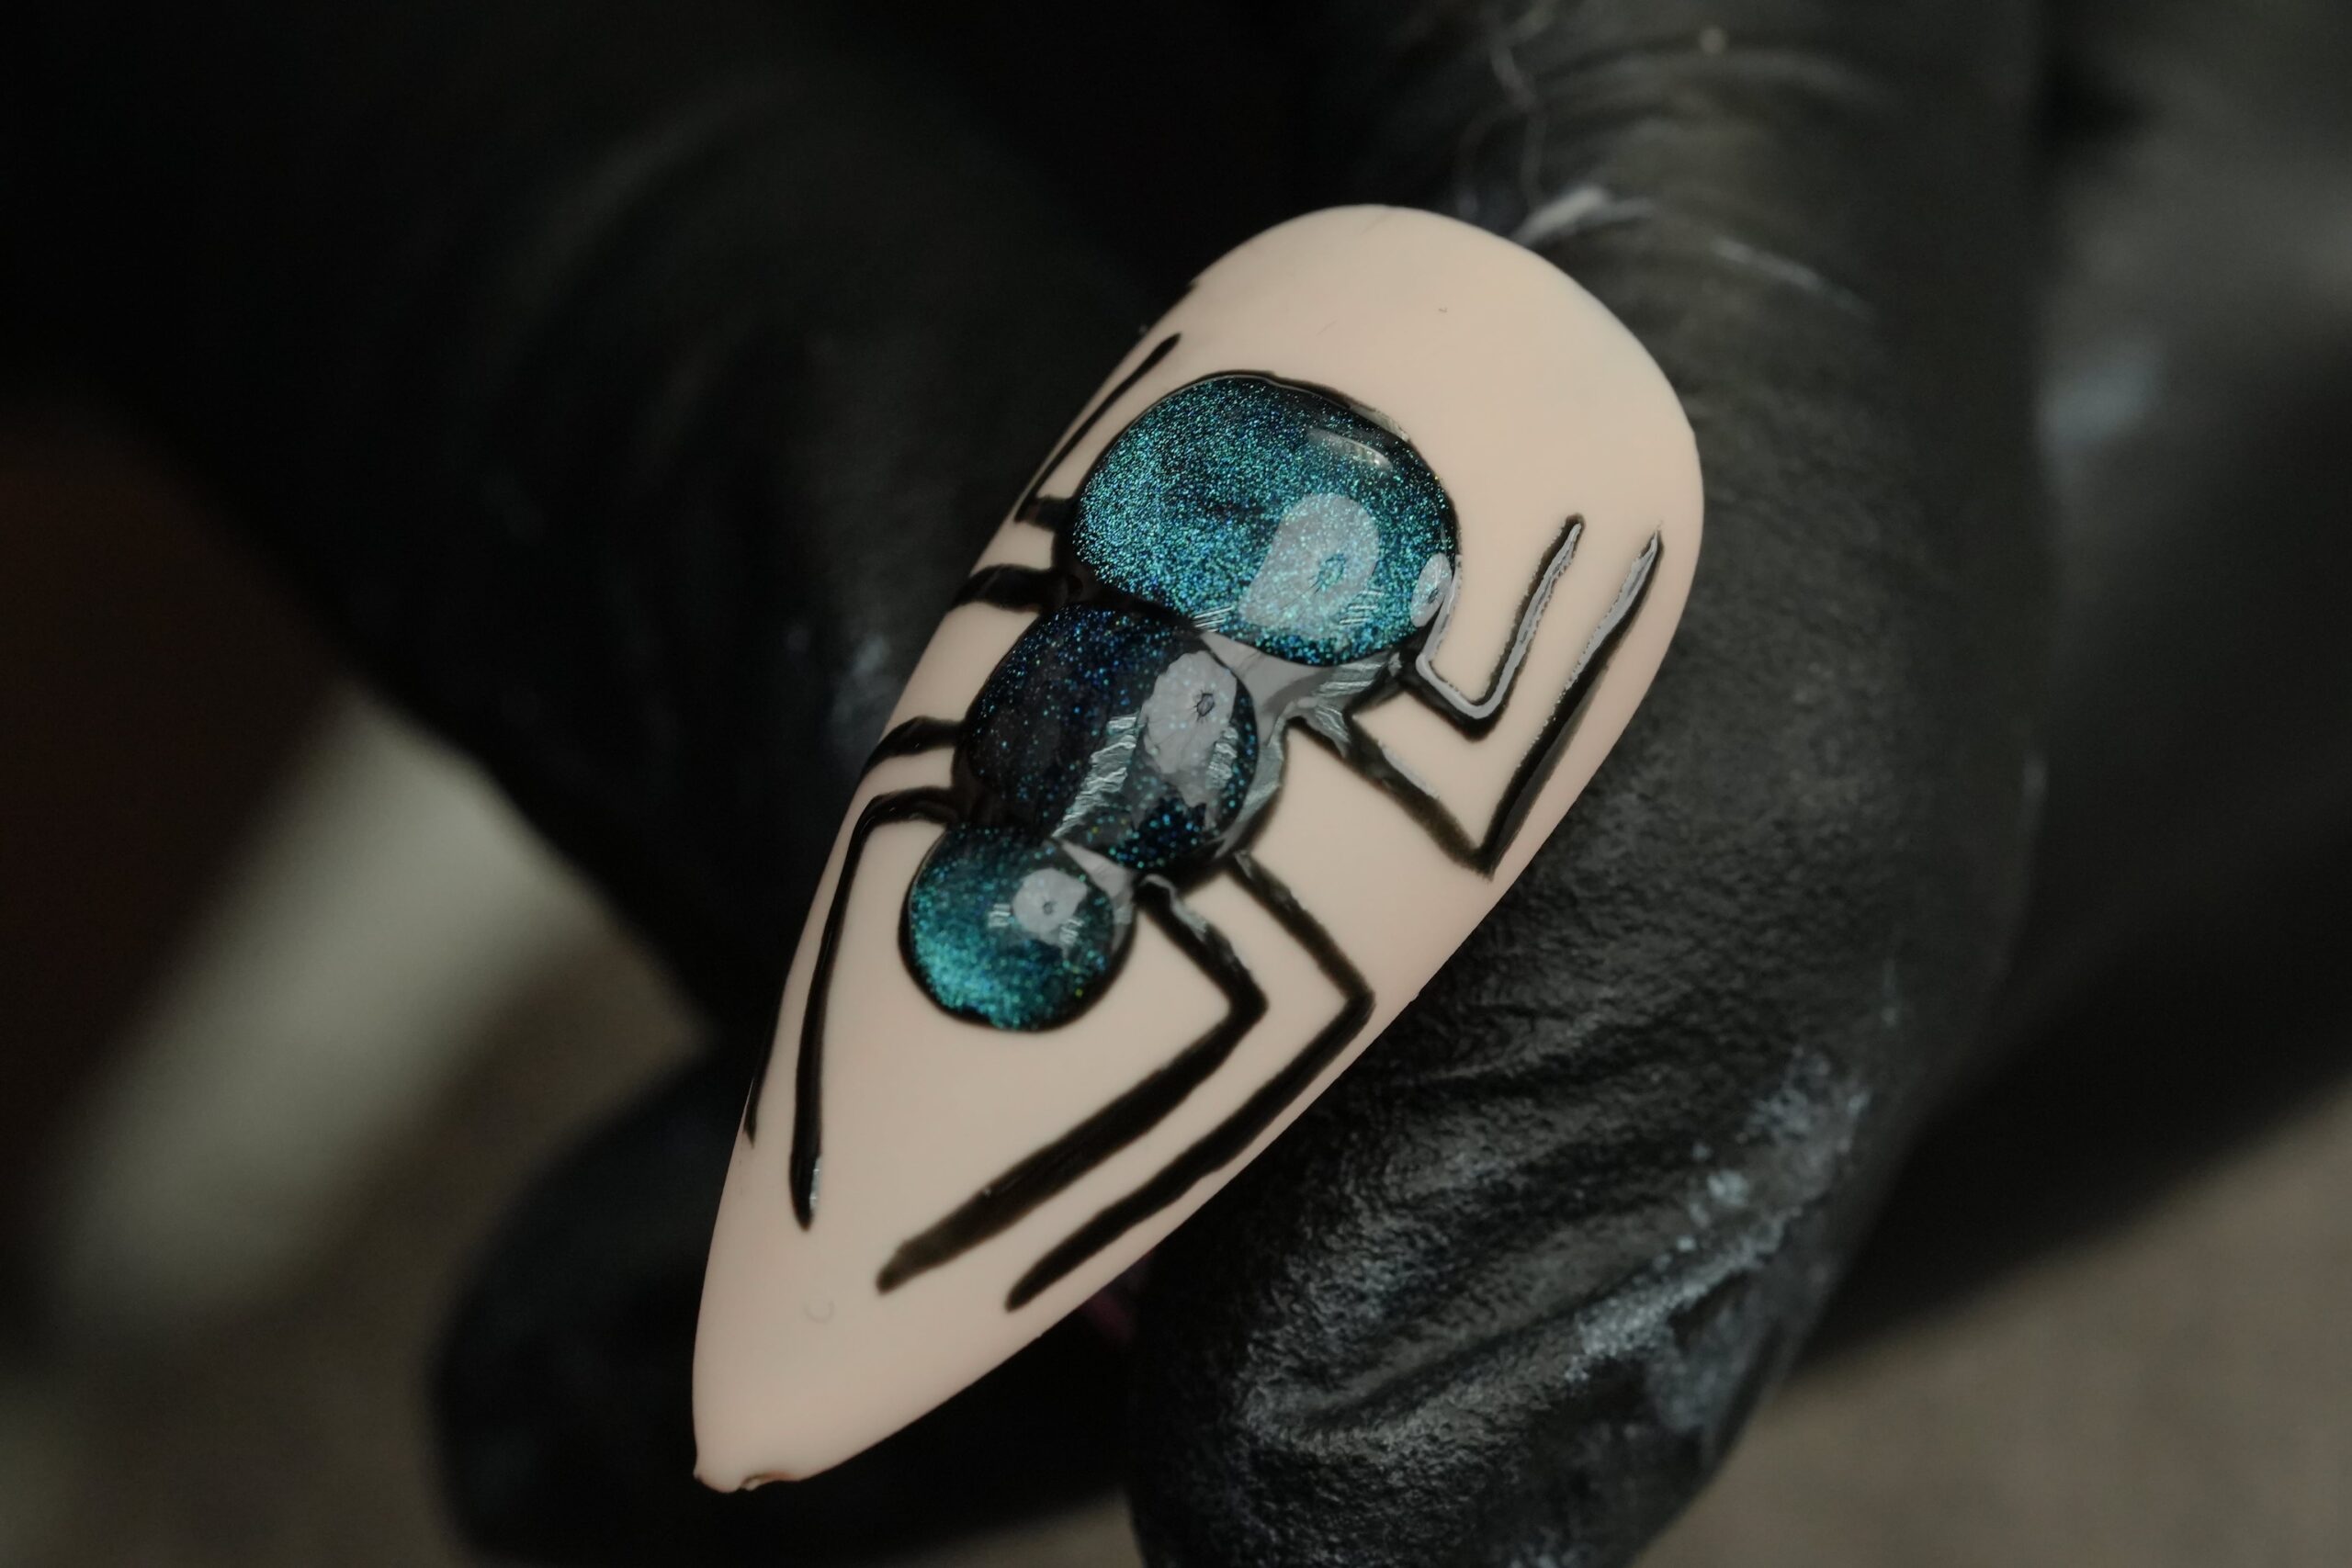
First and foremost, understanding the different types of Halloween nail designs is key. Classic designs include jack-o’-lanterns, ghosts, and spiderwebs. In addition, you can opt for more sophisticated looks, such as a black and orange ombré or a matte black manicure with glossy spiderwebs.
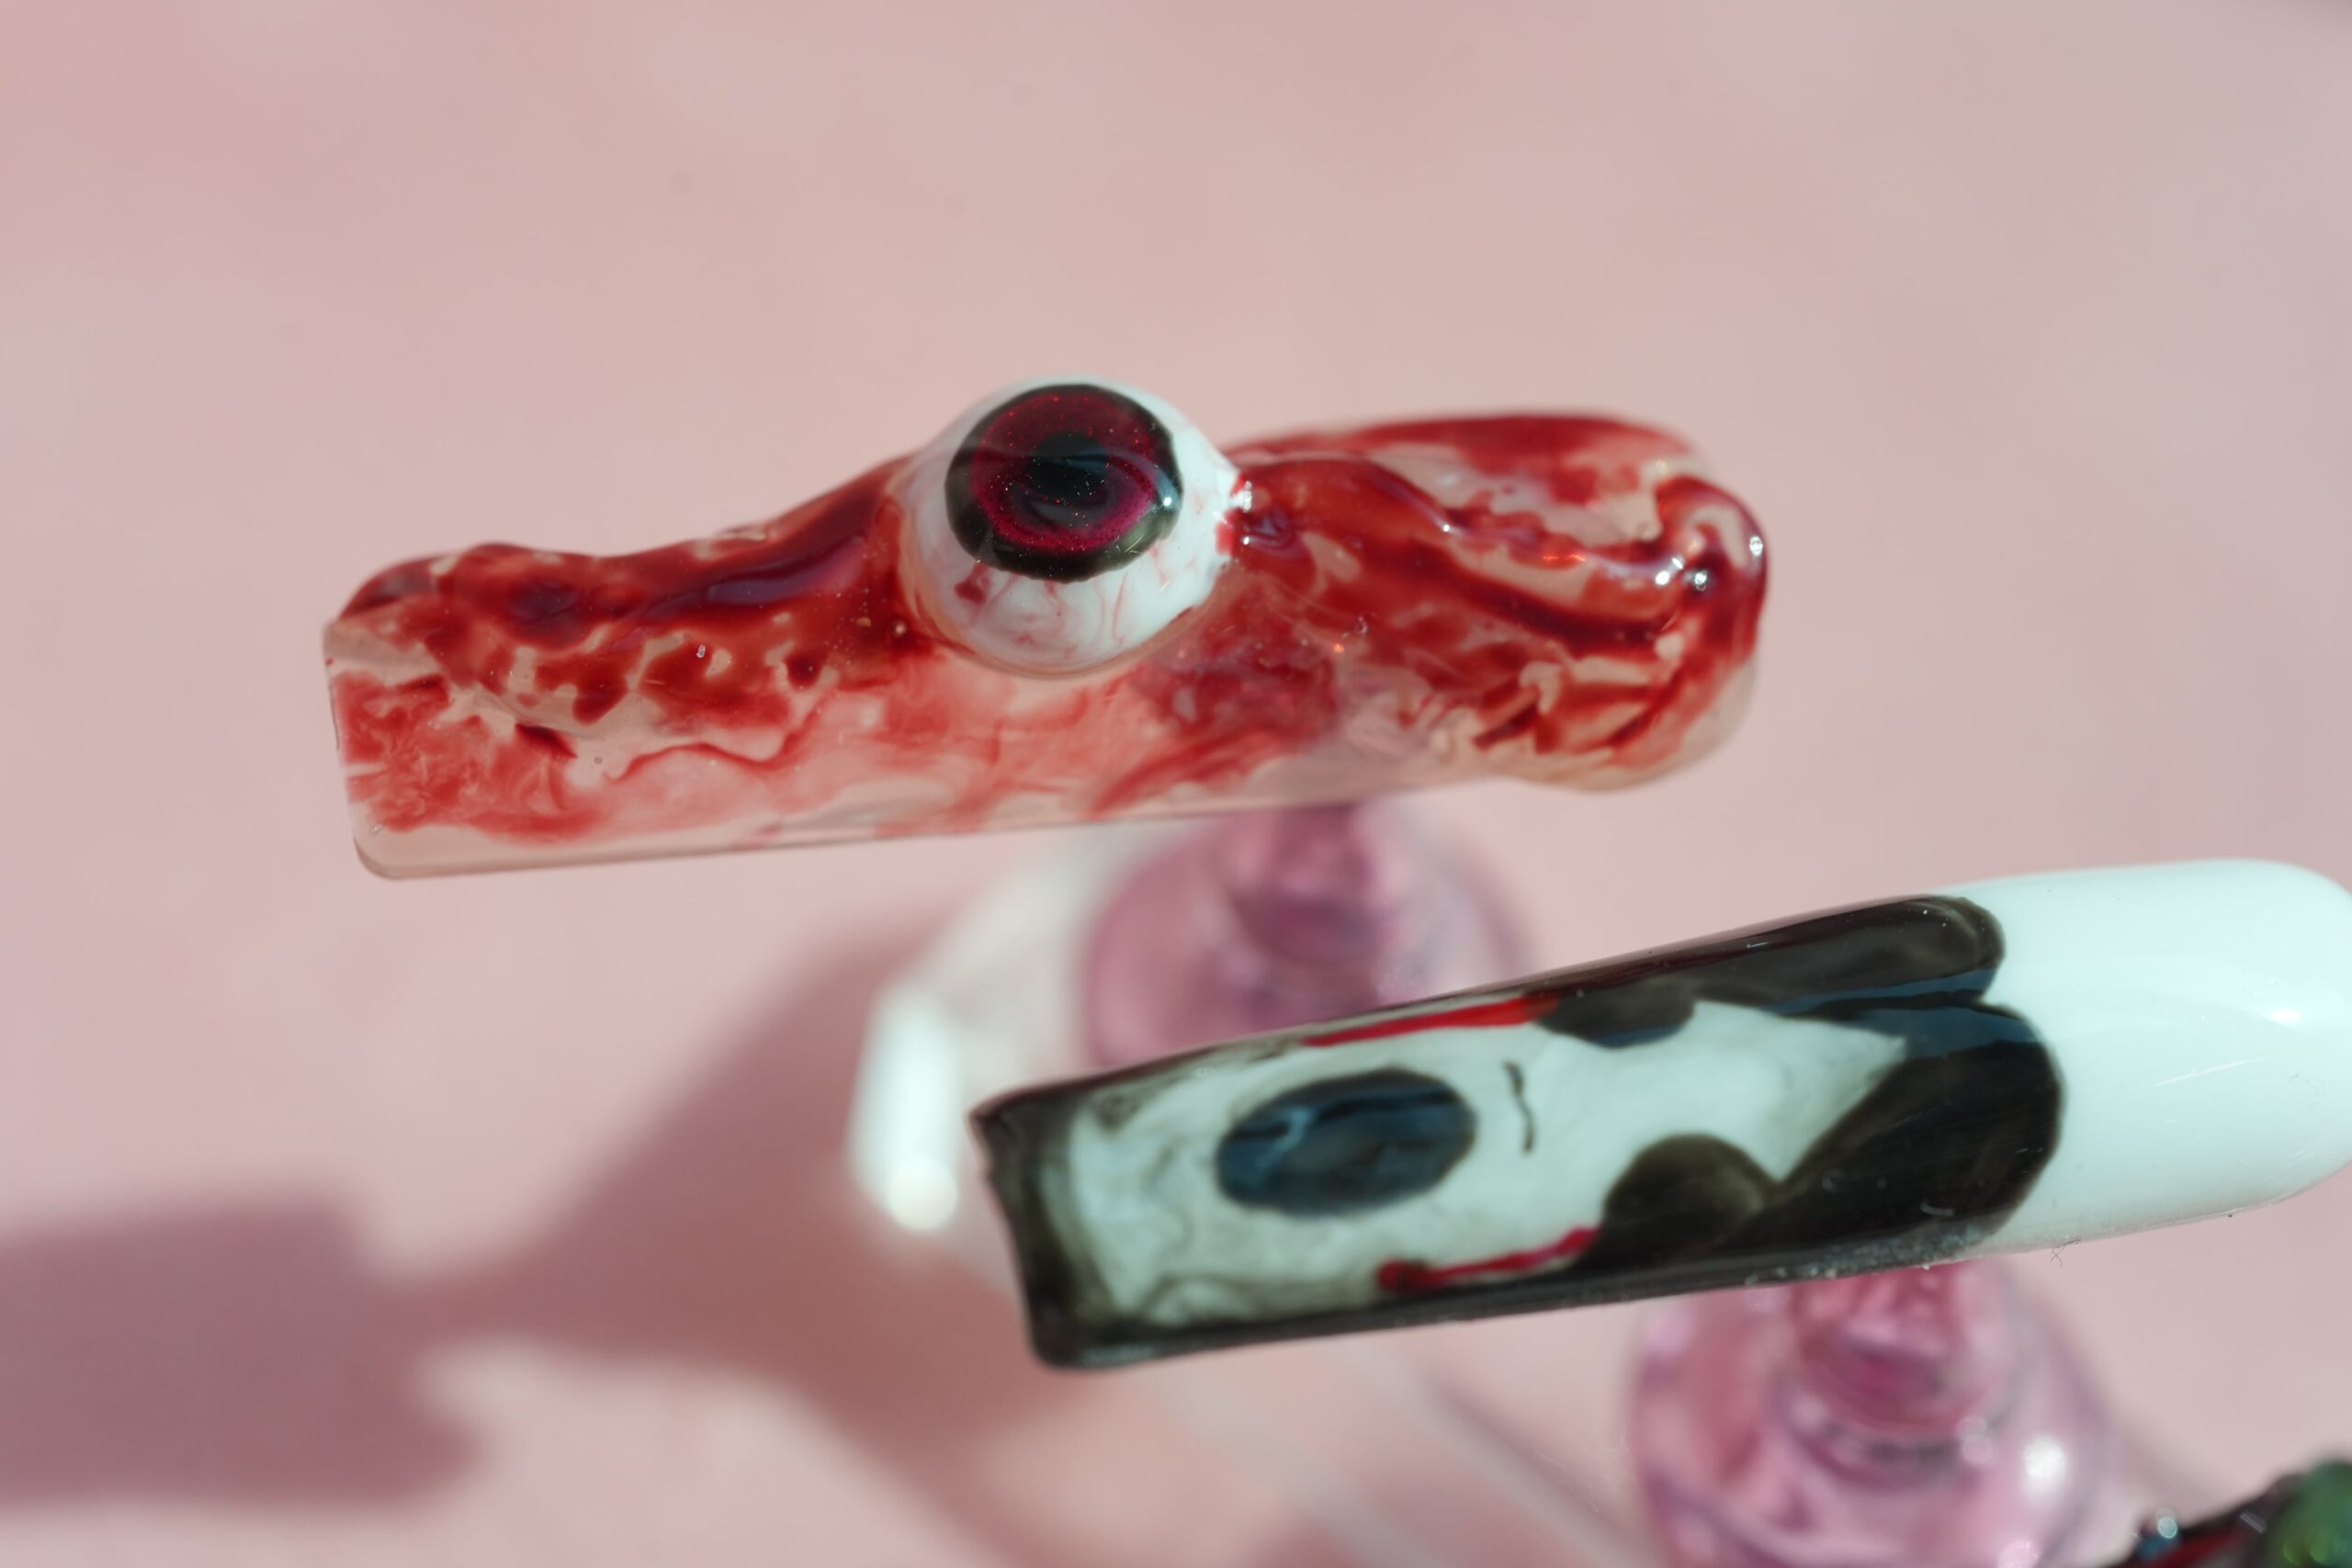
For a more terrifying look, you can create designs that feature blood splatters, skulls, or Frankenstein’s monster stitches. Most importantly, another popular trend is to use glow-in-the-dark polishes to make your nails come alive in the dark. Moreover, you can also create a single accent nail with a spooky design while keeping the others a solid, complementary color.
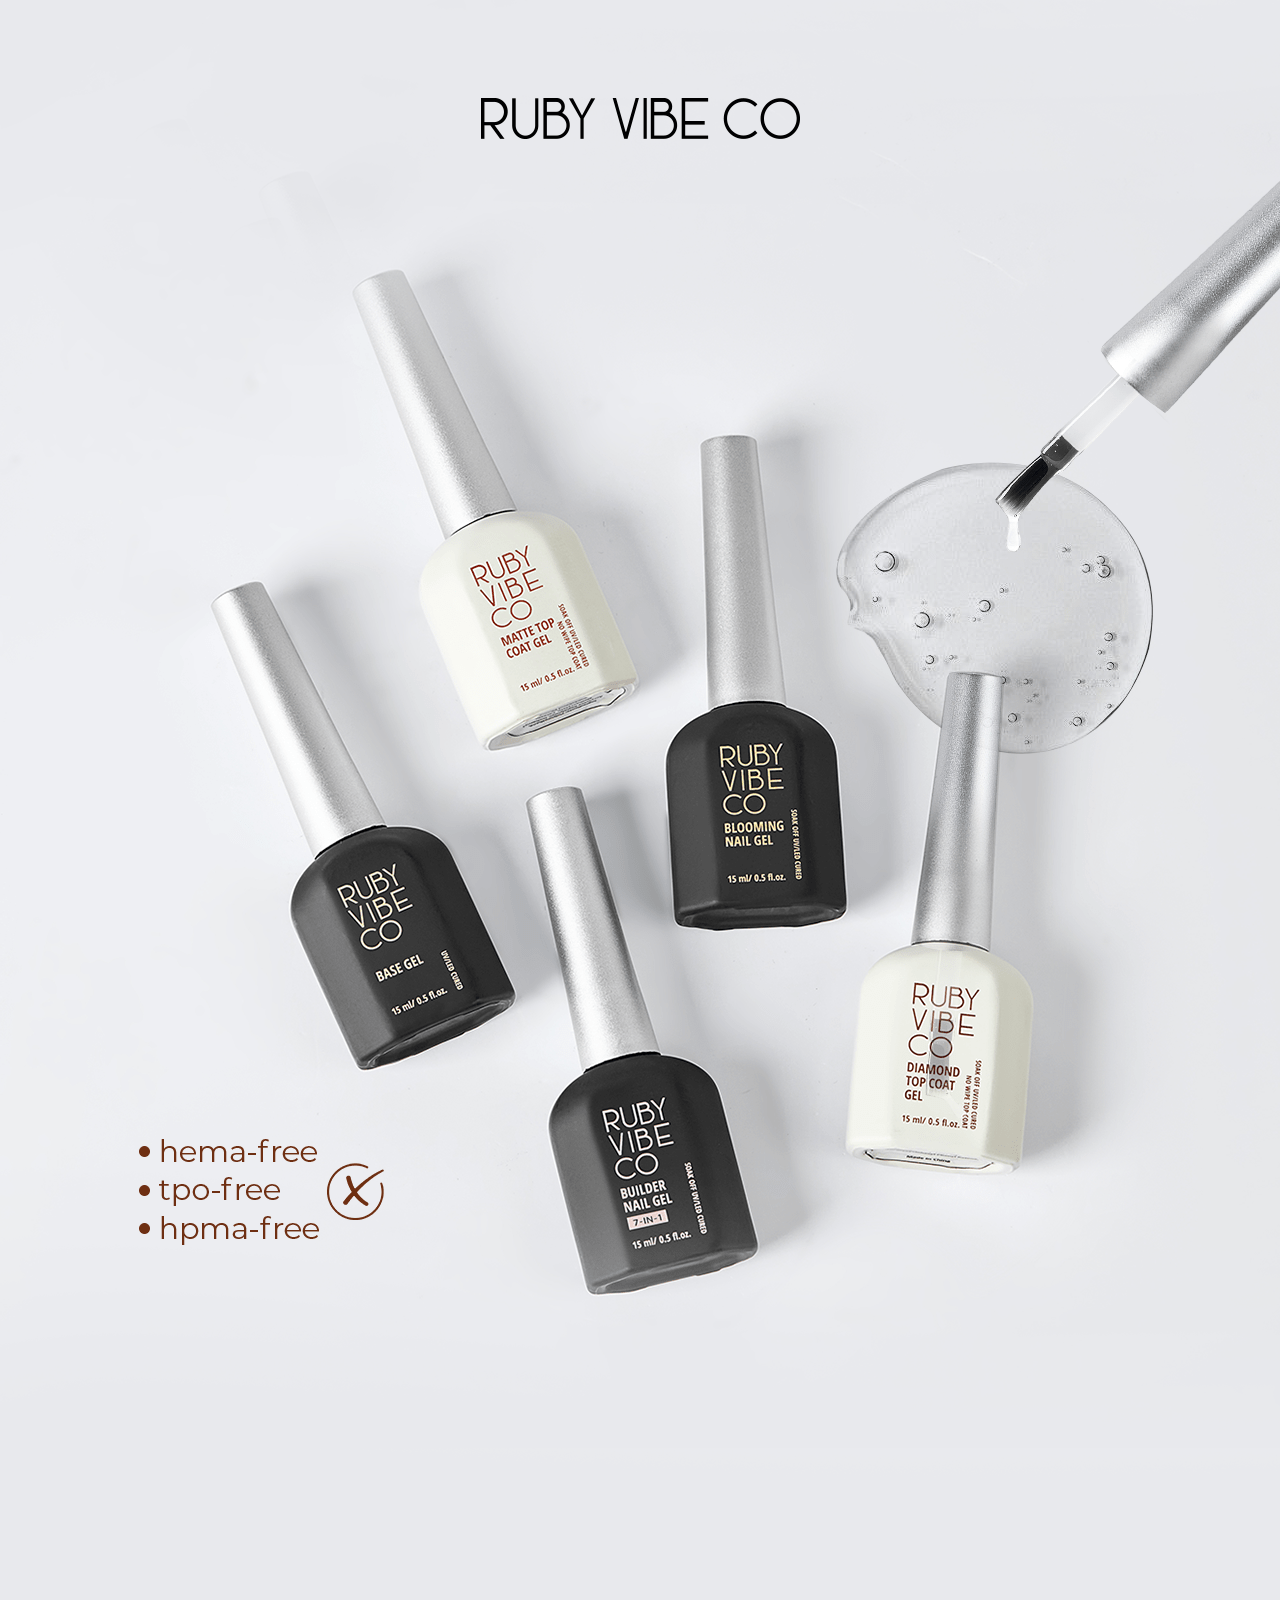
Furthermore, you will need a few key tools to create the perfect Halloween manicure. The most important tool is a good quality base coat and top coat to ensure longevity. You will also need your chosen nail polishes, which might include black, orange, white, and other seasonal colors.
Additionally, a fine-tipped nail art brush is essential for drawing intricate designs. Subsequently, a dotting tool is perfect for creating polka dots, ghost eyes, or pumpkin faces. By having all these items ready, you can ensure a smooth and efficient application process.
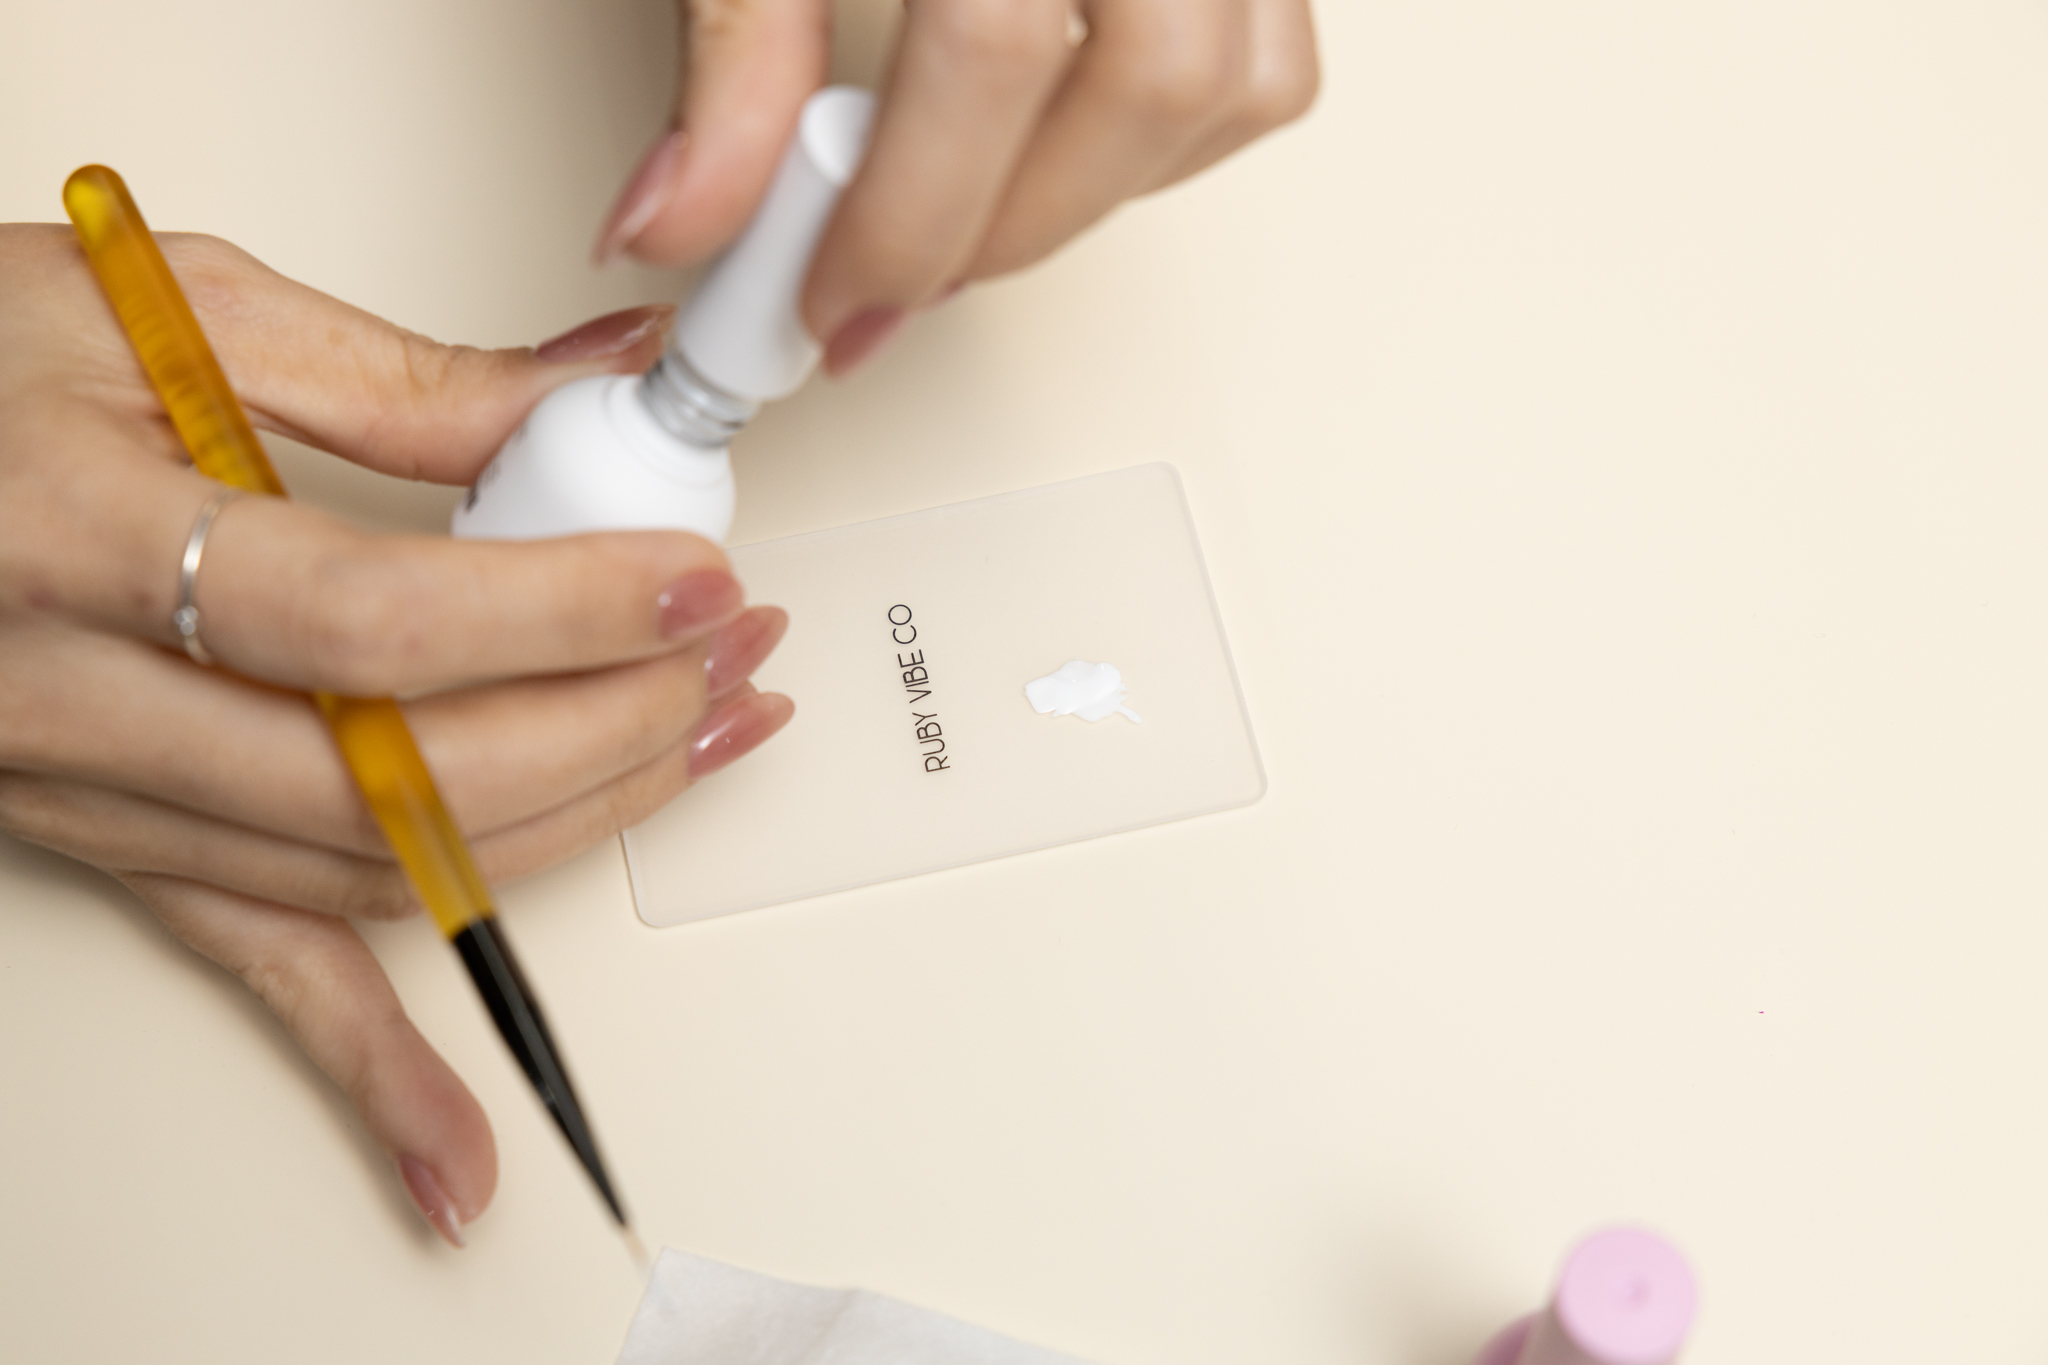
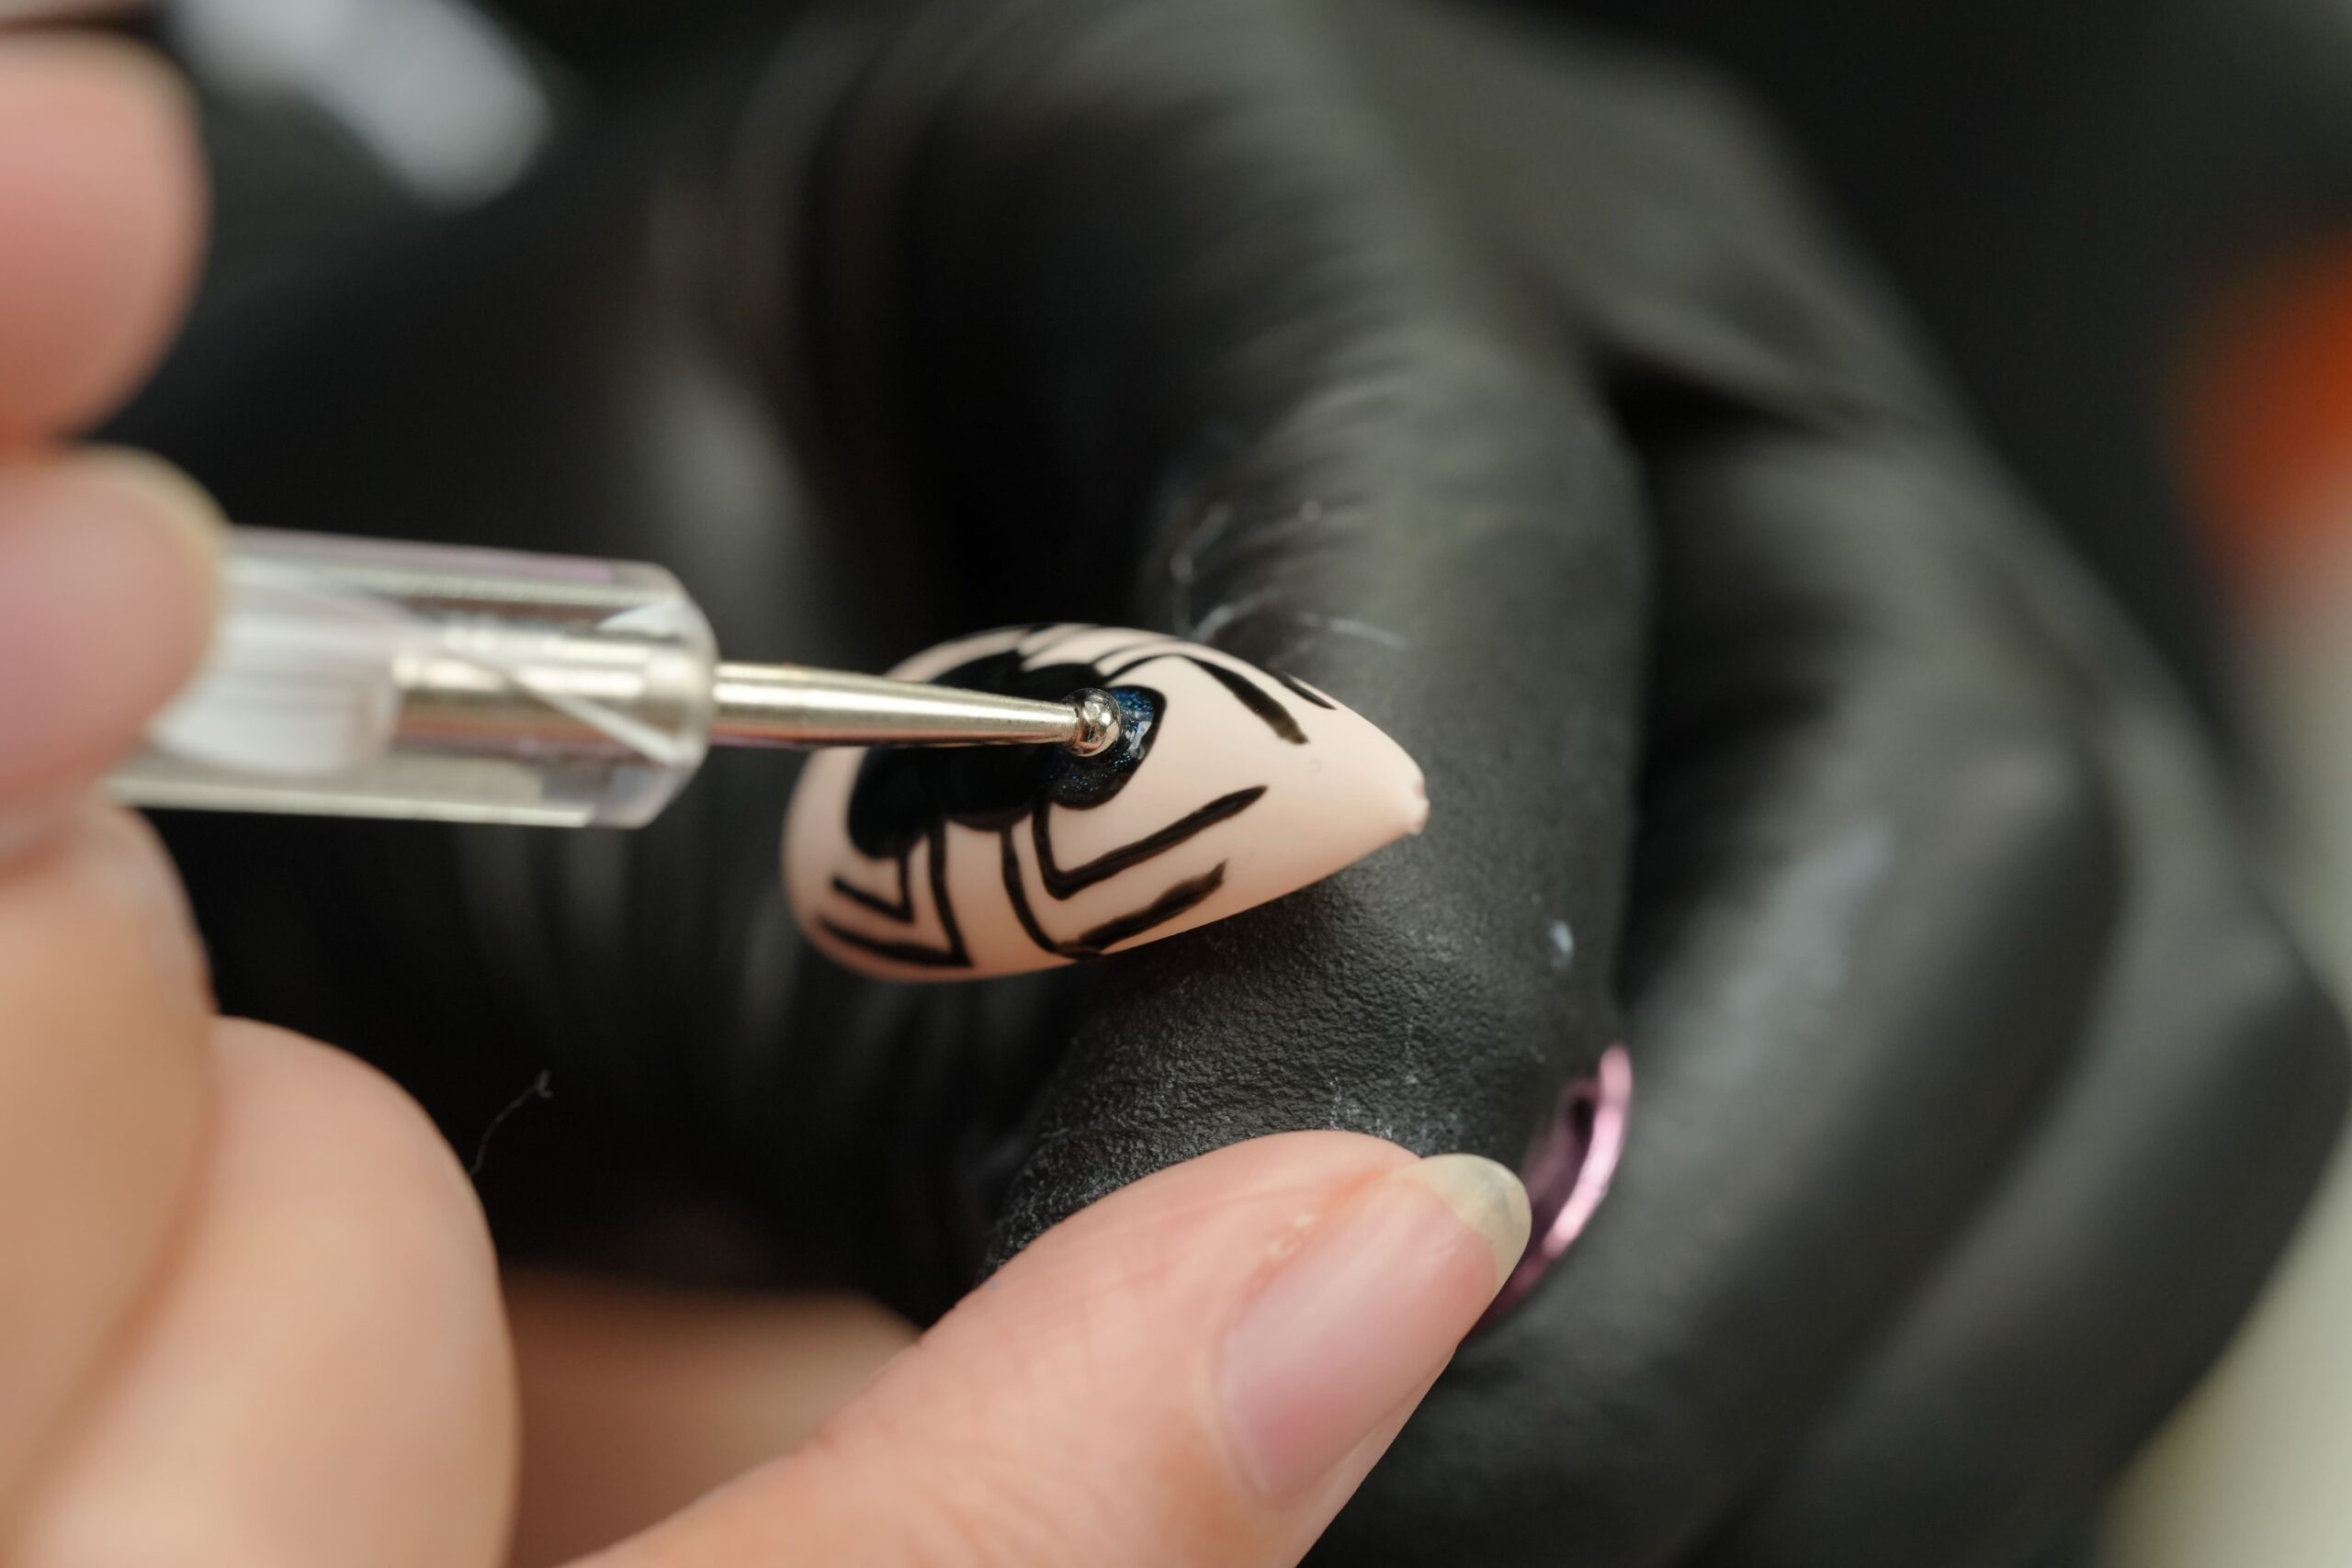
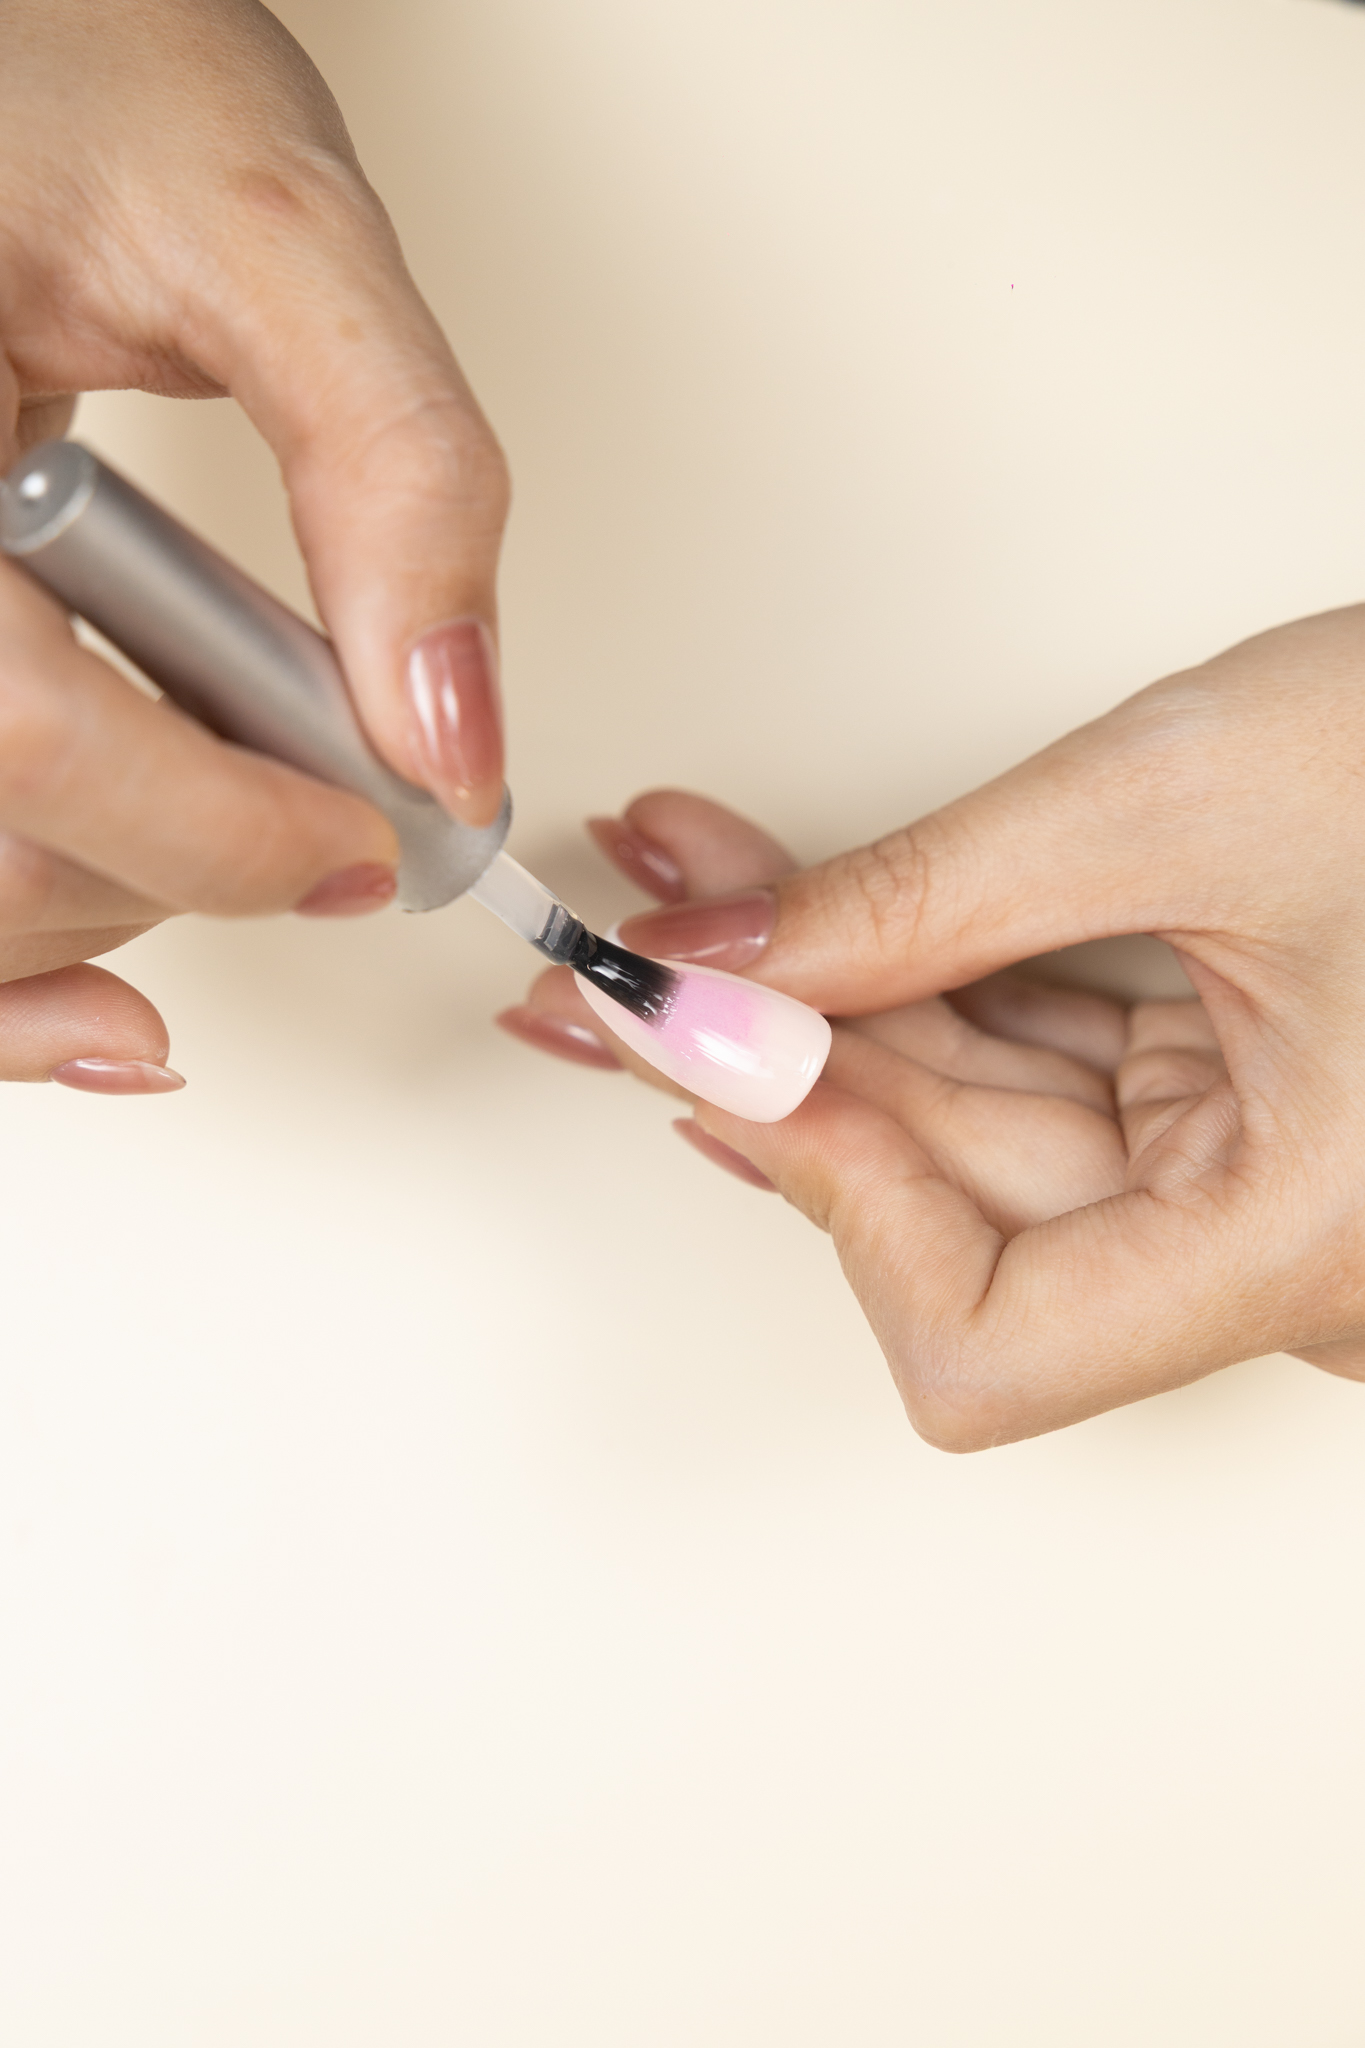
The application process is simple, yet it requires a bit of patience and practice. First, apply a base coat and let it dry completely. After that, apply two coats of your base color. Once this is dry, use your fine-tipped brush or dotting tool to create your chosen design.

For instance, to create a ghost, simply use a dotting tool with white polish and then add two small black dots for eyes. To create a spiderweb, draw thin lines with a brush and then connect them with curved lines. Repeat this process for all your nails.
Finally, seal your beautiful creation with a glossy top coat to add shine and durability. As these steps show, with a little practice, you can easily master this stunning holiday nail art.
Leave a Reply