
Your cart is currently empty!
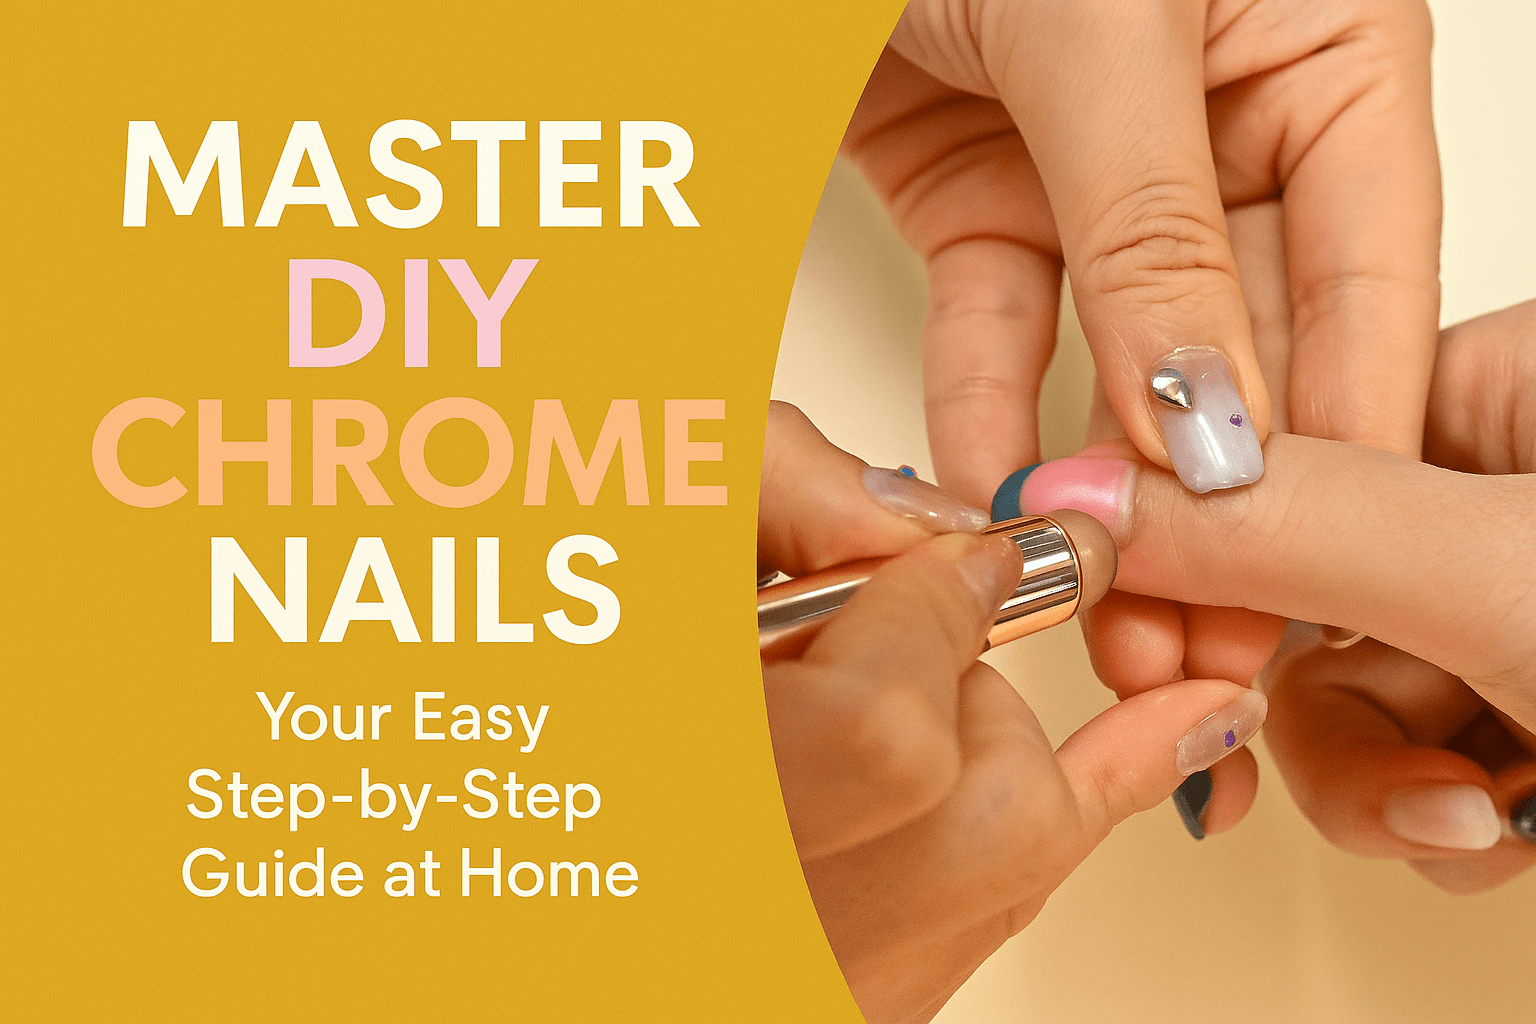
Master DIY Chrome Nails: Your Easy Step-by-Step Guide at Home
Learn how to create professional chrome nails yourself. This comprehensive DIY guide provides step-by-step instructions and pro tips for a flawless, mirror-like finish.
Achieving Professional Chrome Nails at Home
Creating stunning chrome nails at home is more accessible than you might think. With the right tools and techniques, you can achieve a salon-quality manicure that will surely turn heads. This DIY guide will walk you through the entire process, from gathering your supplies to applying the final top coat.
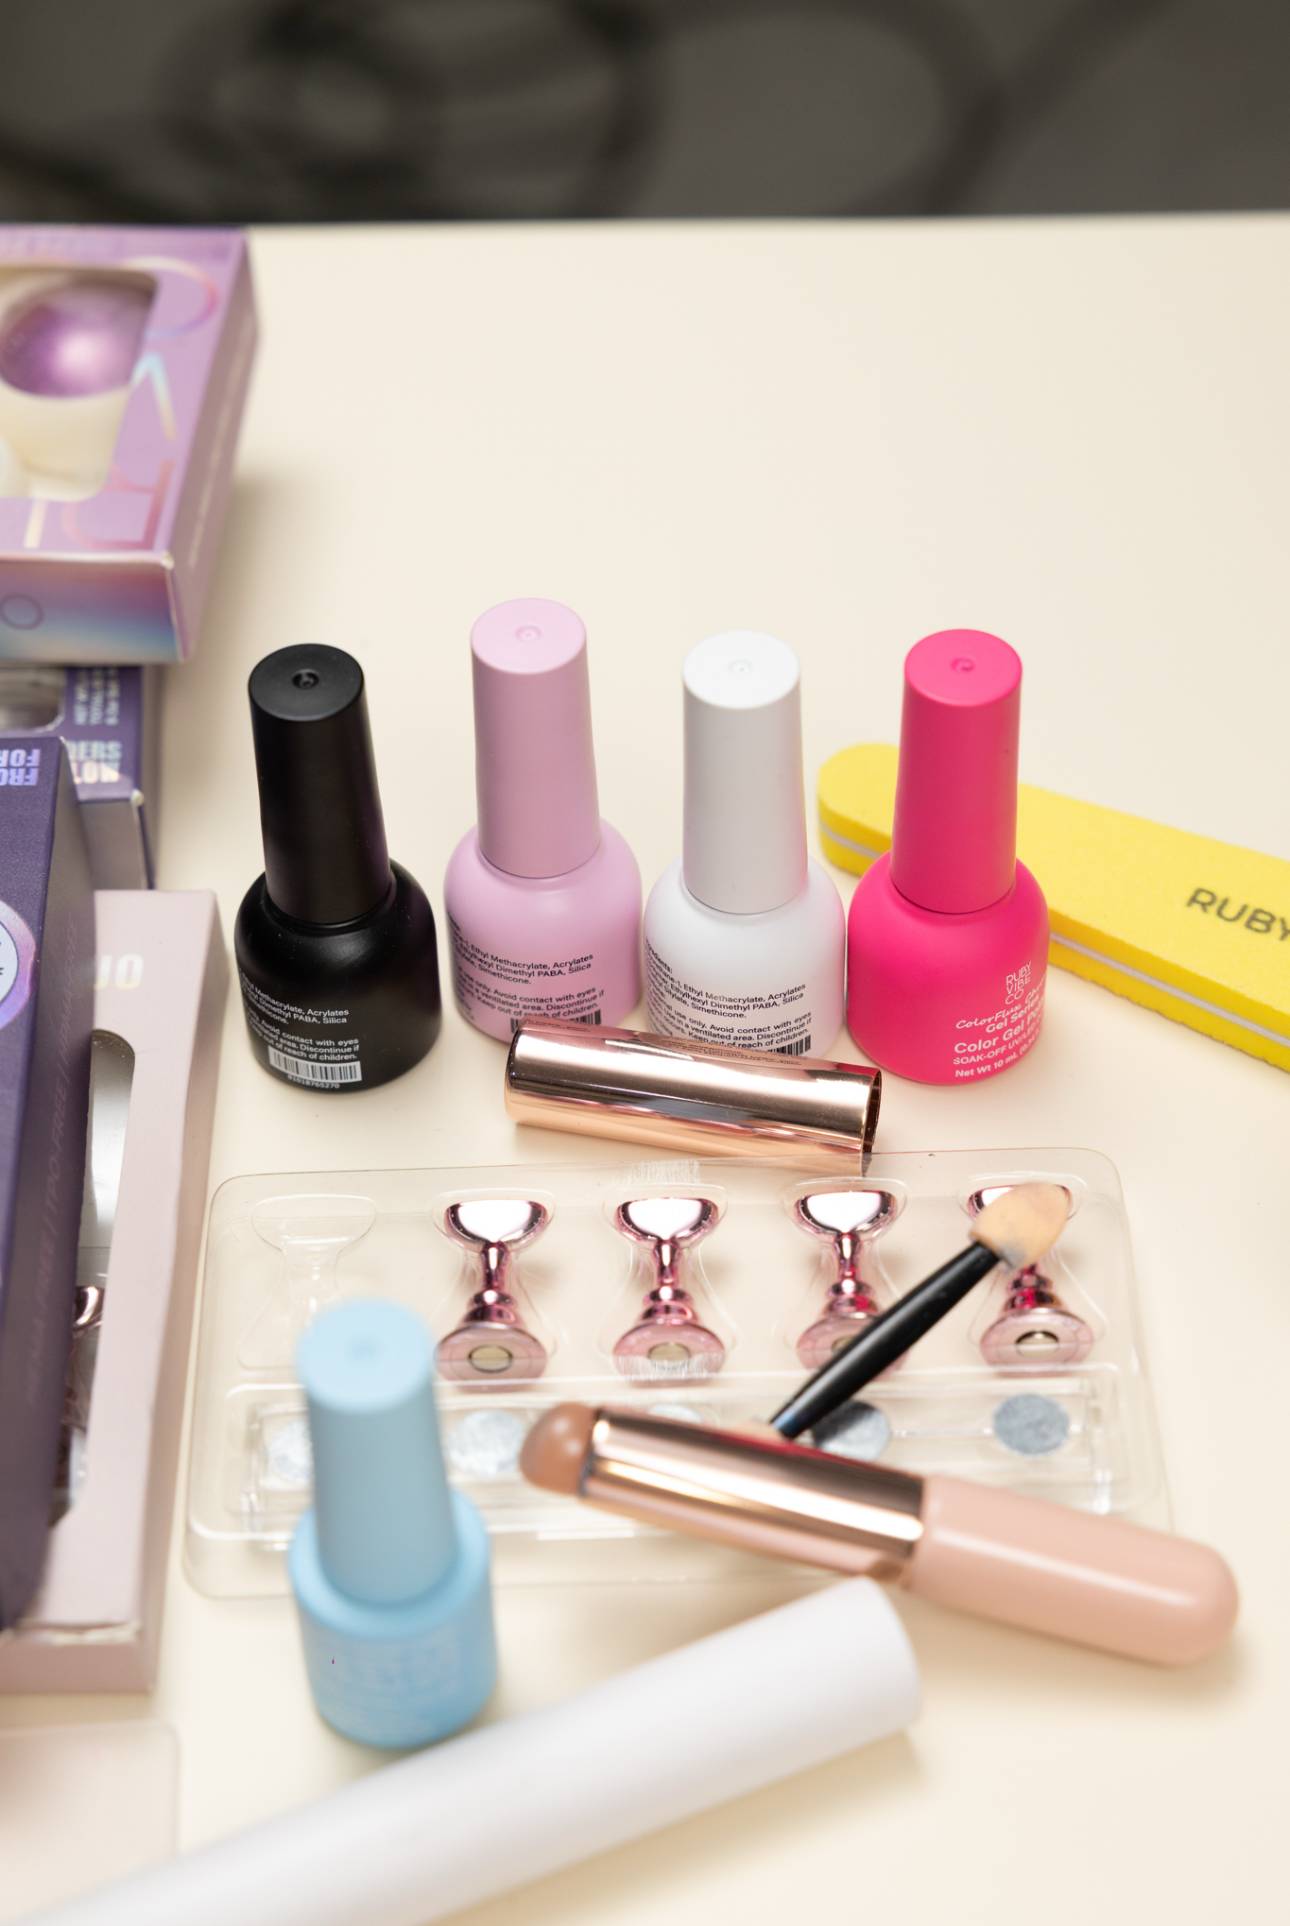
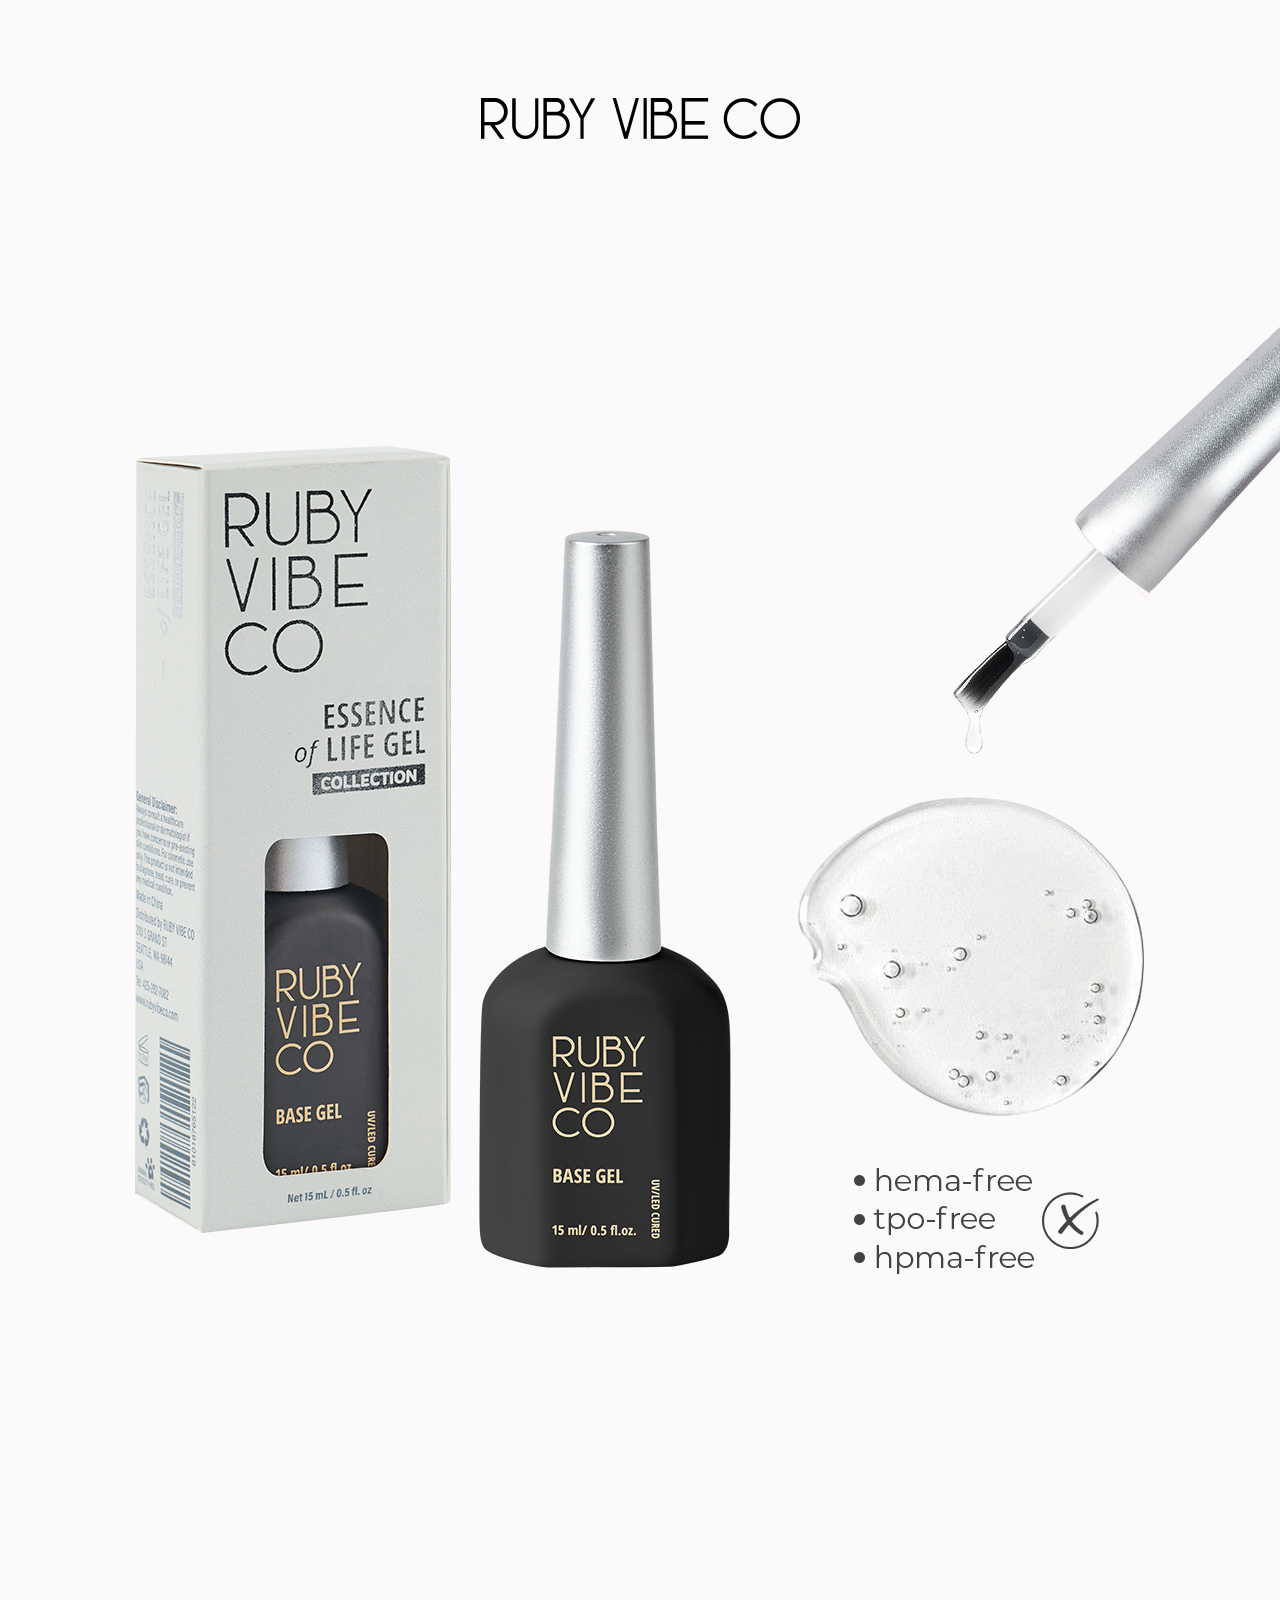
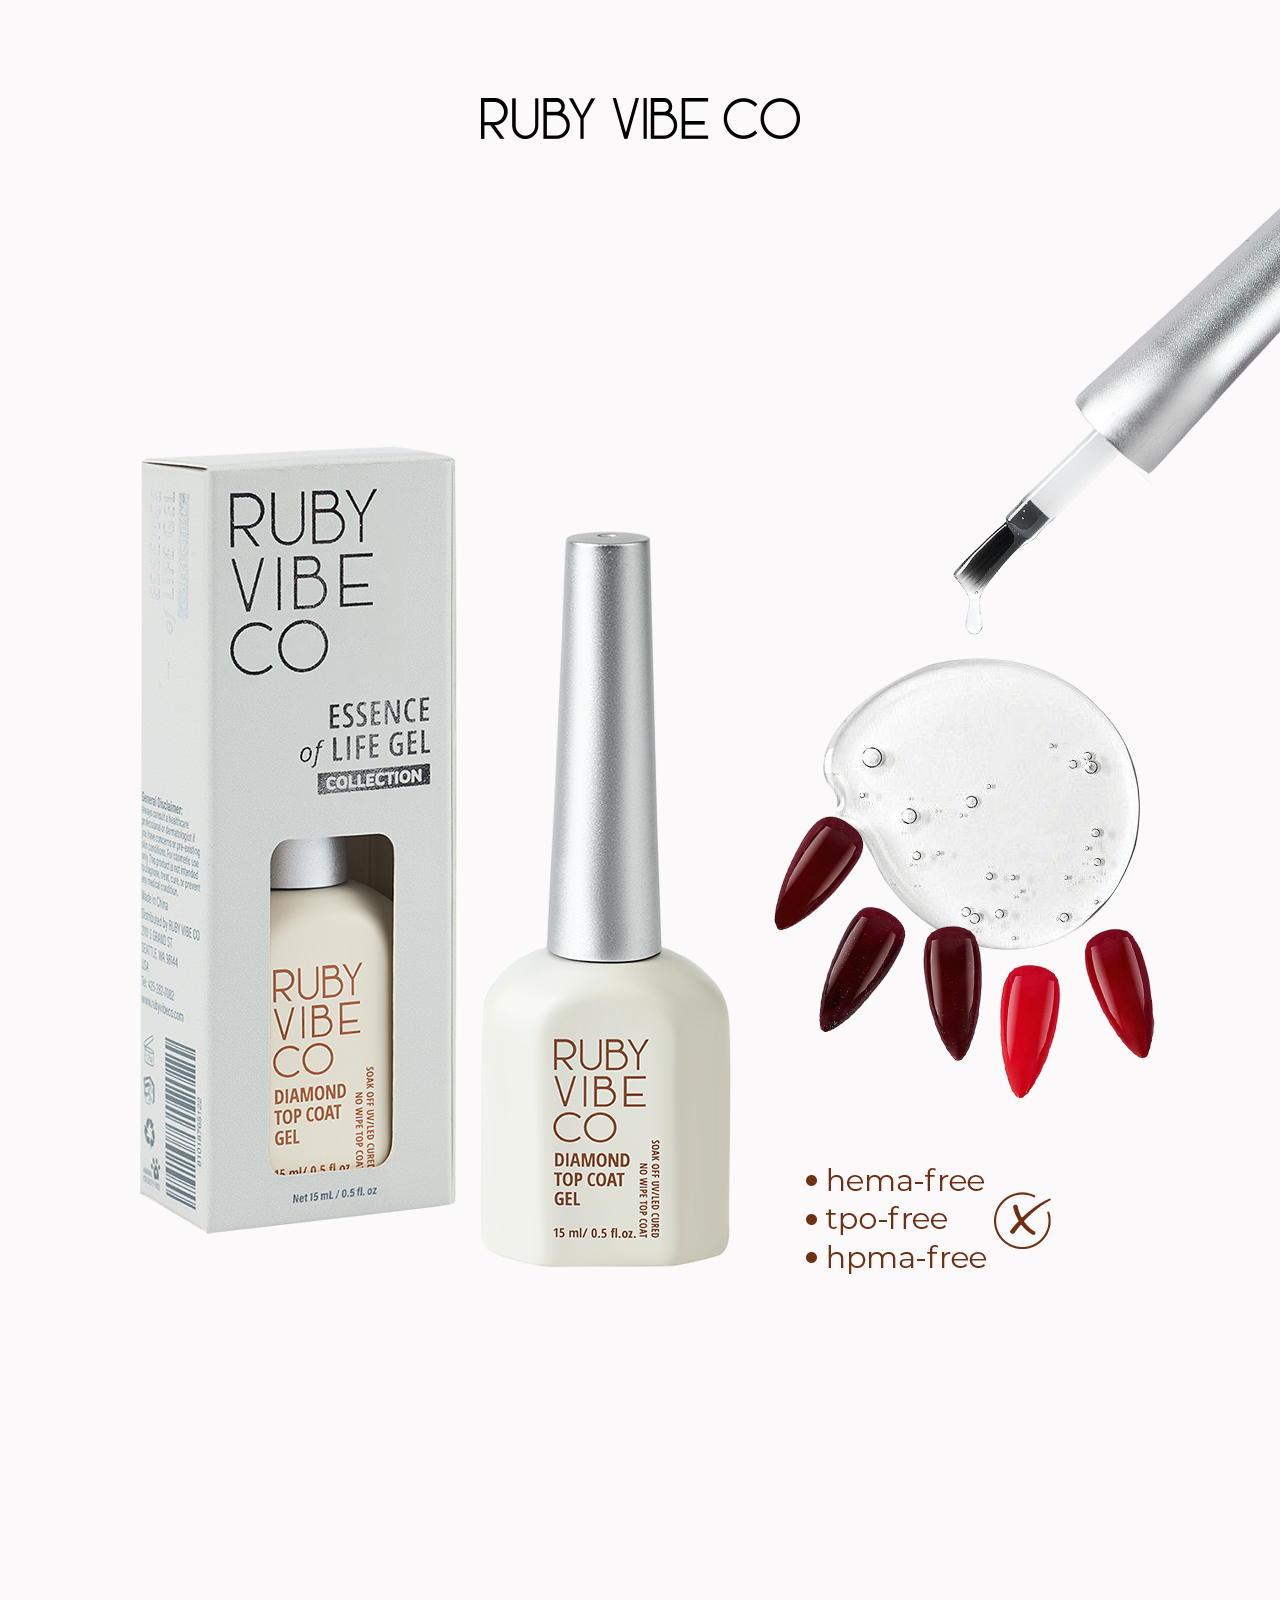
First and foremost, you’ll need a few key items: a high-quality chrome powder, a no-wipe gel top coat, a base coat, a gel polish in your chosen color, and a small applicator. Furthermore, having a nail file, buffer, and some rubbing alcohol will also be beneficial for proper nail preparation. By following these simple steps, you’ll be able to master this metallic nail art in no time.
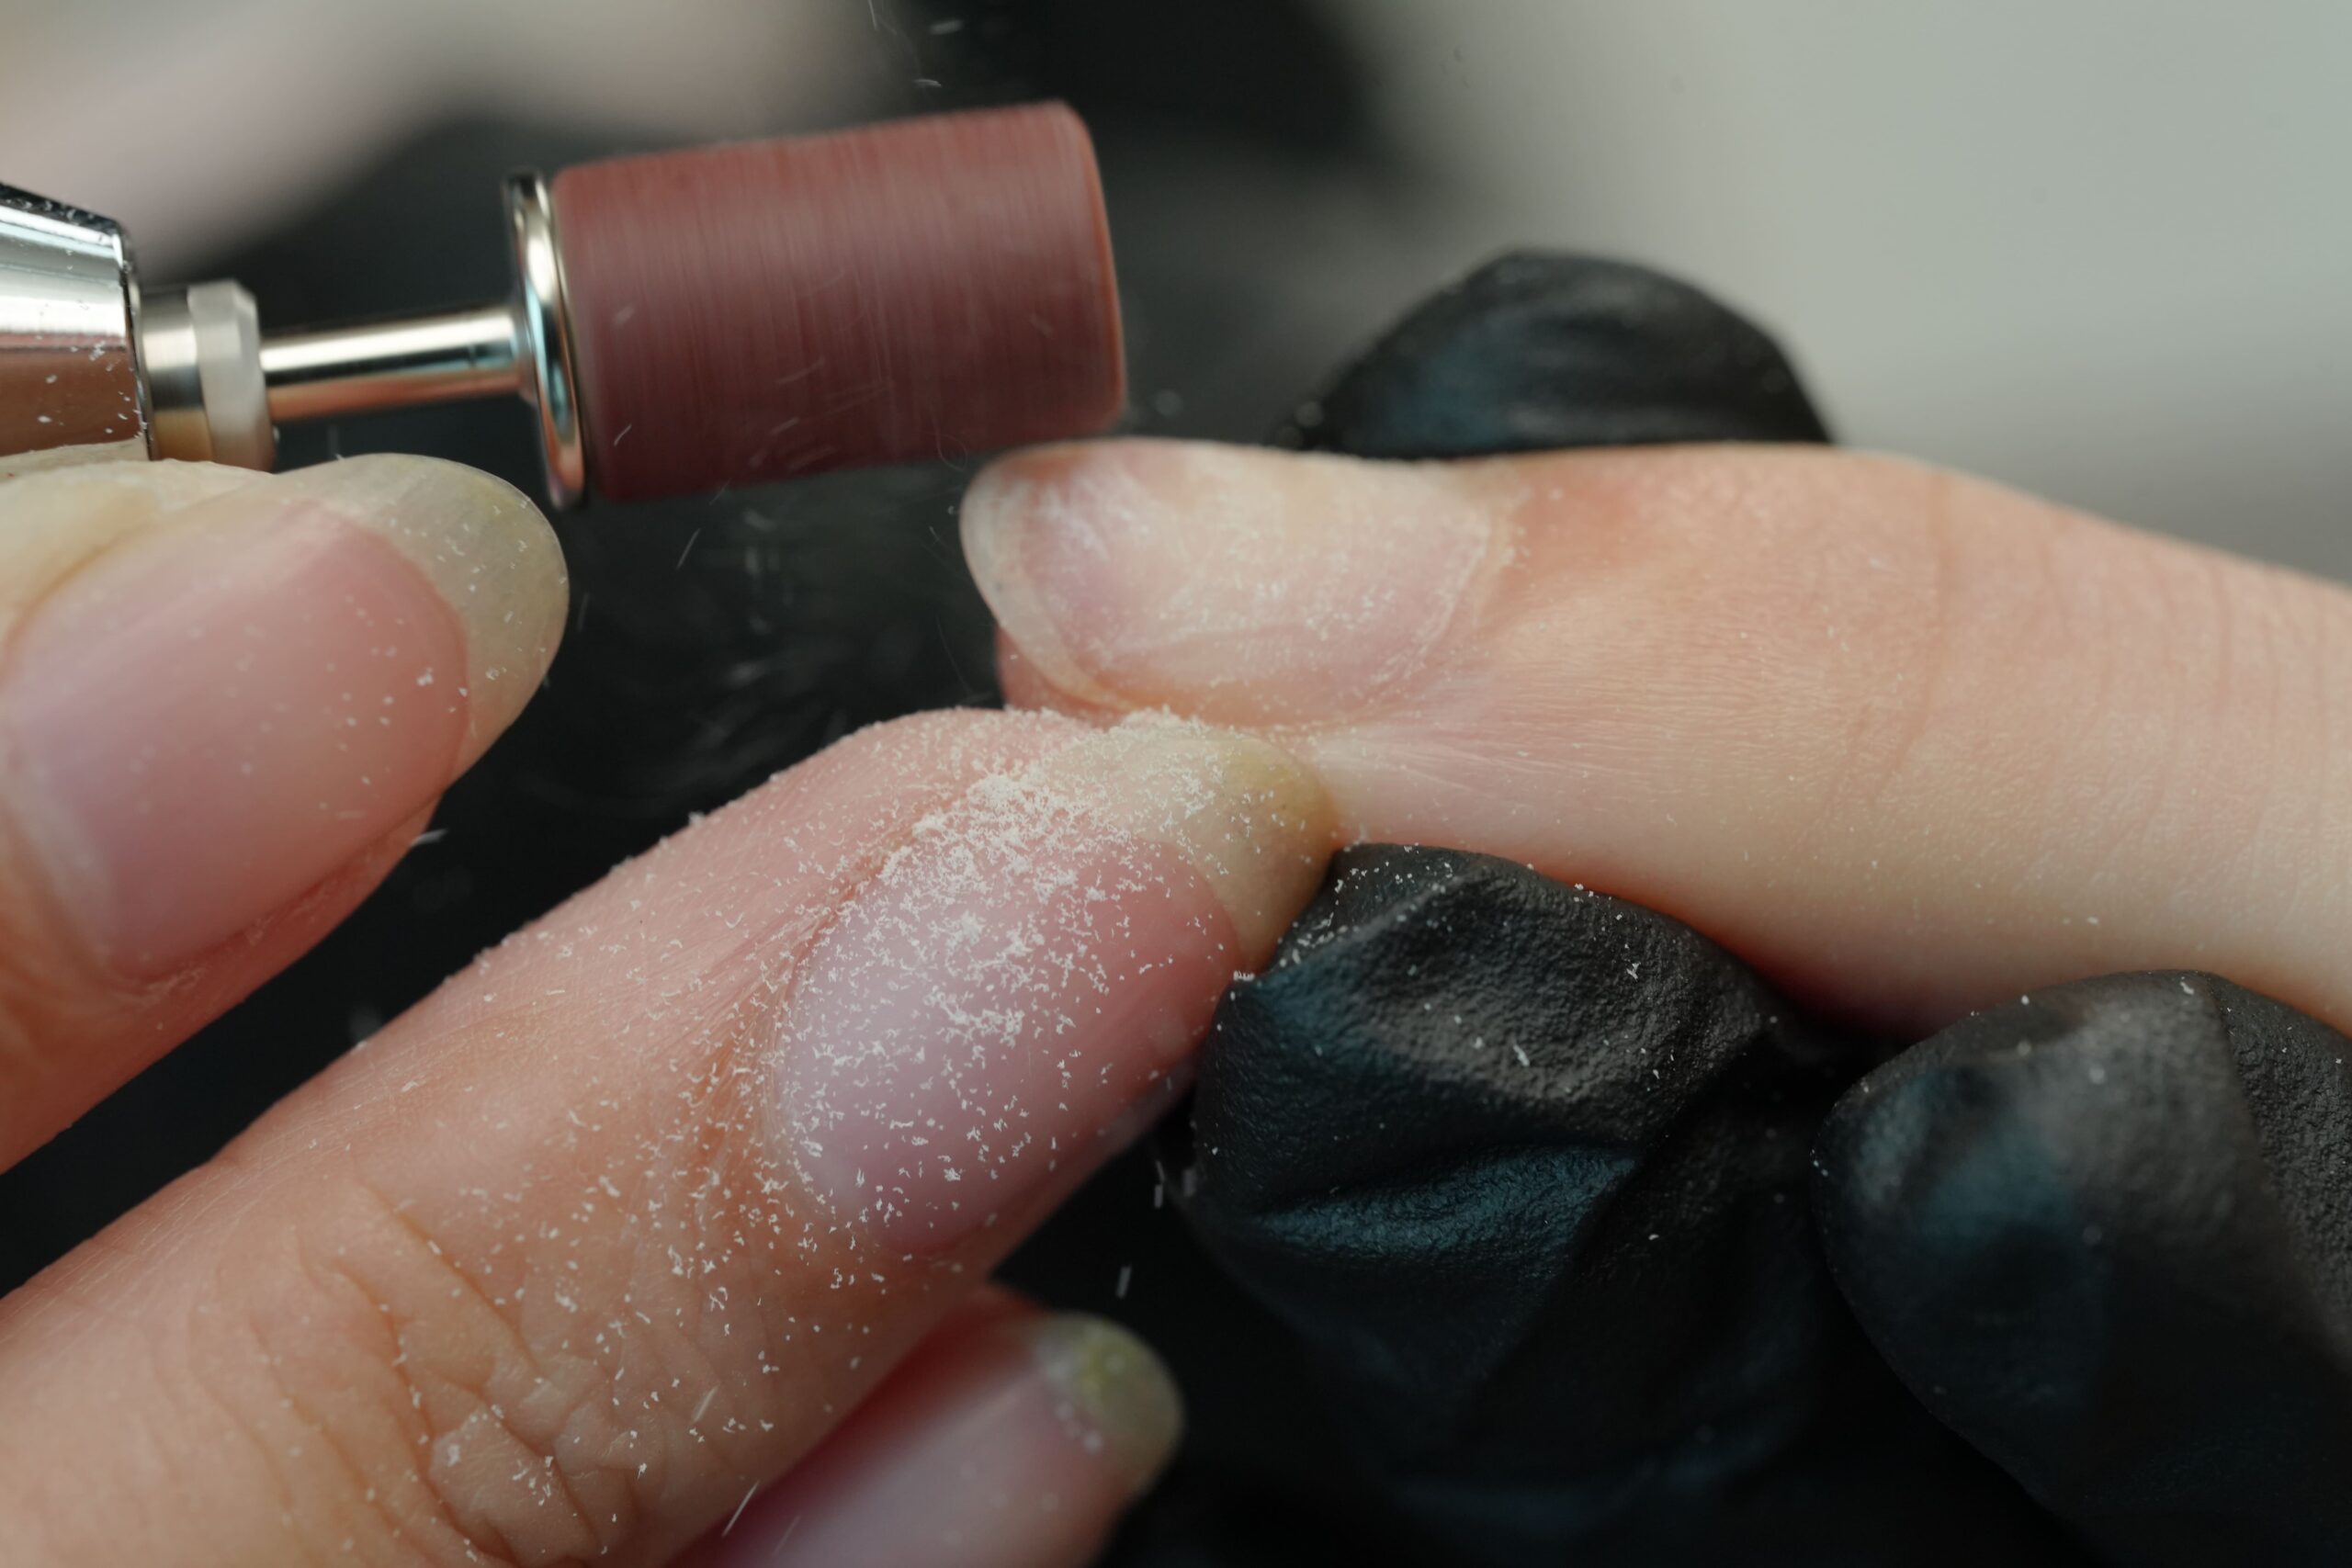
Before you begin, prepare your nails meticulously. First, file your nails to your desired shape and gently push back your cuticles. Afterward, use a buffer to smooth the nail surface. This step is crucial because it ensures the polish adheres evenly without any bumps. Subsequently, clean your nails with rubbing alcohol to remove any oils and debris. This will create a pristine canvas for your manicure.
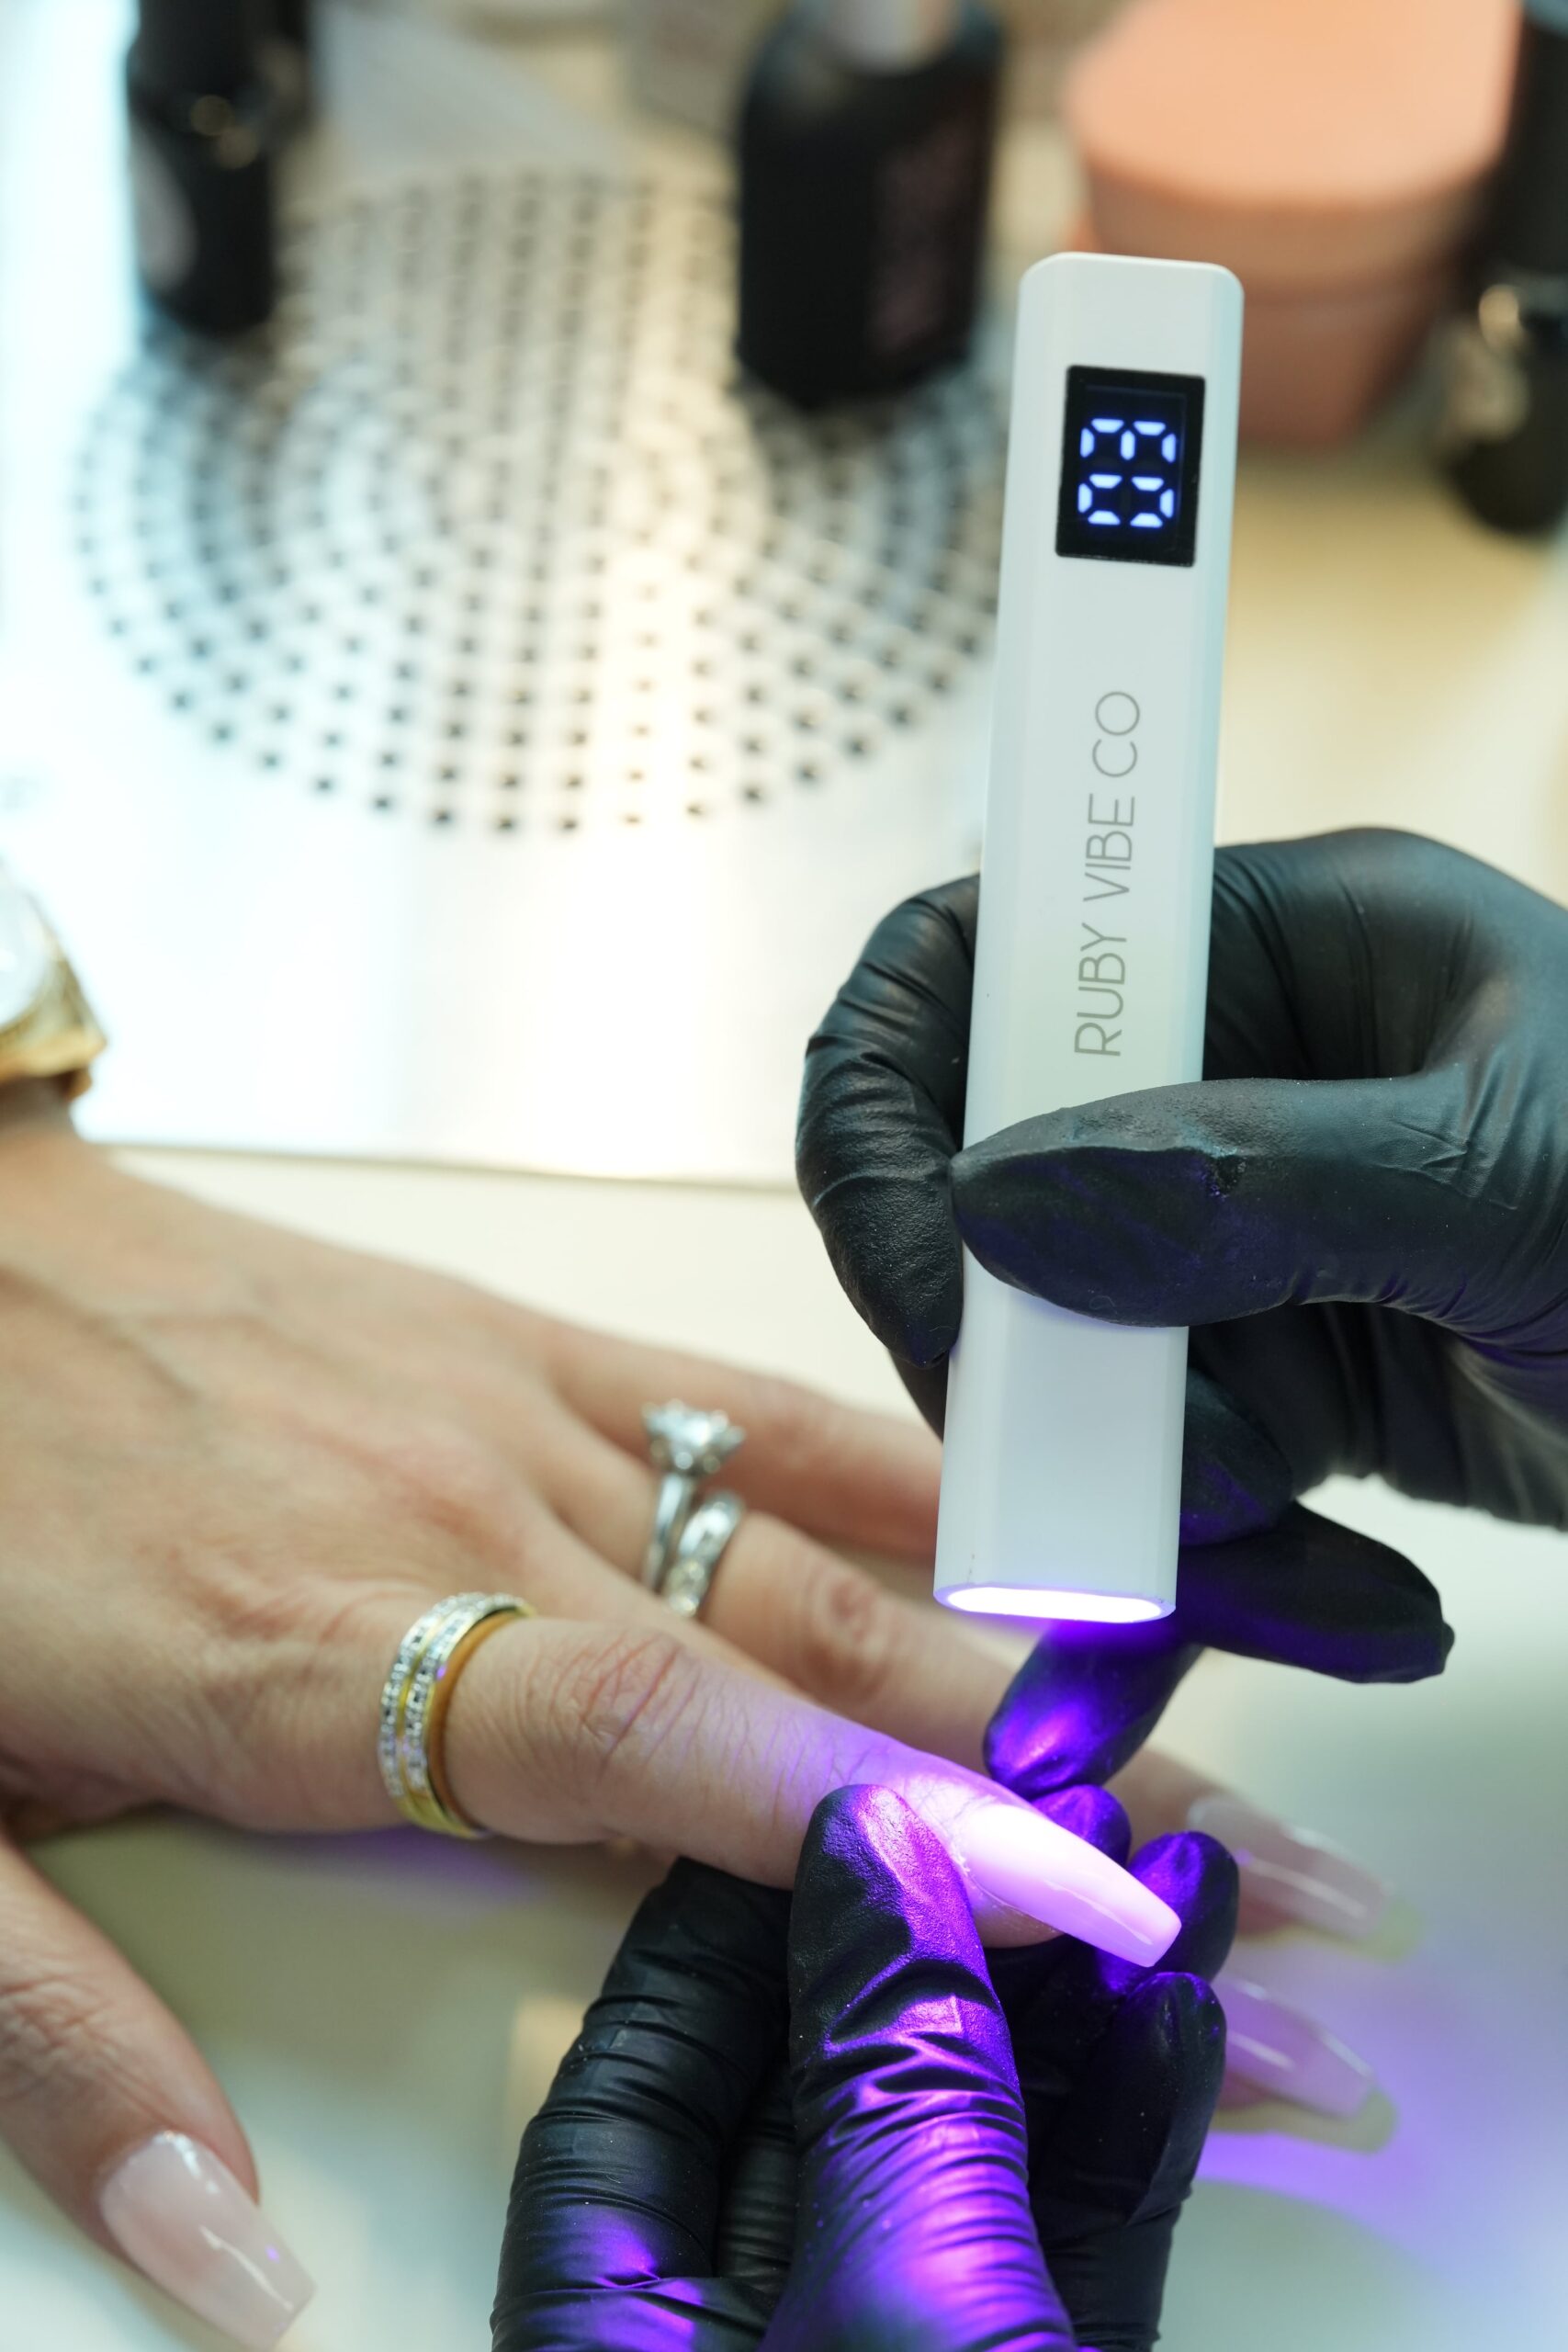
Most importantly, remember to apply a thin layer of base coat and cure it under a UV or LED lamp according to the product instructions. This foundation is essential for a long-lasting manicure.
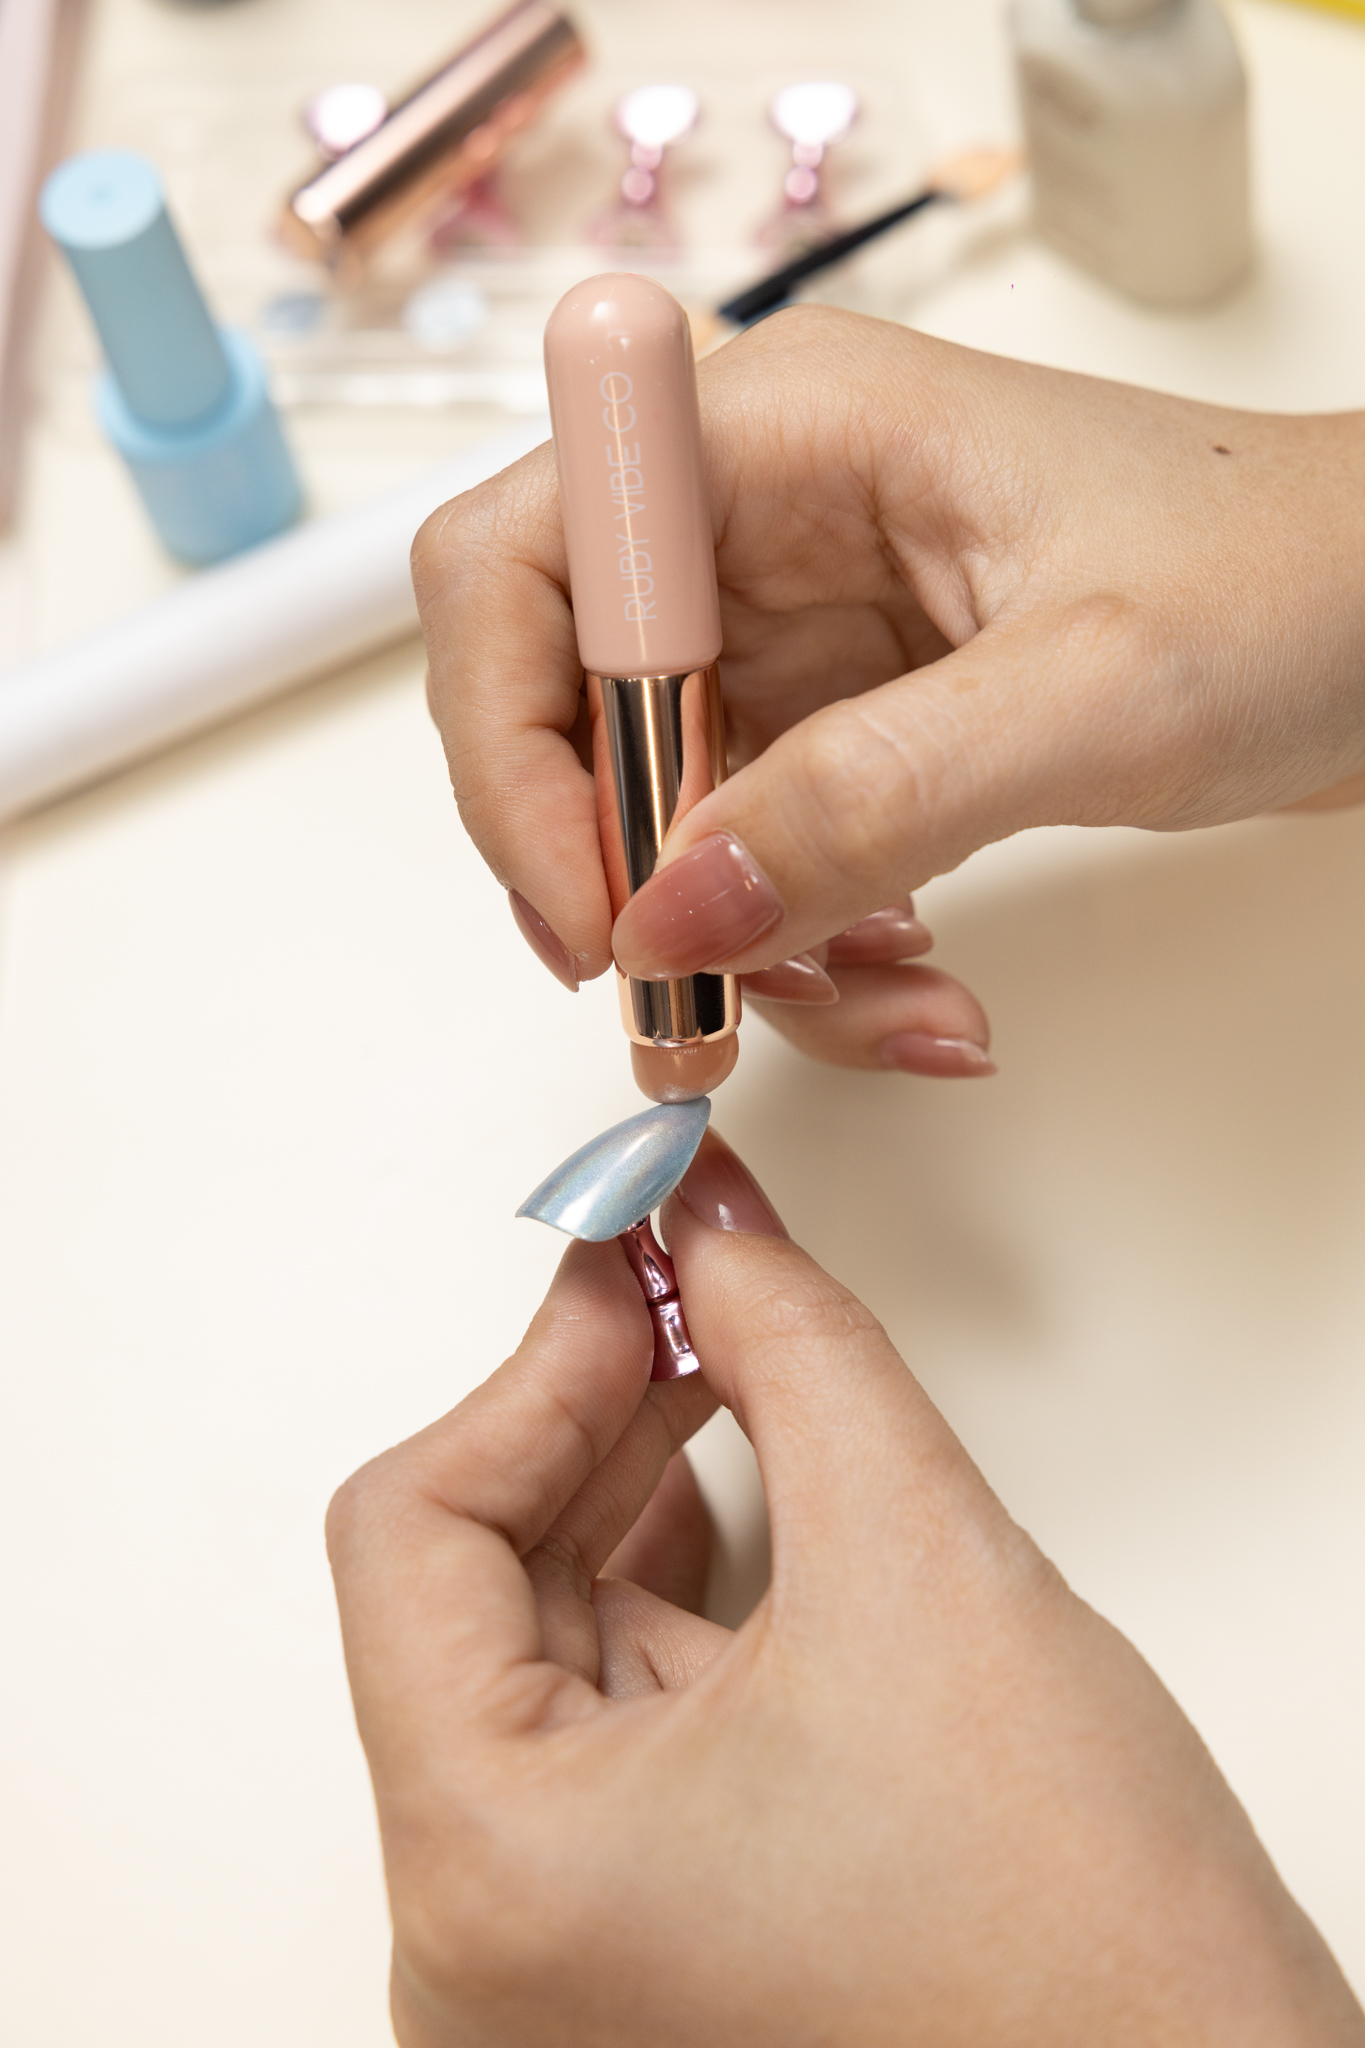
Now, let’s get to the fun part: applying the chrome powder. First, apply two thin coats of your base color gel polish, curing each layer completely. After that, apply a thin, even layer of a no-wipe gel top coat. This is a critical step because the chrome powder will only stick to a no-wipe formula. You must cure this layer for a specific time, usually 30-40 seconds, to ensure it’s tacky but not too wet. The timing here is essential for the best results.

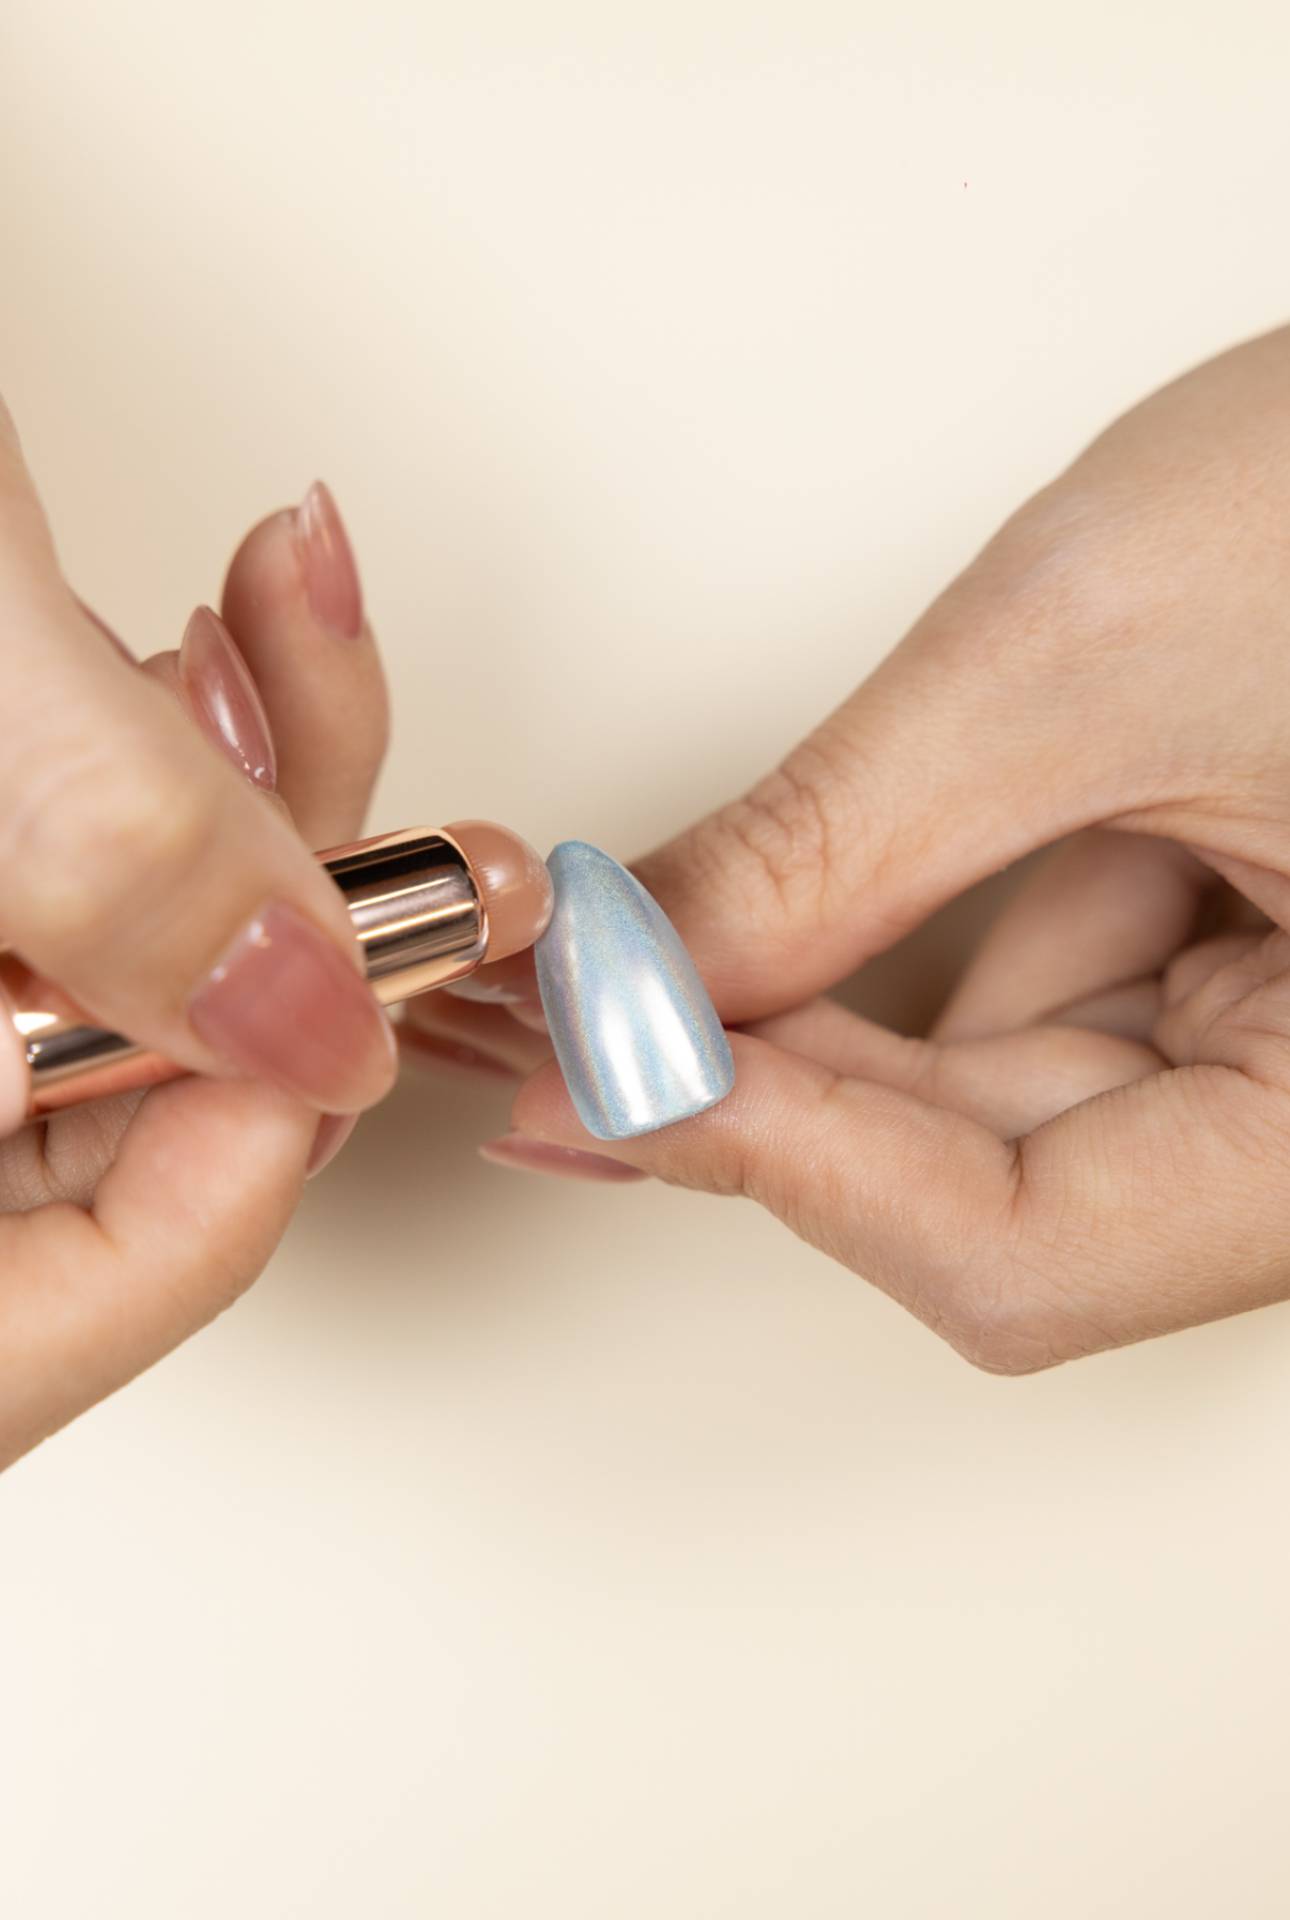
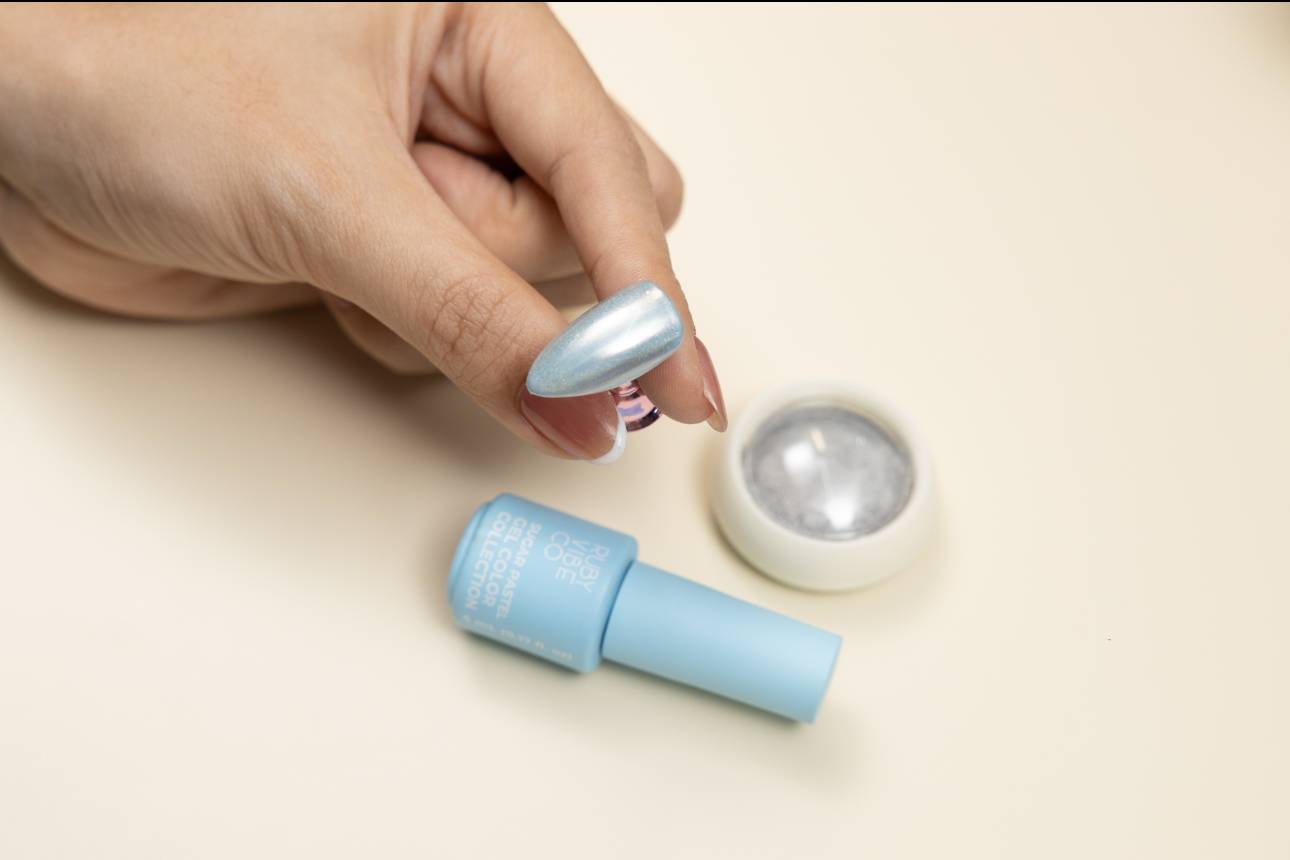
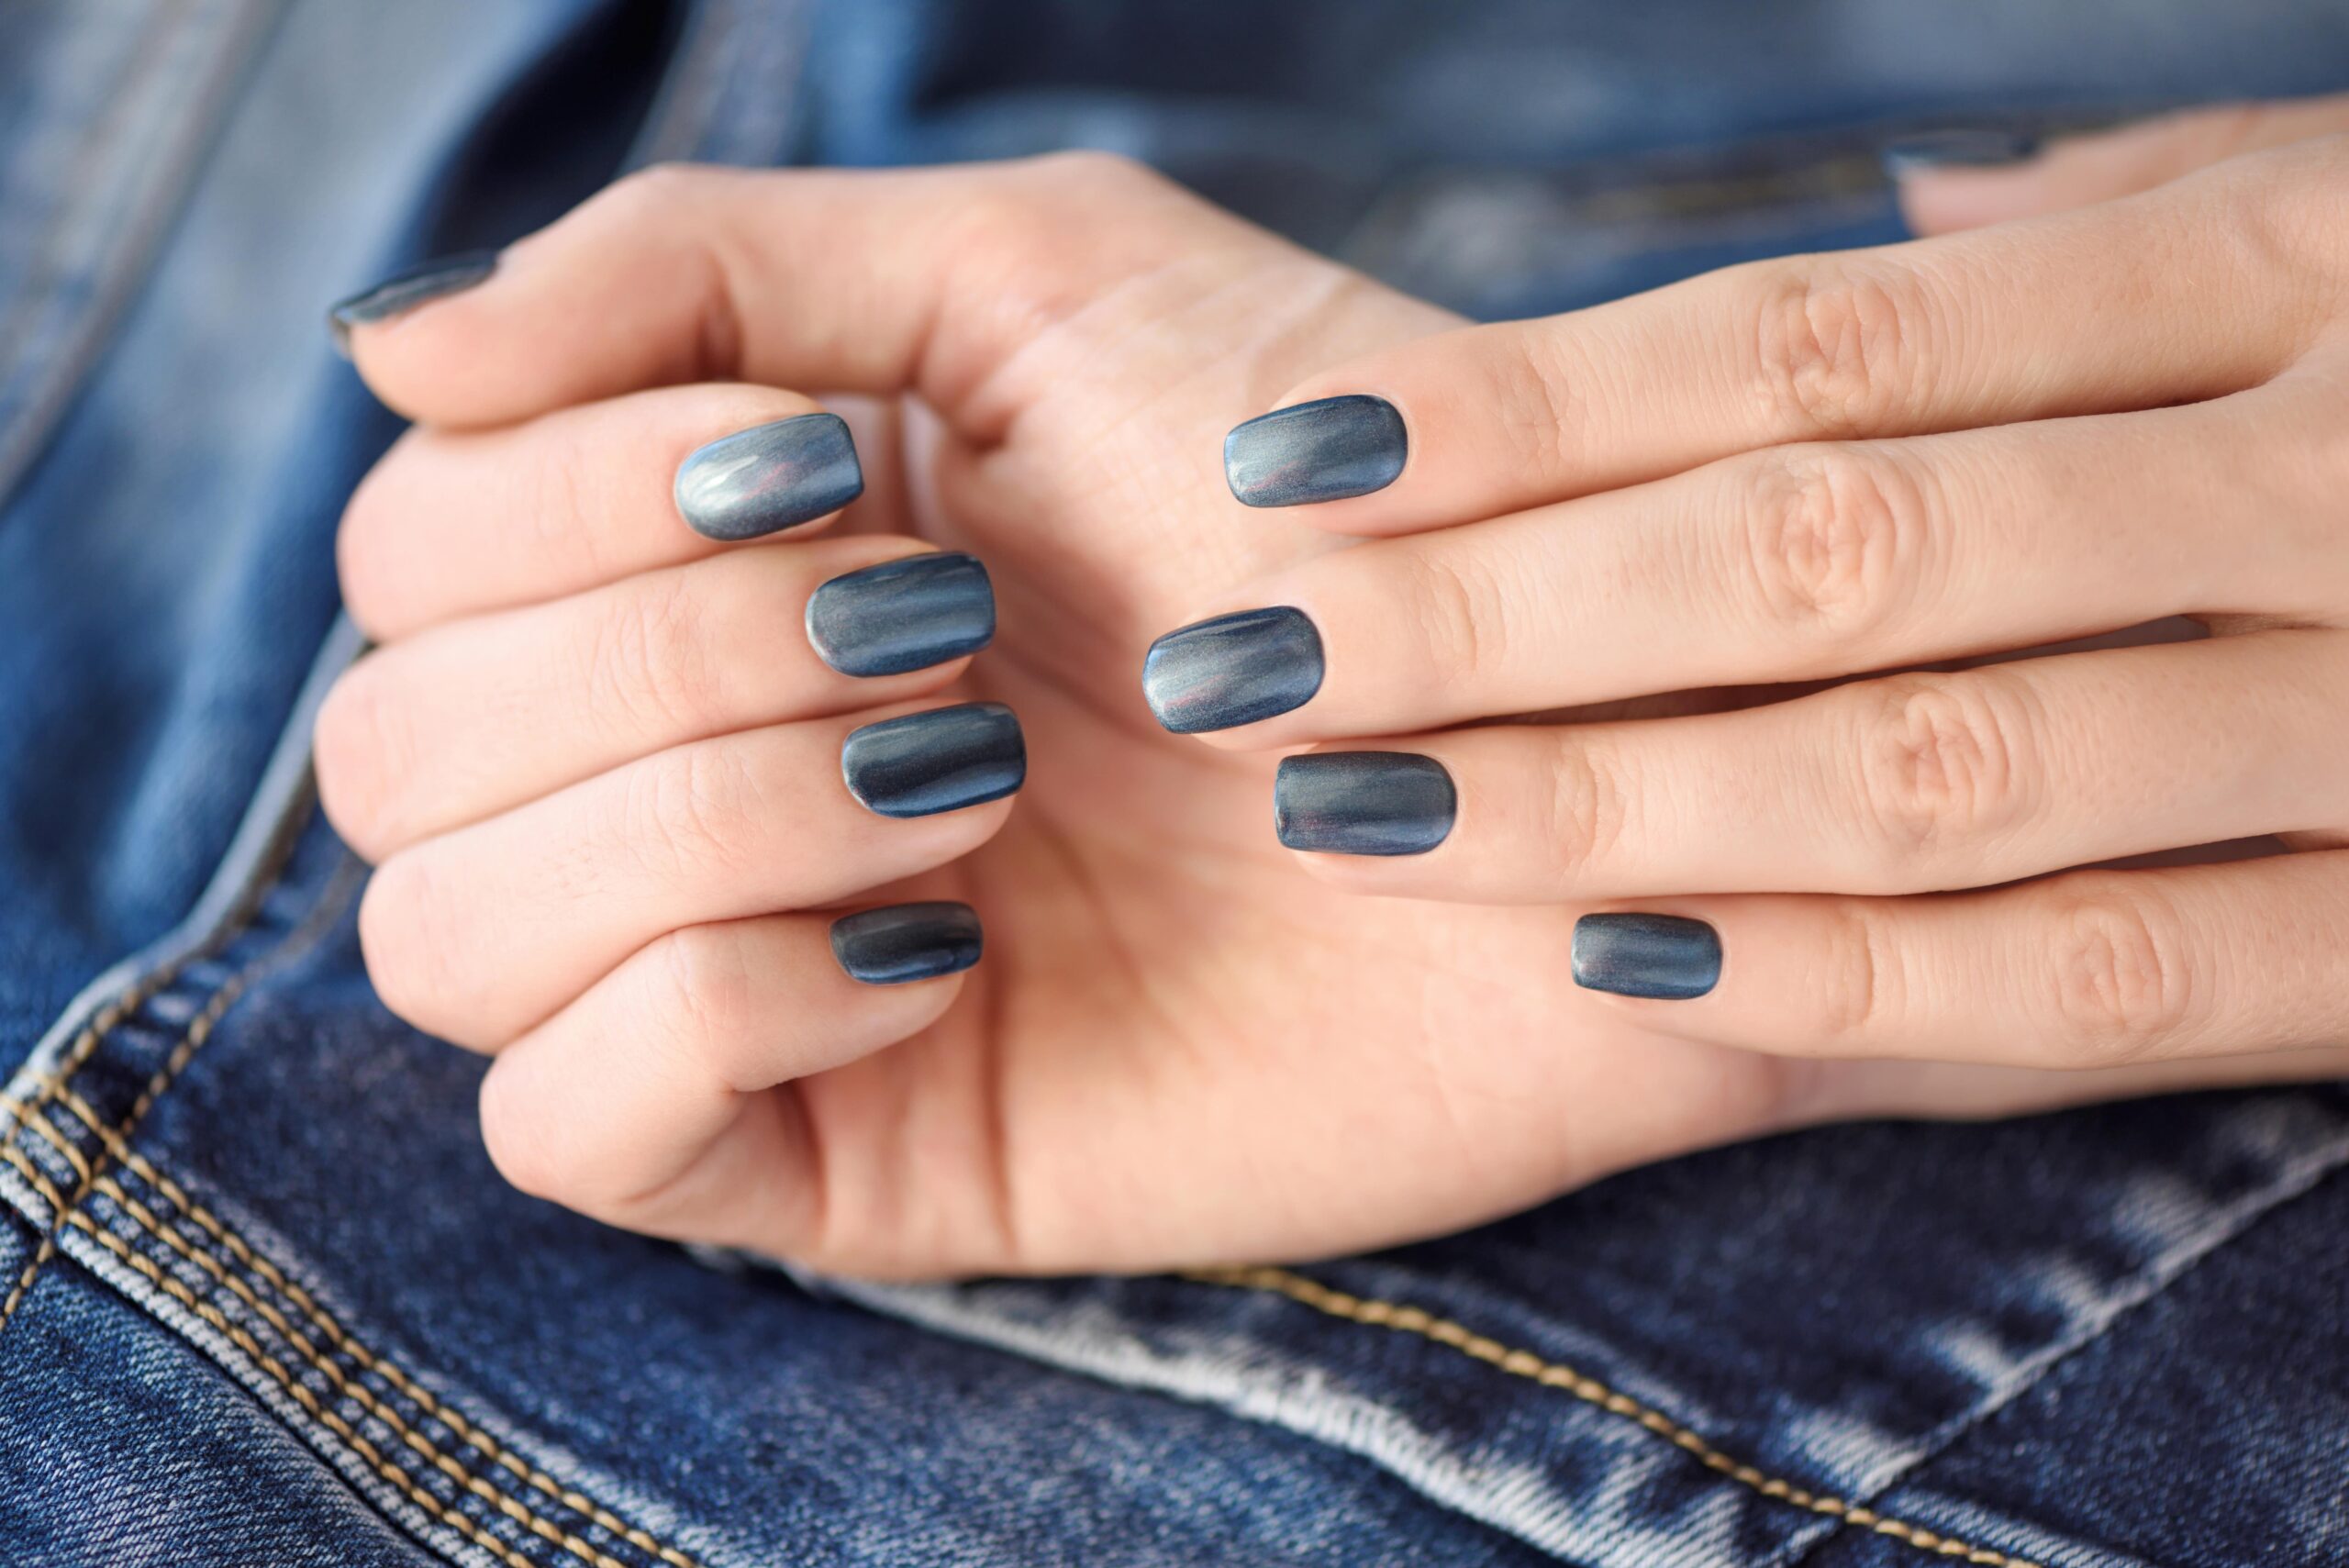
Furthermore, take a small amount of chrome powder on your applicator. Gently rub the powder onto the nail surface in a circular or back-and-forth motion. You’ll see the mirror finish magically appear.
Once you have achieved your desired effect, cure the polish under the lamp. This is a crucial step because it locks the chrome design in place
After that, use a soft, fluffy brush to gently dust off any excess powder. In addition, pay close attention to the edges and cuticles to ensure a clean finish.

Finally, seal your manicure with a no-wipe gel top coat and cure it one last time. This not only adds a glossy finish but also protects your chrome design from chipping and smudging.
As these steps show, with a little practice, you’ll have beautiful, salon-quality chrome nails that will last for weeks.
Leave a Reply