
Your cart is currently empty!
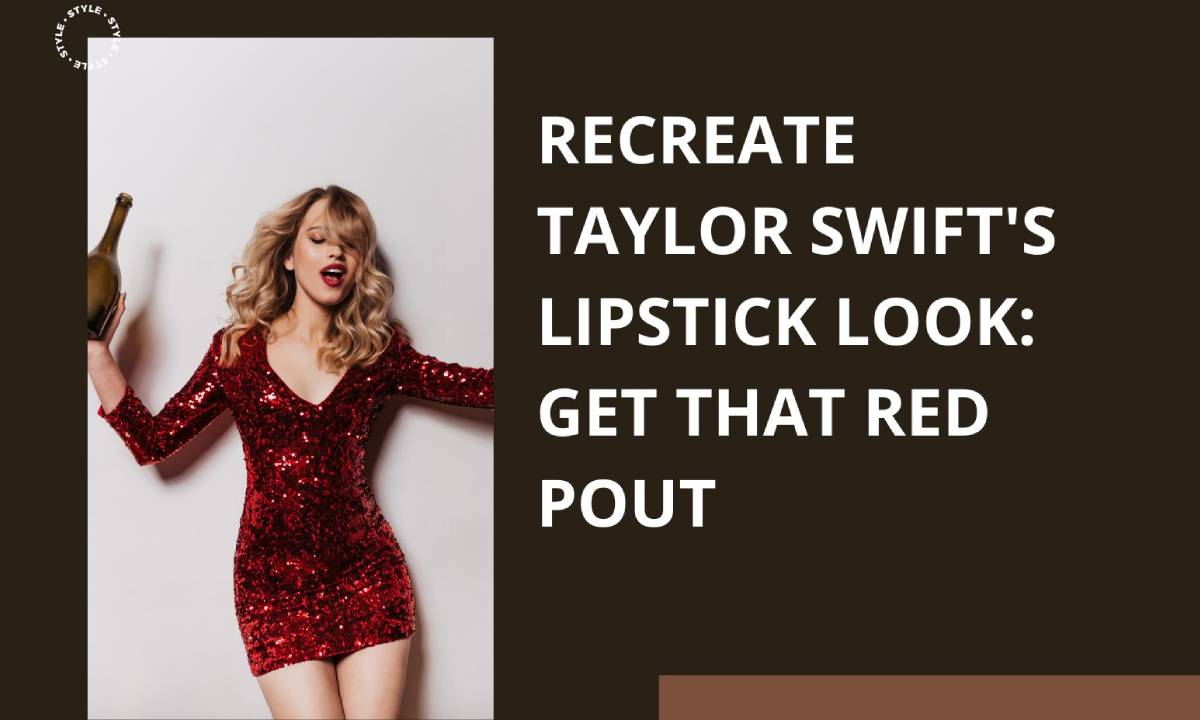
Recreate Taylor Swift’s Lipstick Look: Get That Red Pout
Want Taylor Swift’s perfect red lip? This guide provides a step-by-step tutorial on how to prep, apply, and set your lipstick for a flawless, long-lasting finish.
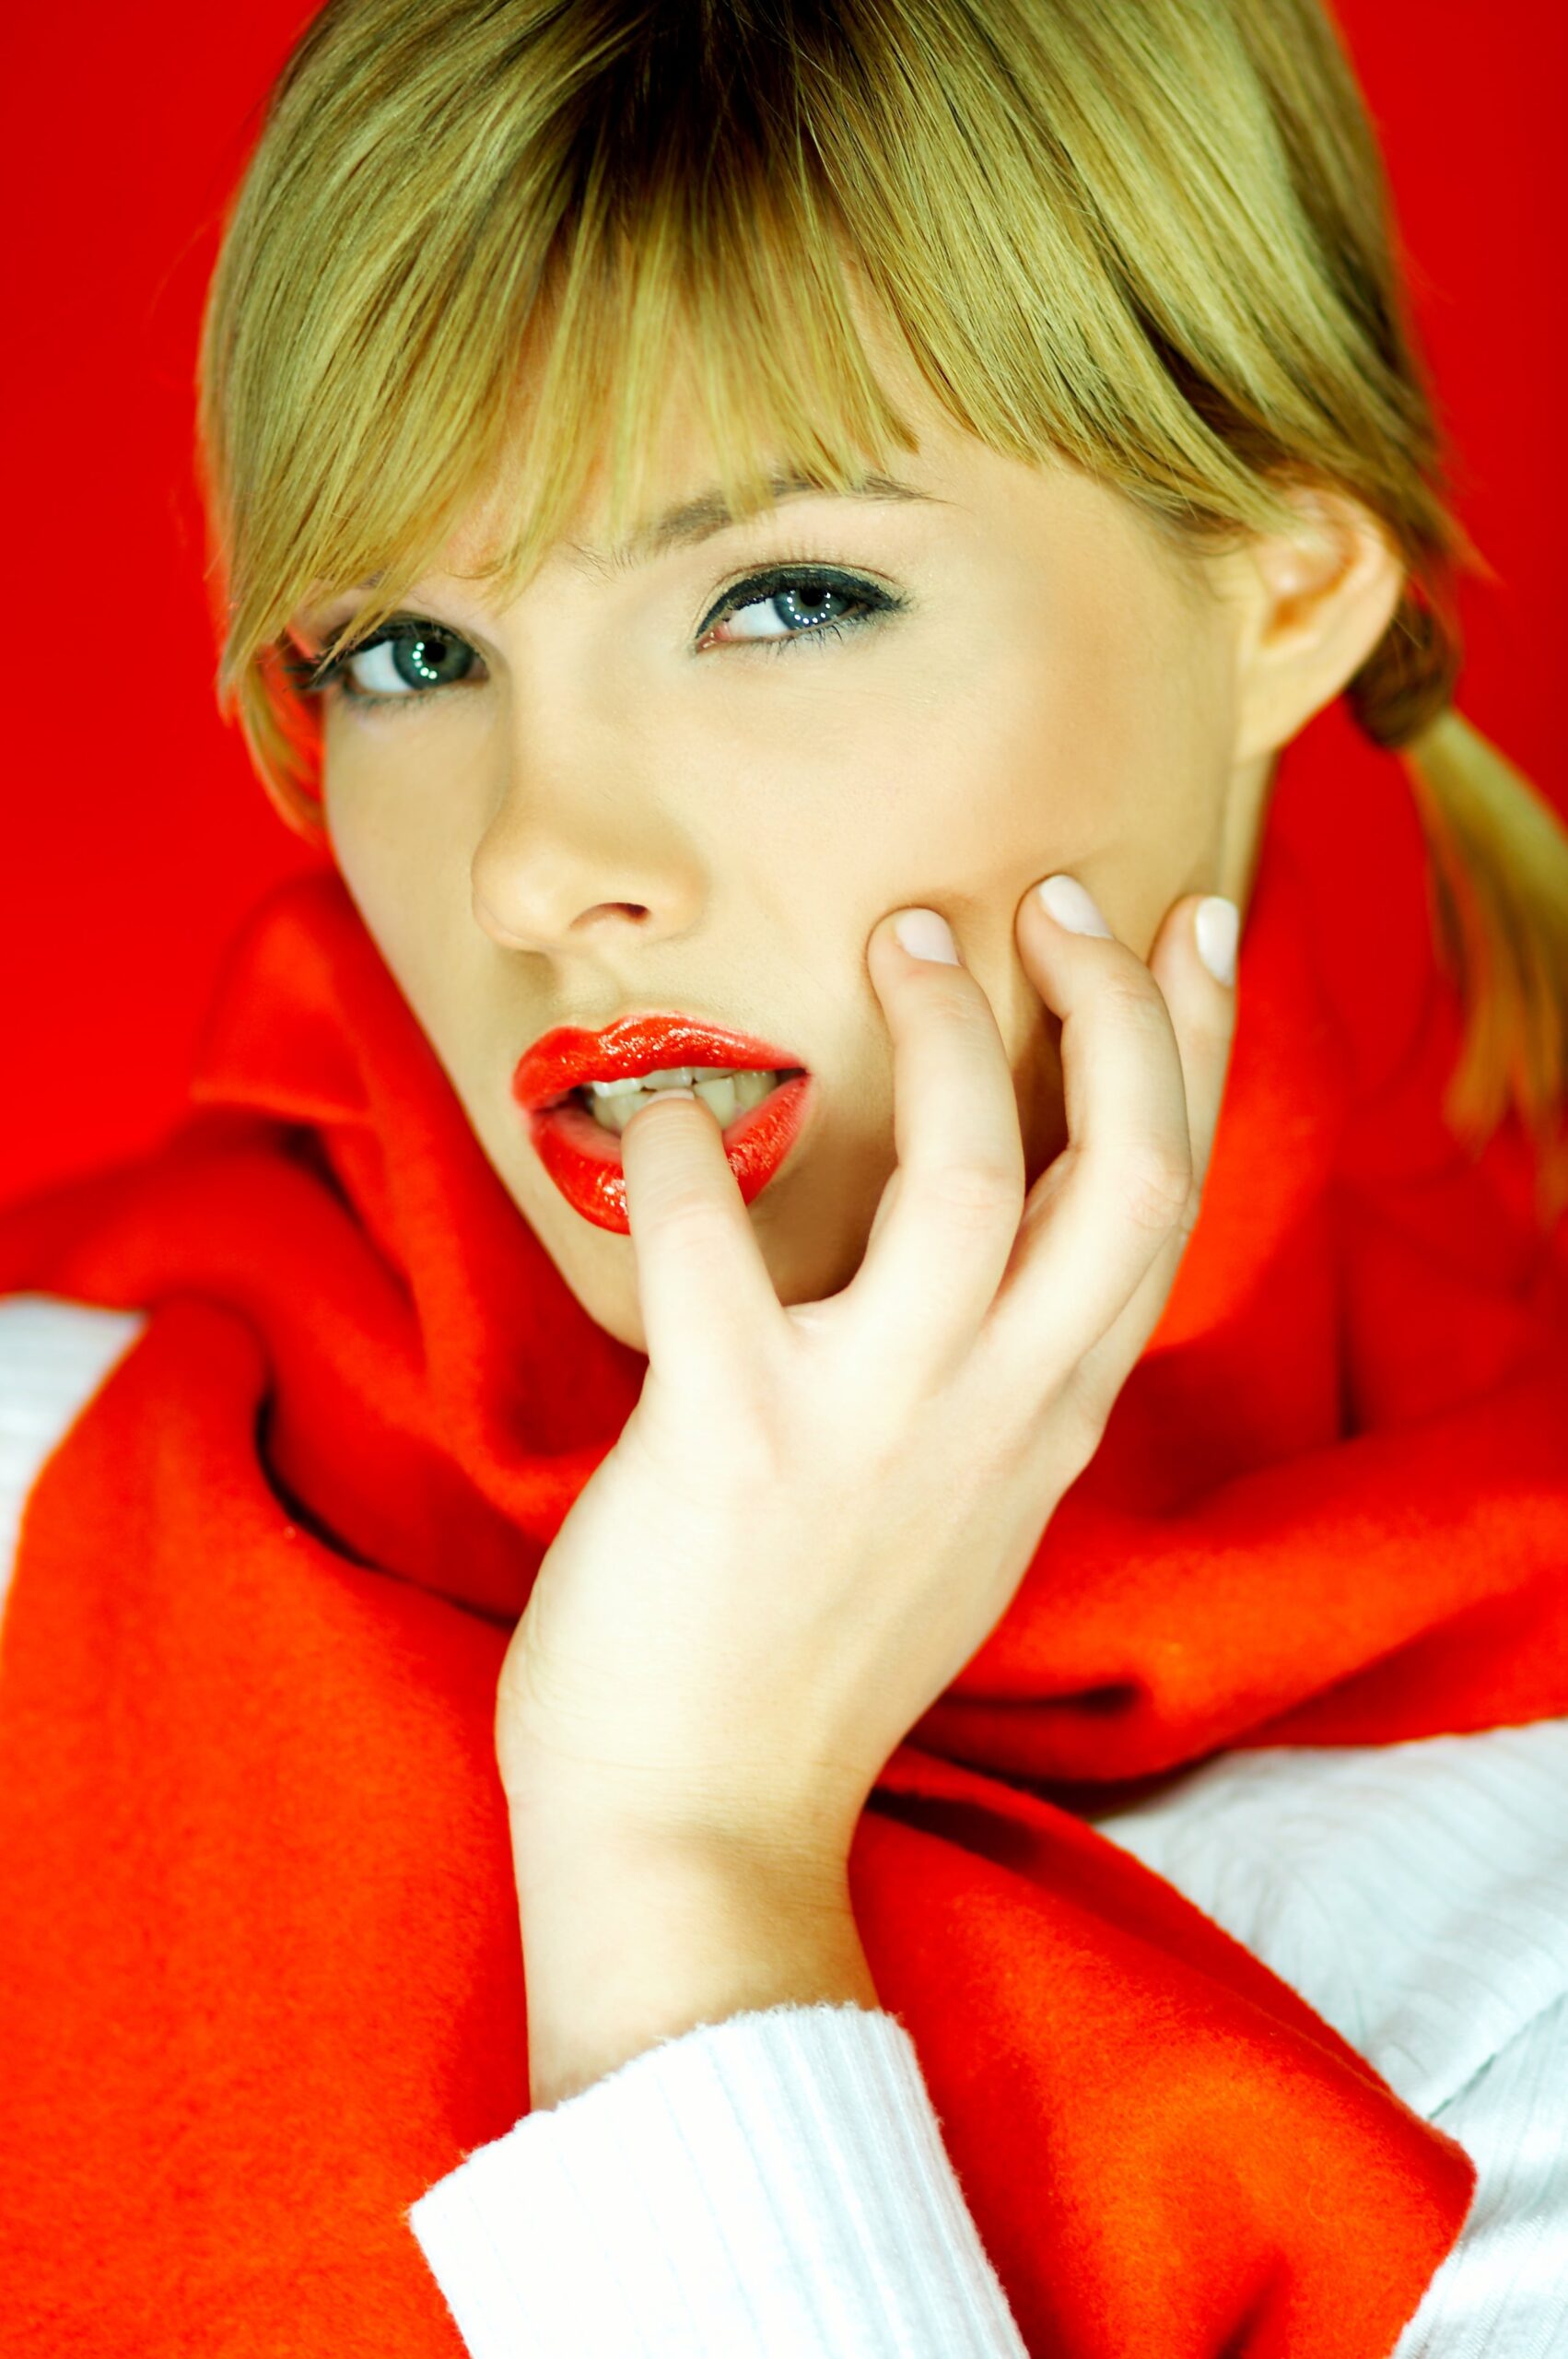
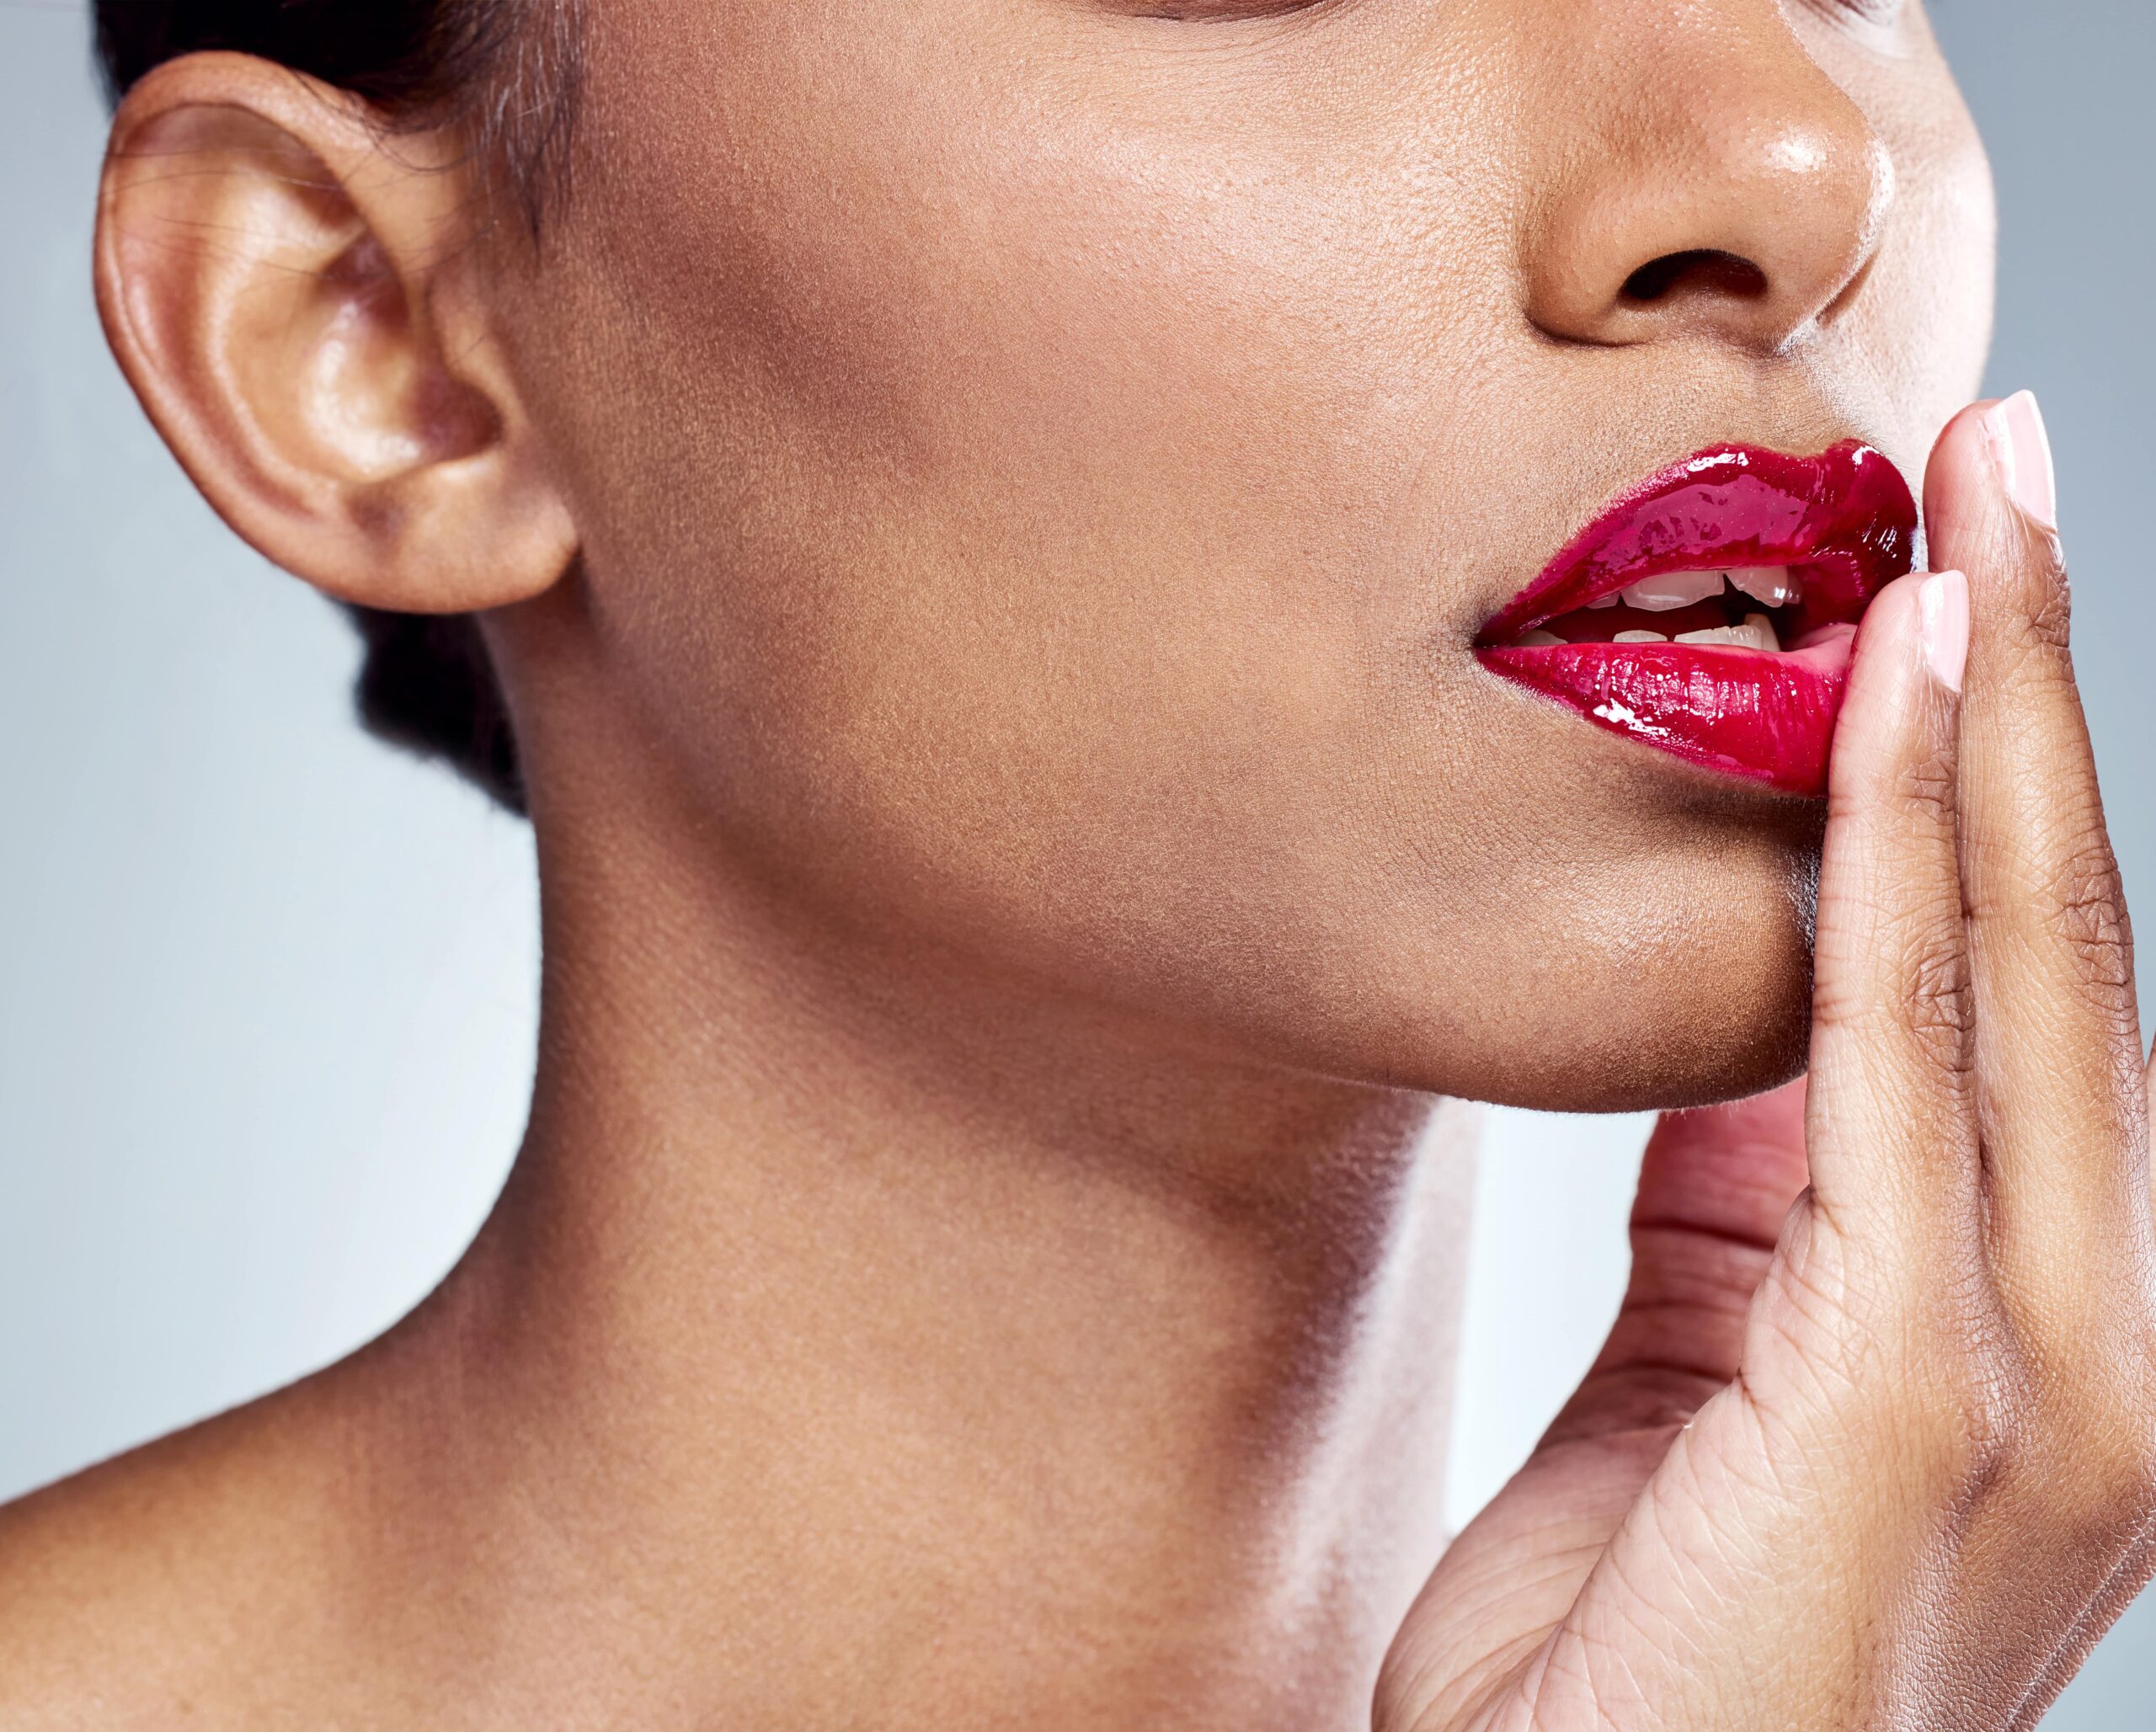
The flawless red lip is a hallmark of Taylor Swift’s style. It’s a look that many people want to emulate, and it has become as much a part of her public persona as her songwriting. The question of how to recreate Taylor Swift’s lipstick is one we hear all the time. Consequently, achieving her perfect pout is not just about choosing the right color; it’s about a precise and long-lasting application that can withstand hours of performing and countless flash photography moments. Furthermore, with the right tools and a clear, step-by-step guide, you can achieve her famous look at home. In this blog, we will provide a comprehensive tutorial that breaks down the entire process. We will discuss the crucial importance of lip preparation, the strategic use of lip liner, and how to set your lipstick for maximum wear. Get ready to master the art of her signature red lip and step out with confidence.
The Foundation of a Flawless Red Lip: Preparation is Key
A beautiful lipstick application starts with a smooth, hydrated canvas. You can’t expect a matte red to look flawless on dry, chapped lips.
- Exfoliate Gently: First and foremost, proper lip preparation is key. Gently exfoliate your lips to remove any dry, flaky skin. You can use a dedicated lip scrub or even a soft, damp toothbrush with a little sugar. This step ensures the lipstick glides on evenly without catching on any rough patches.
- Moisturize Thoroughly: After exfoliating, apply a moisturizing lip balm. This step is particularly important because it ensures your lips are soft and supple. Let the balm absorb completely for several minutes. A well-hydrated lip surface prevents the lipstick from settling into fine lines or feeling uncomfortable throughout the day.
- Blot Excess Product: Finally, and this is a vital step, gently blot away any excess balm with a tissue. This leaves you with a clean, hydrated surface that is ready for the best possible result. If there is too much product left on your lips, the lipstick might not adhere properly.
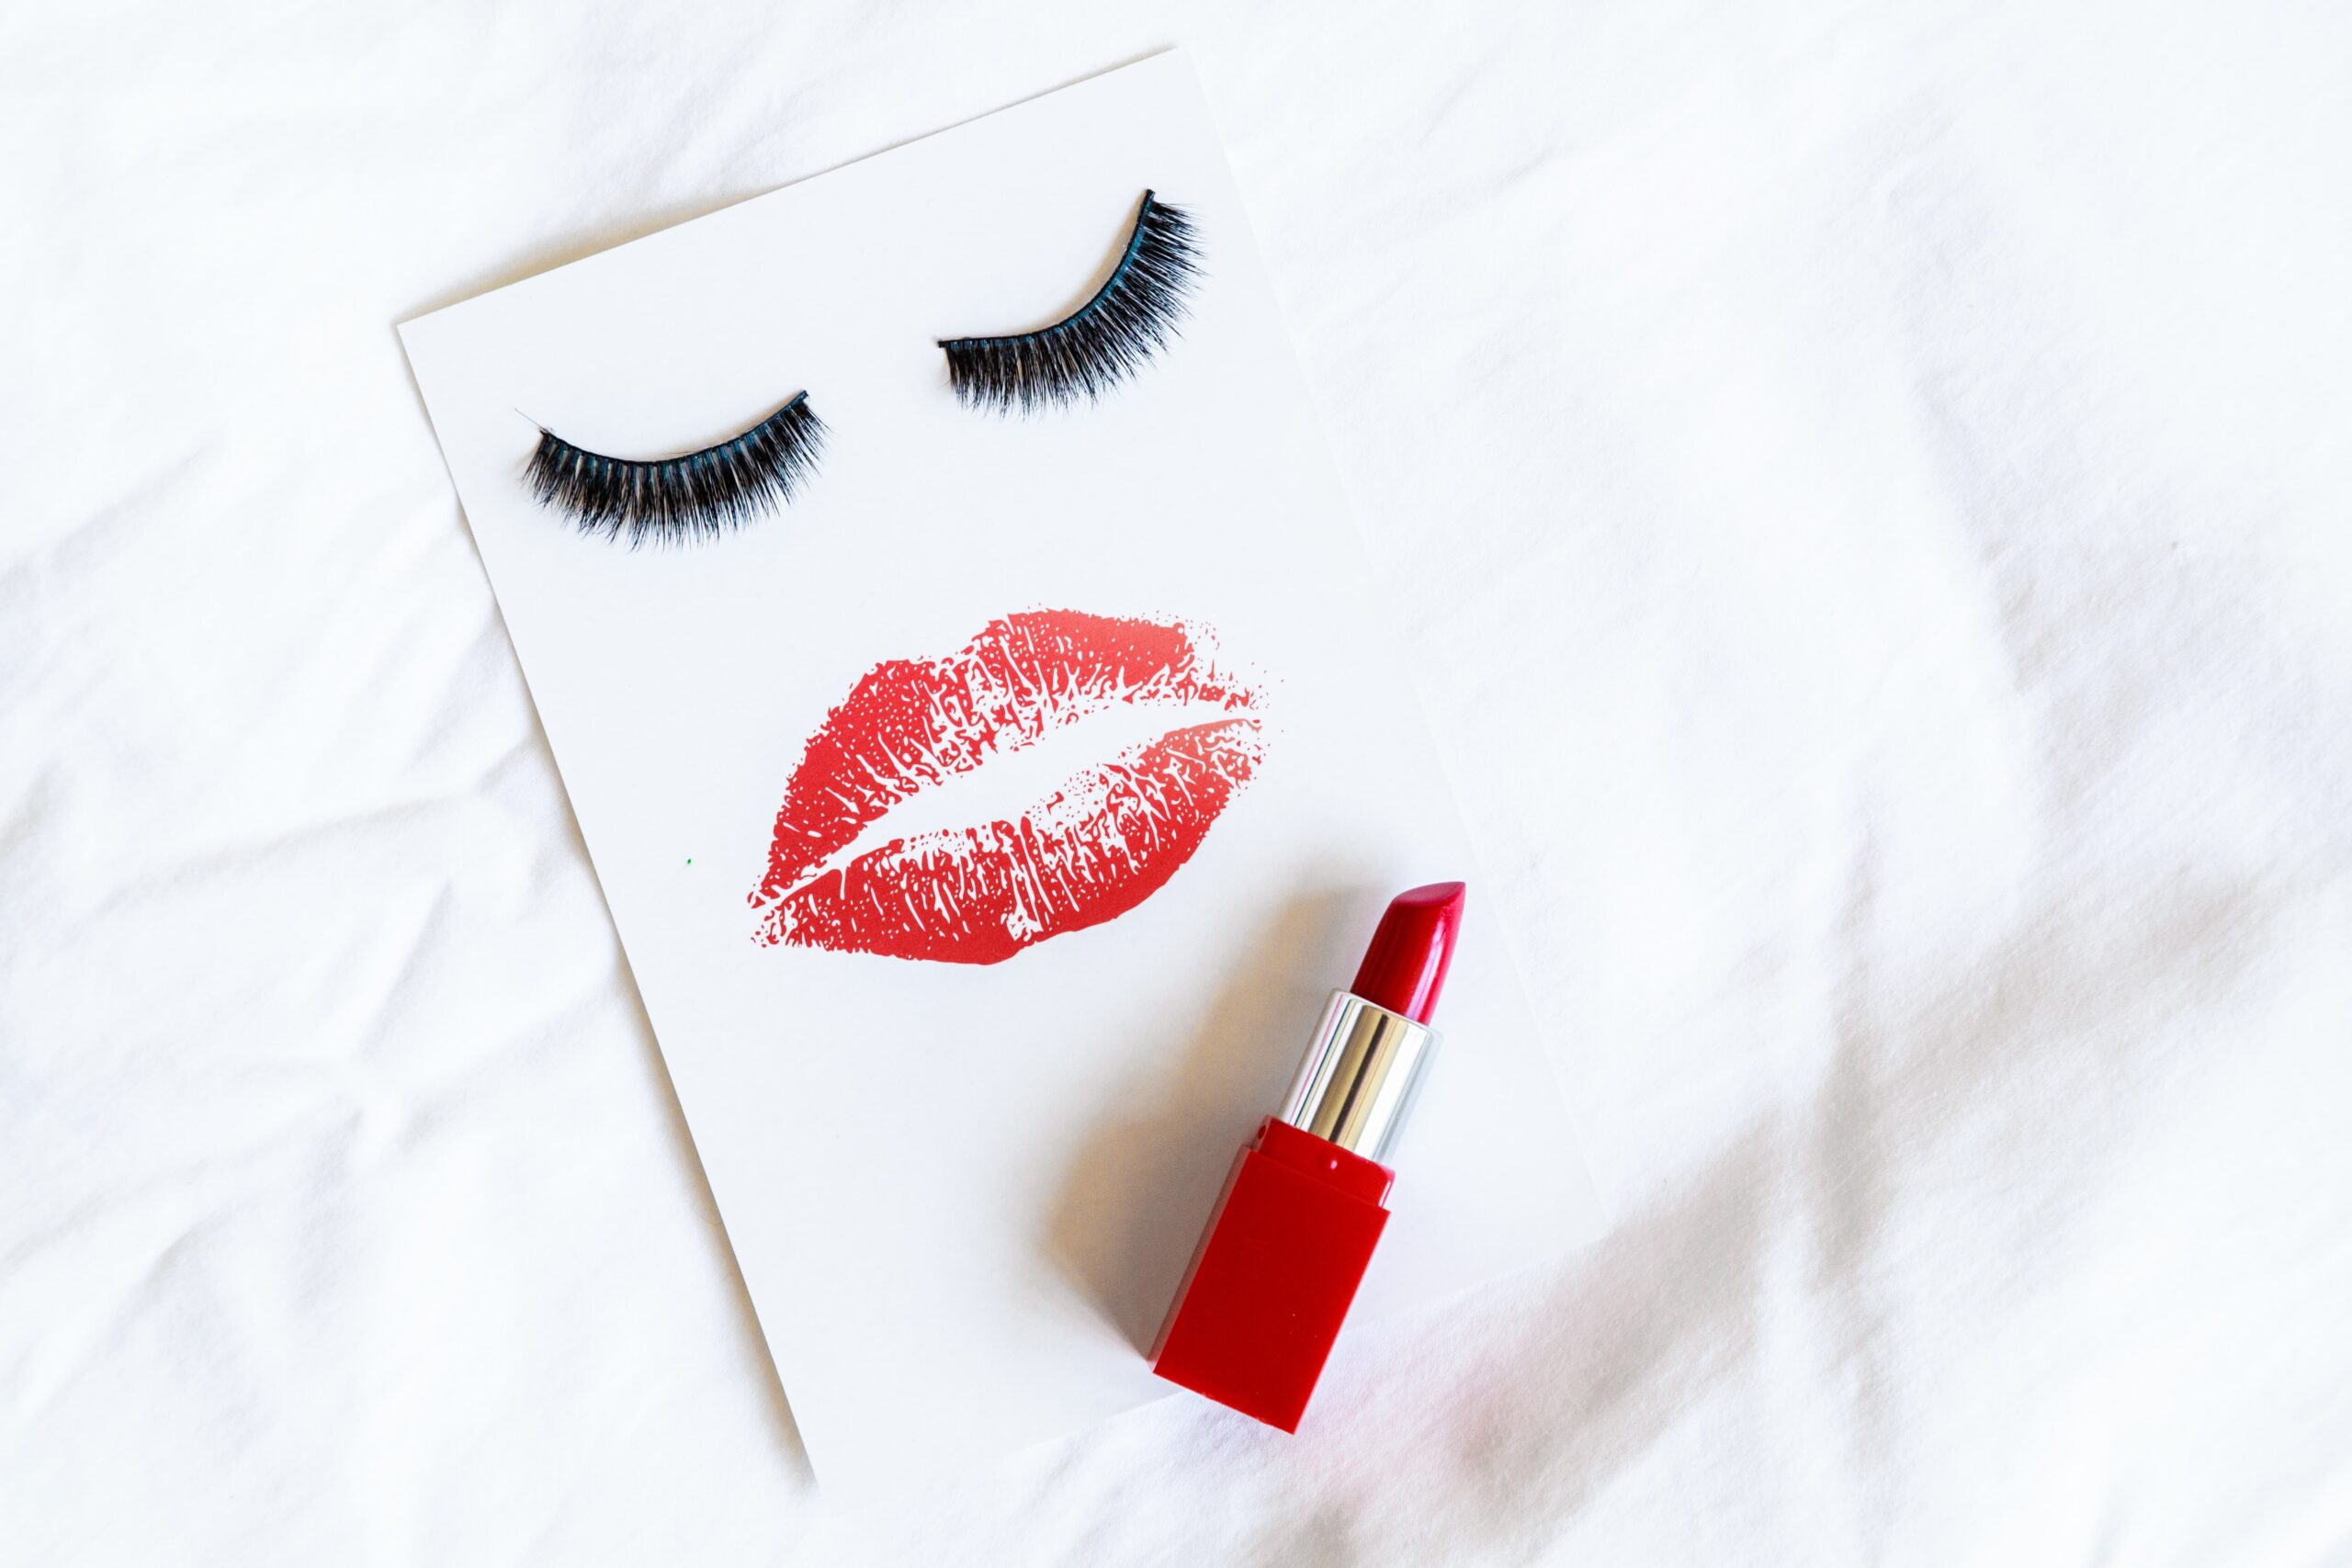
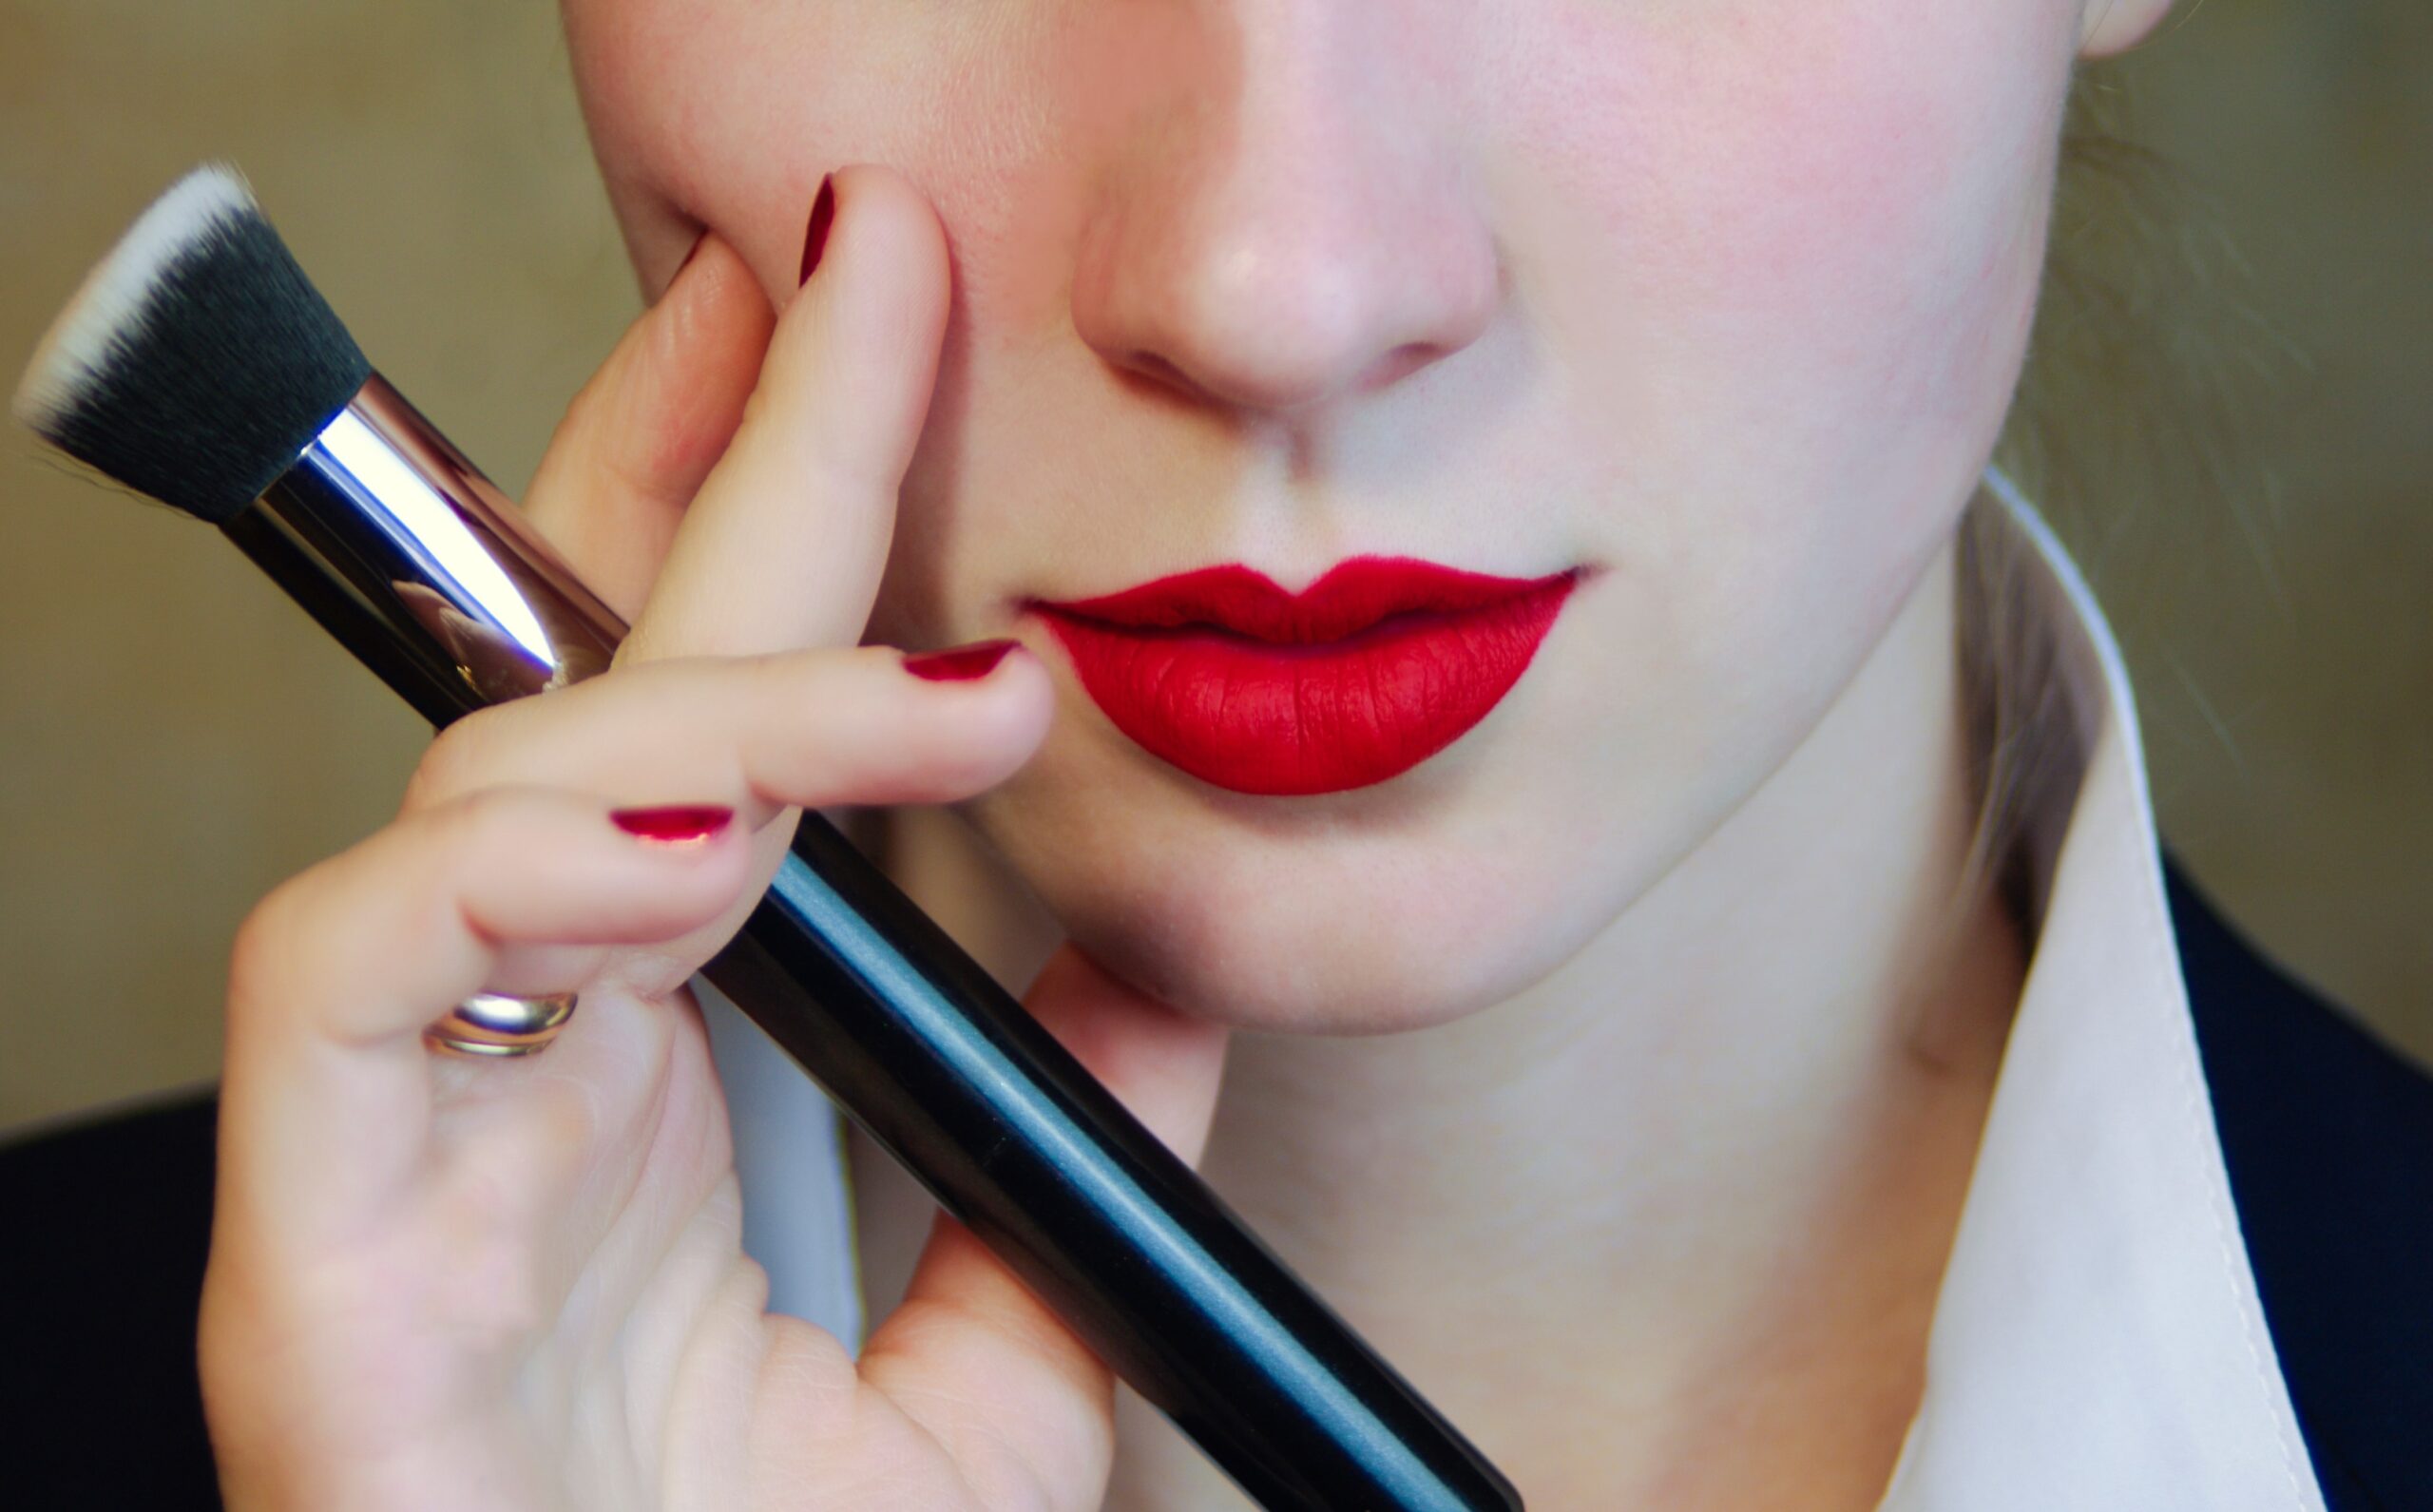
The Art of Application: A Step-by-Step Guide
Now, for the application itself. This is where you create the perfect, crisp shape that defines a Taylor Swift-inspired red lip.
- The Power of Lip Liner: The most critical tool for a precise look is a lip liner that matches your red lipstick. First, outline the natural shape of your lips with the liner, starting with the cupid’s bow and working your way outwards. This creates a crisp, defined shape. Then, fill in your lips entirely with the pencil. This creates a base that will prevent the lipstick from bleeding and also helps your color last much longer.
- Applying the Lipstick: After creating your lip liner base, you can apply your lipstick. For more precision, especially with a vibrant color like red, use a lip brush to fill in the color. This technique allows for a more controlled, even application. Furthermore, you can also apply it directly from the tube, but be sure to work slowly and carefully, especially around the cupid’s bow and the corners of your mouth.
- Blot and Layer: For an even more intense color payoff and a longer-lasting finish, apply the first layer of lipstick, then gently blot your lips with a tissue to remove excess product. Apply a second thin layer of lipstick. This layering technique builds color and durability.

Setting the Look: The Secret to All-Day Wear
Once the color is on, you need to set it for maximum wear, just like a professional performer would.
- The First Blot: Blot your lips with a tissue after the final application. This removes any excess product and helps to prevent smudging.
- The Powder Trick: As a final step, take a clean, single-ply tissue and gently place it over your lips. Then, with a small fluffy brush, lightly dust a translucent setting powder over the tissue. This locks the color in place without dulling its vibrancy. The powder sets the color without creating a “cakey” or heavy look.
- The Clean-Up: Use a small, flat brush with a tiny amount of concealer or foundation to clean up the edges around your lips. This creates a crisp, sharp line that makes your red lip look absolutely flawless.
The Finishing Touches: Styling Your Red Lip
A Taylor Swift red lip isn’t just about the lipstick; it’s about the entire look.
- With Neutral Makeup: For a classic look, pair your red lip with simple, neutral eye makeup. A clean winged liner, a light wash of brown eyeshadow, and a coat of mascara will make your red lip stand out beautifully without competing. This is an elegant and sophisticated combination.
- With Full Glam: For a more dramatic look, you can pair your red lip with a smokey eye or a full glam look. The key is to choose a red that has the right undertone to complement your eyeshadow and blush.
- With Any Outfit: Furthermore, her red lip is versatile enough to work with a wide range of her looks. It complements everything from a simple T-shirt and jeans to a glamorous gown. The red lip is a constant that ties her different styles together, proving that a bold red lip is a timeless accessory that can be dressed up or down.
Conclusion
By following these steps, your Taylor Swift-inspired lipstick will stay perfect for hours, just like hers. From the preparation to the final setting, every detail matters in creating a flawless red lip. Remember to carry your lipstick with you for any necessary touch-ups, especially after eating or drinking, but with this guide, you won’t need them as often. Ultimately, her red lip is a symbol of confidence and style, and by mastering this look, you can channel that same power and elegance.
Leave a Reply