
Your cart is currently empty!

Discover the art of ombré nails with our comprehensive guide. Learn techniques, tips, and tricks to achieve a flawless, gradient manicure every time.
Discovering the Beauty of Ombré Nails
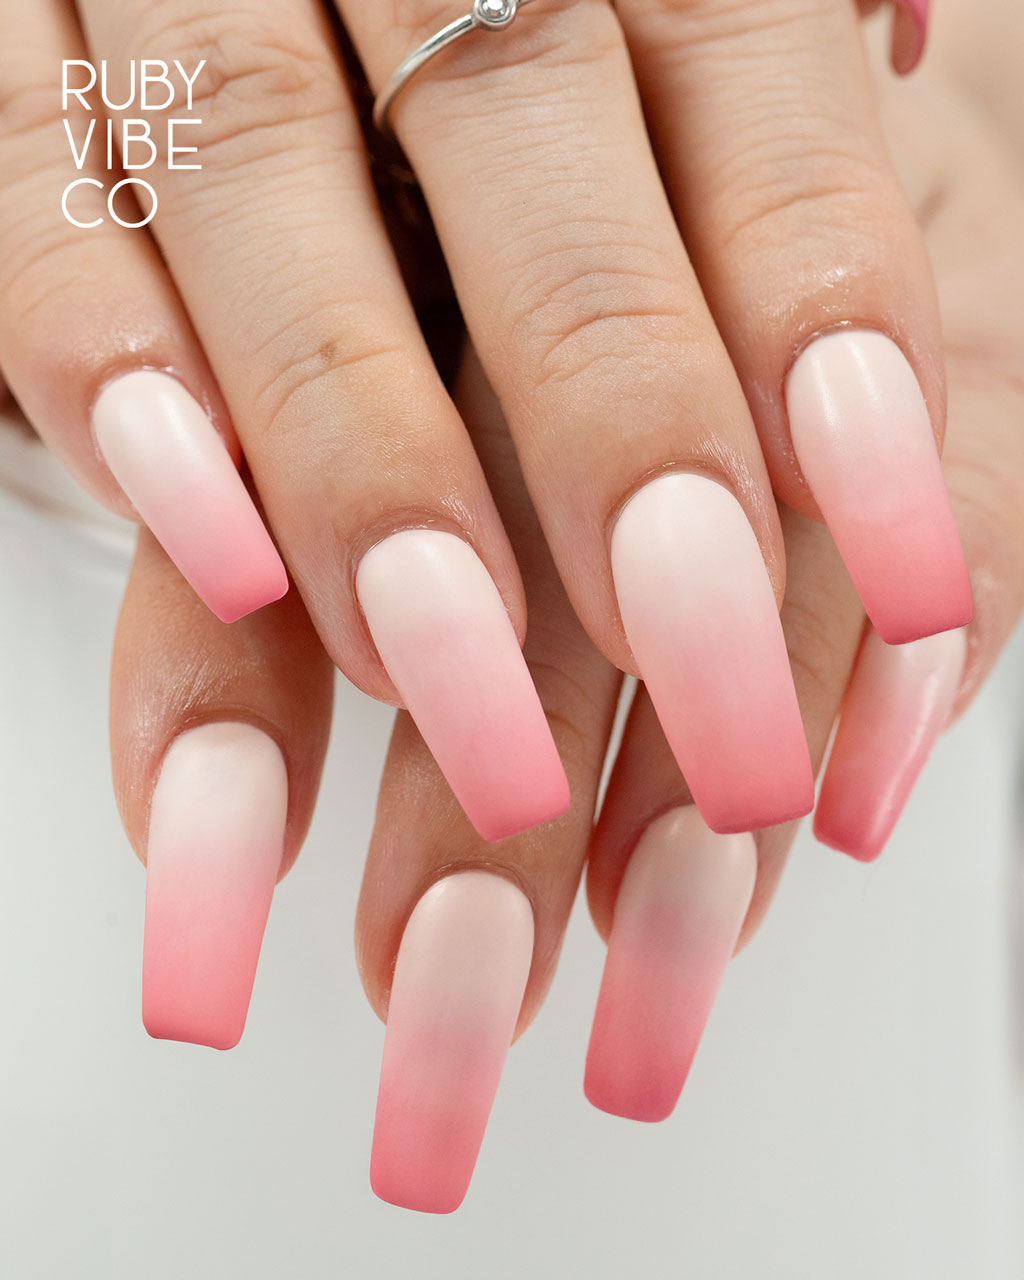
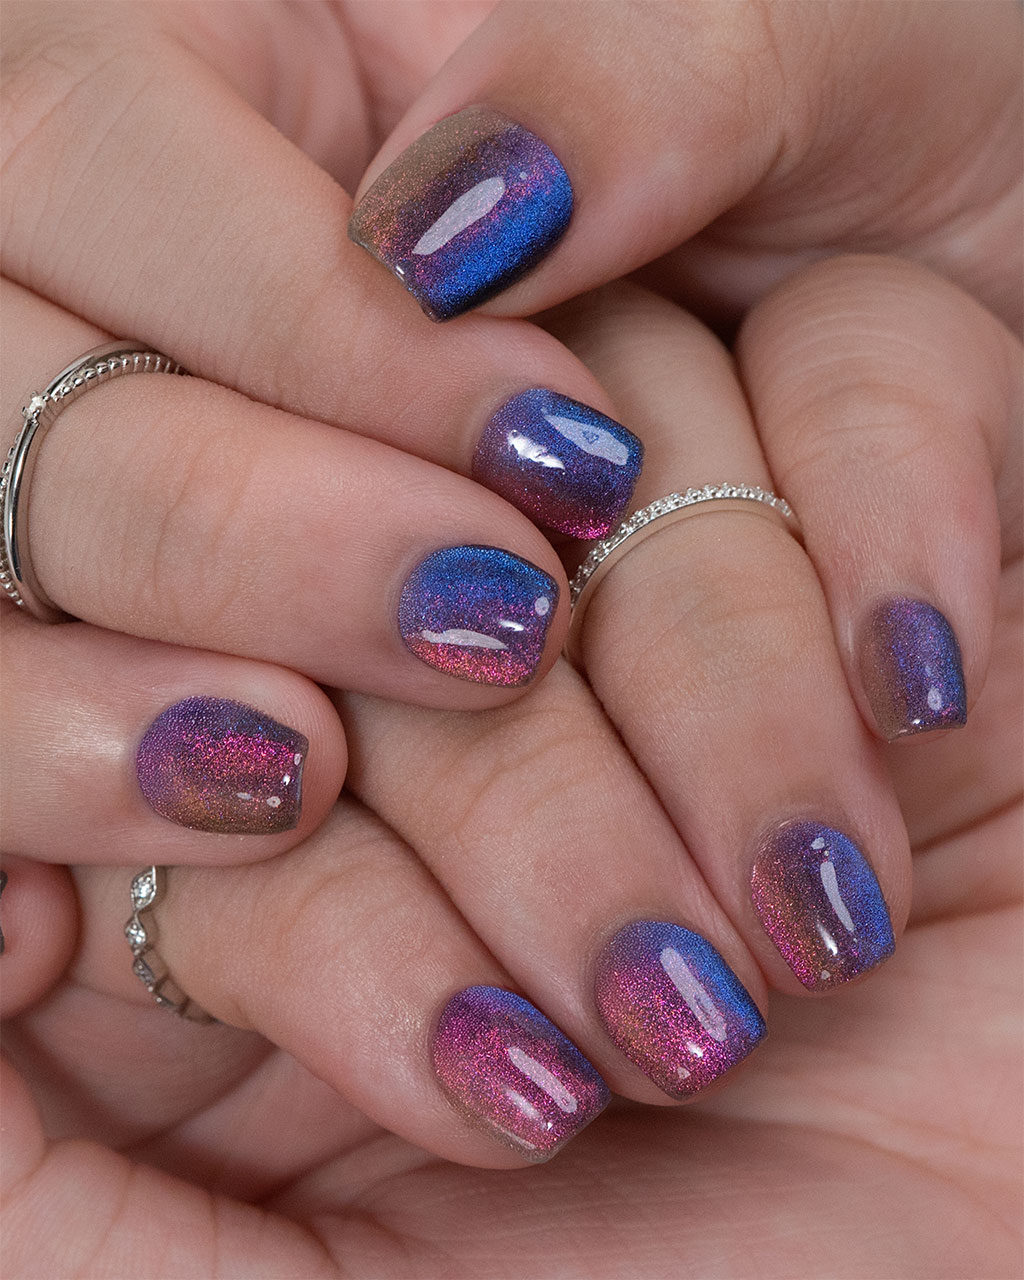
Ombré nails are a popular and stylish trend in nail art. The technique involves a seamless gradient of two or more colors. This creates a beautiful, blended effect. Consequently, ombré nails are a fantastic choice for anyone who wants a sophisticated yet eye-catching manicure. They are also incredibly versatile. You can create them with a wide variety of colors and textures. From soft pastels to bold neons, there is an ombré style for every personality and occasion. In this guide, we will delve into the world of ombré nails. We will explore the different types, the tools you need, and the step-by-step process to achieve a professional look. Furthermore, we will provide some inspiration for your next manicure.
First and foremost, let’s understand the different types of ombré nails. The most common type is the vertical ombré. This involves blending colors from the base of the nail to the tip.
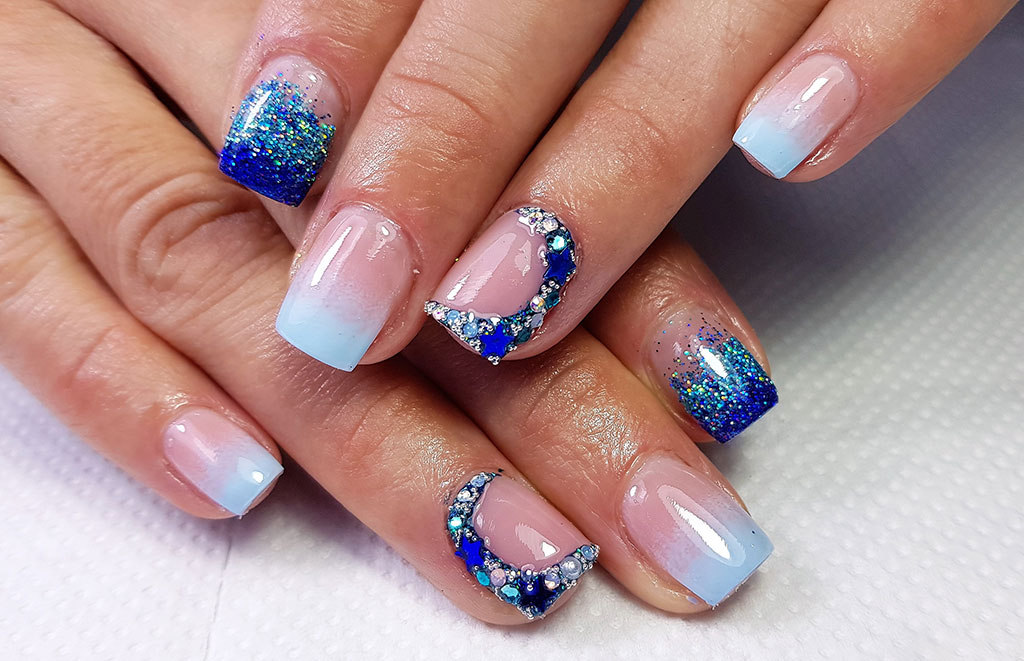
In addition, there is also the horizontal ombré, which blends colors from side to side.
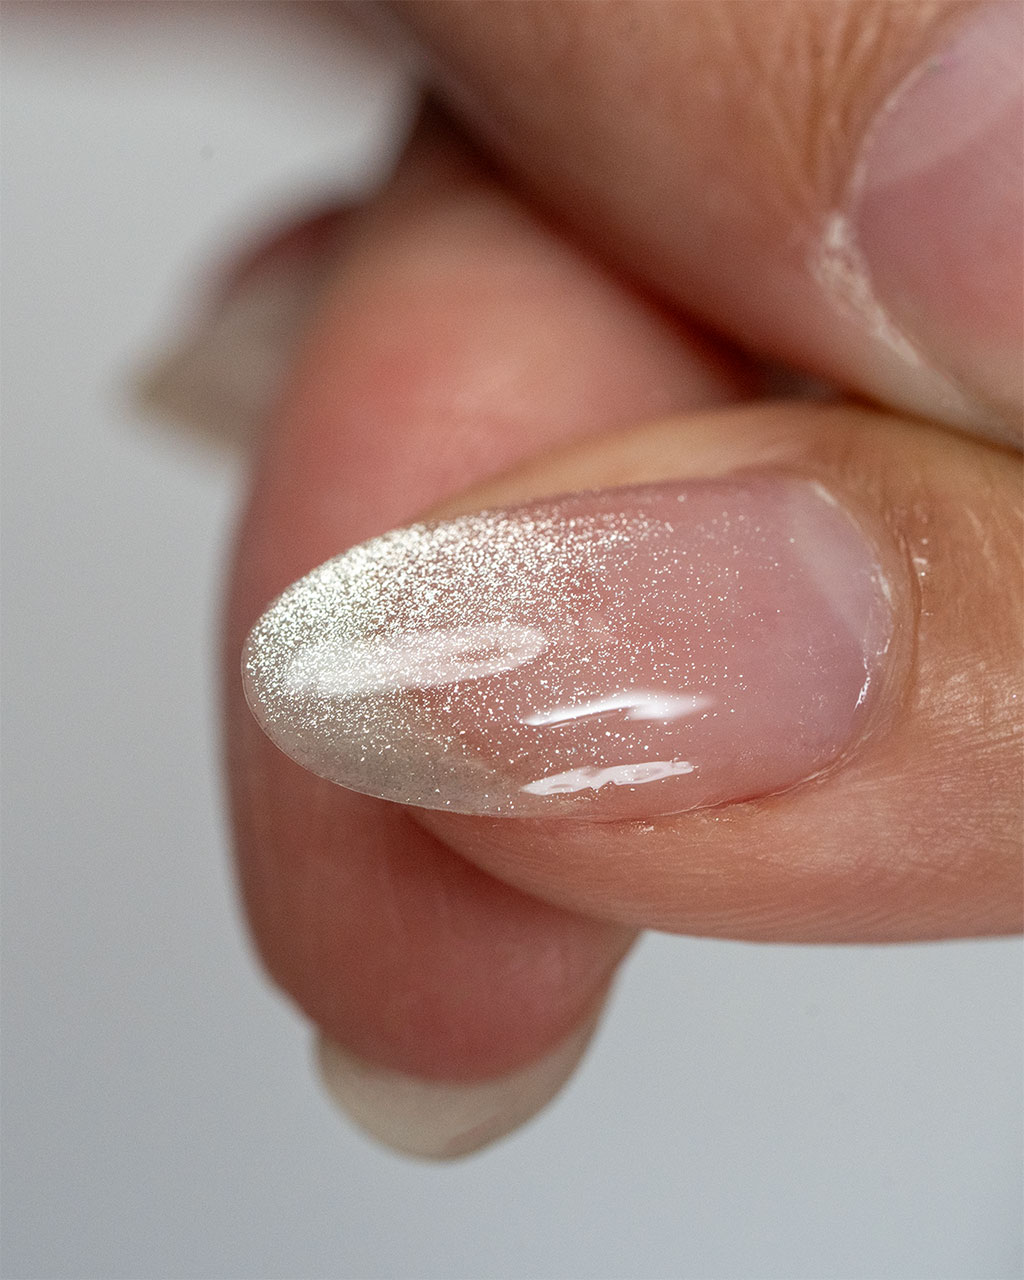
A newer, yet equally stunning, trend is the reverse ombré. This style often uses glitter or a metallic shade at the cuticle, fading into a solid color at the tip.
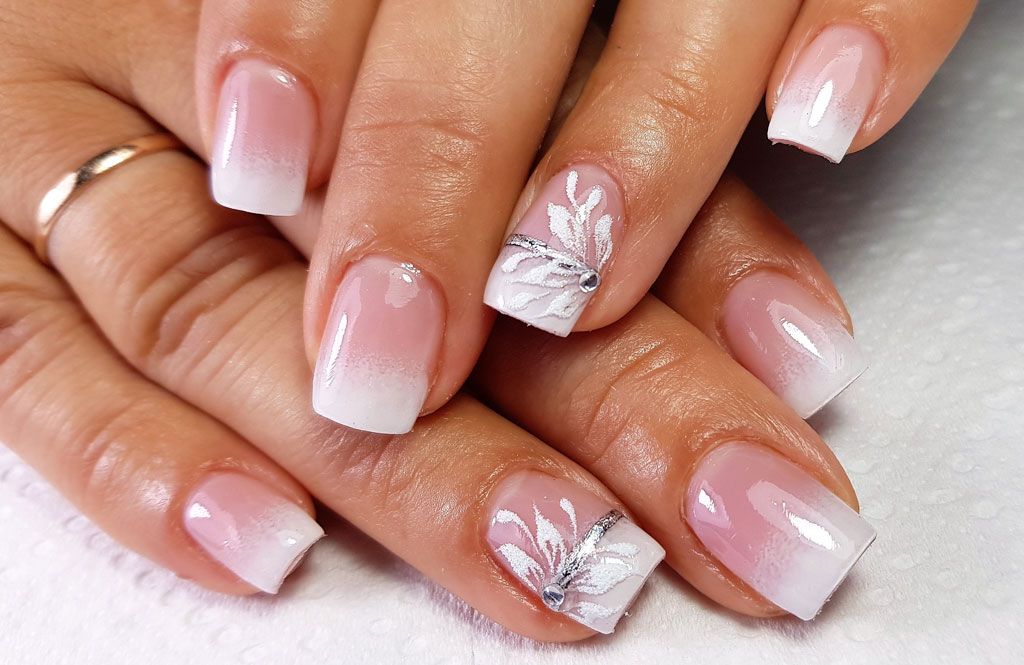
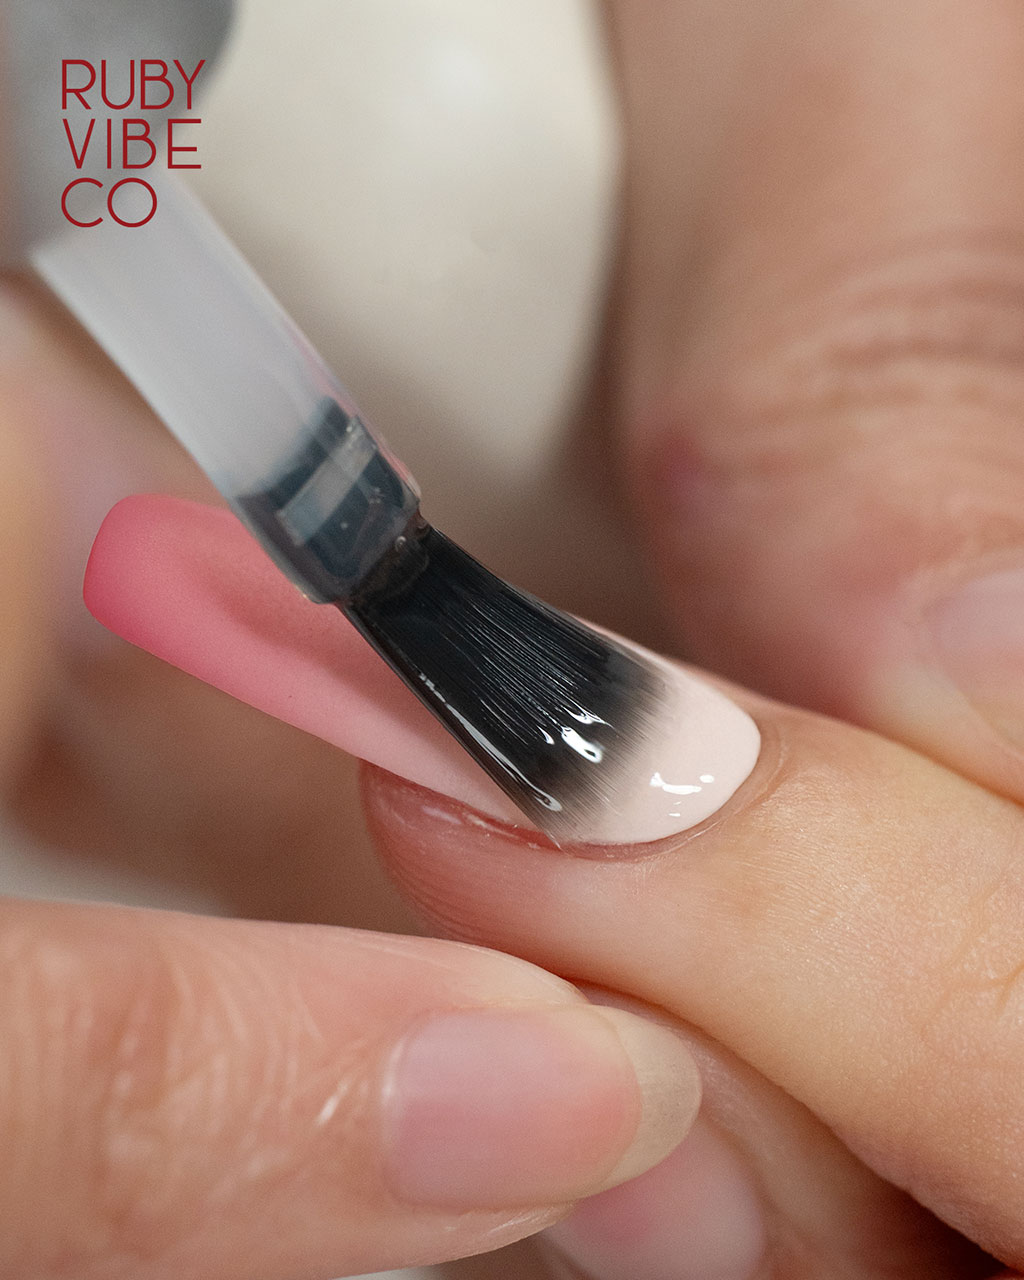
Most importantly, another popular variation is the ombré French manicure. This blends a nude base with a colored tip, creating a softer version of the classic French tip.
Moreover, you can also create an ombré look by having each nail a different shade, moving from light to dark across your hand.
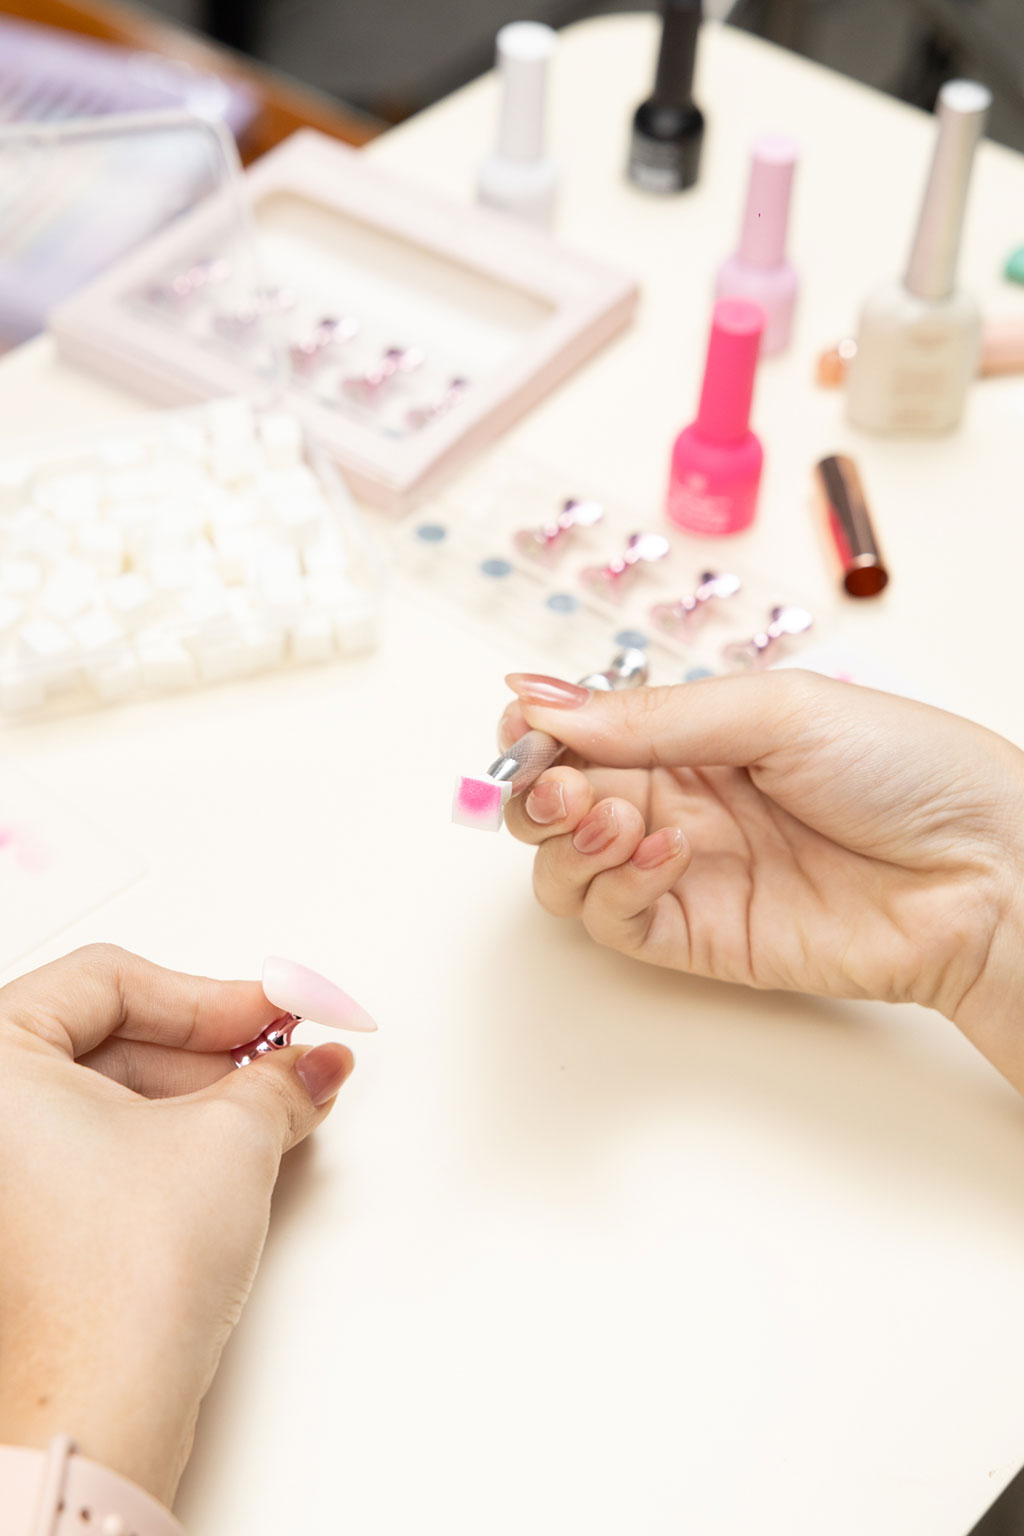
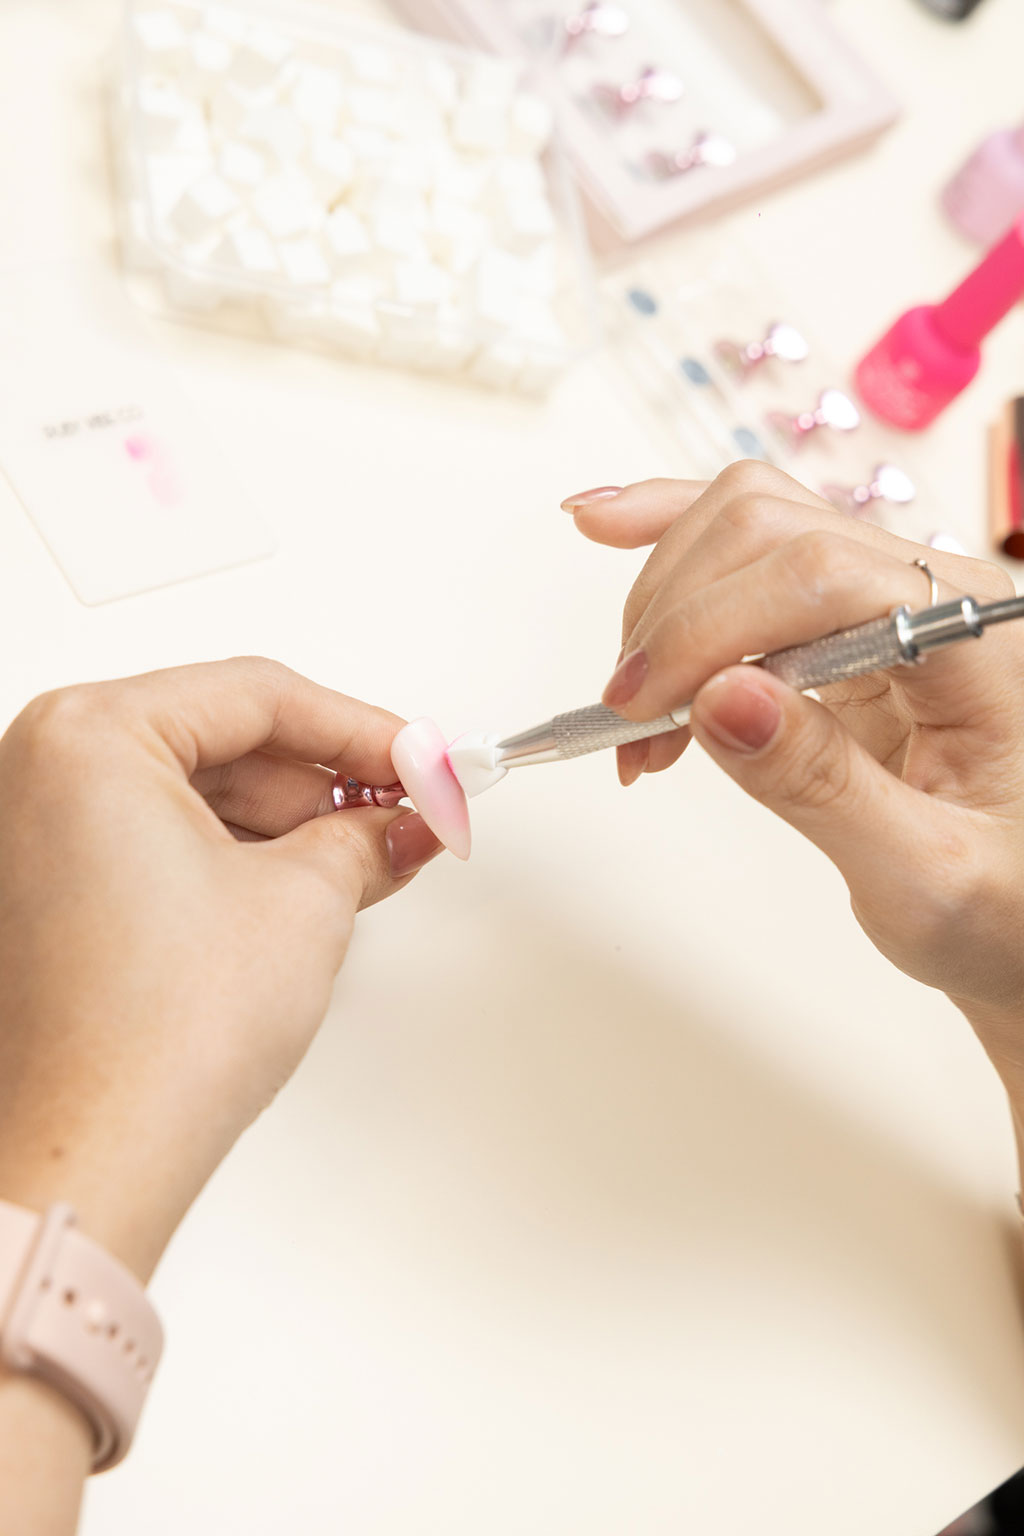
Furthermore, you will need a few key tools to create the perfect ombré manicure. The most important tool is a cosmetic sponge. This is used to dab and blend the colors onto the nail.
You will also need a base coat, top coat, and your chosen nail polishes. Additionally, it is helpful to have a liquid latex barrier or petroleum jelly to protect the skin around your nails from the polish. This makes cleanup much easier. Subsequently, a good nail file, buffer, and cuticle pusher will ensure your nails are properly prepped before you begin. By having all these items ready, you can ensure a smooth and efficient application process.

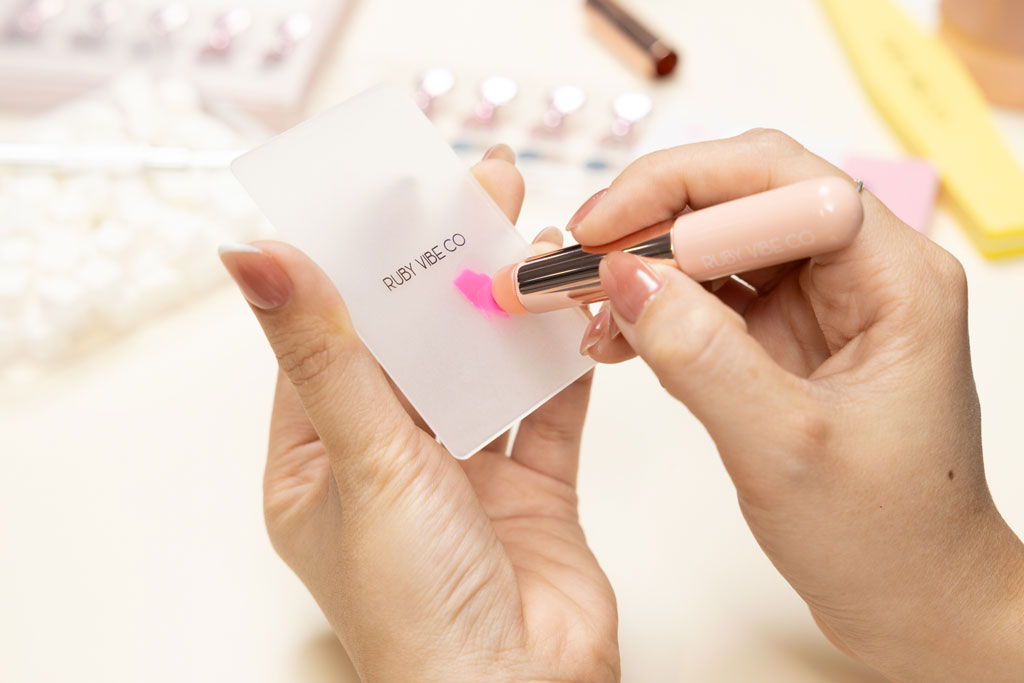
The application process is simple, yet it requires a bit of patience and practice. First, apply a base coat and let it dry completely. After that, apply a coat of your lightest color as a base. Once this is dry, apply a liquid latex barrier around your nails. Next, paint your chosen colors directly onto the cosmetic sponge, creating a gradient. Consequently, dab the sponge gently onto your nail, moving it up and down to blend the colors. Repeat this process until you achieve the desired vibrancy.
Finally, remove the liquid latex and apply a glossy top coat to seal the design and add shine. As these steps show, with a little practice, you can easily master this stunning nail art.
Leave a Reply